
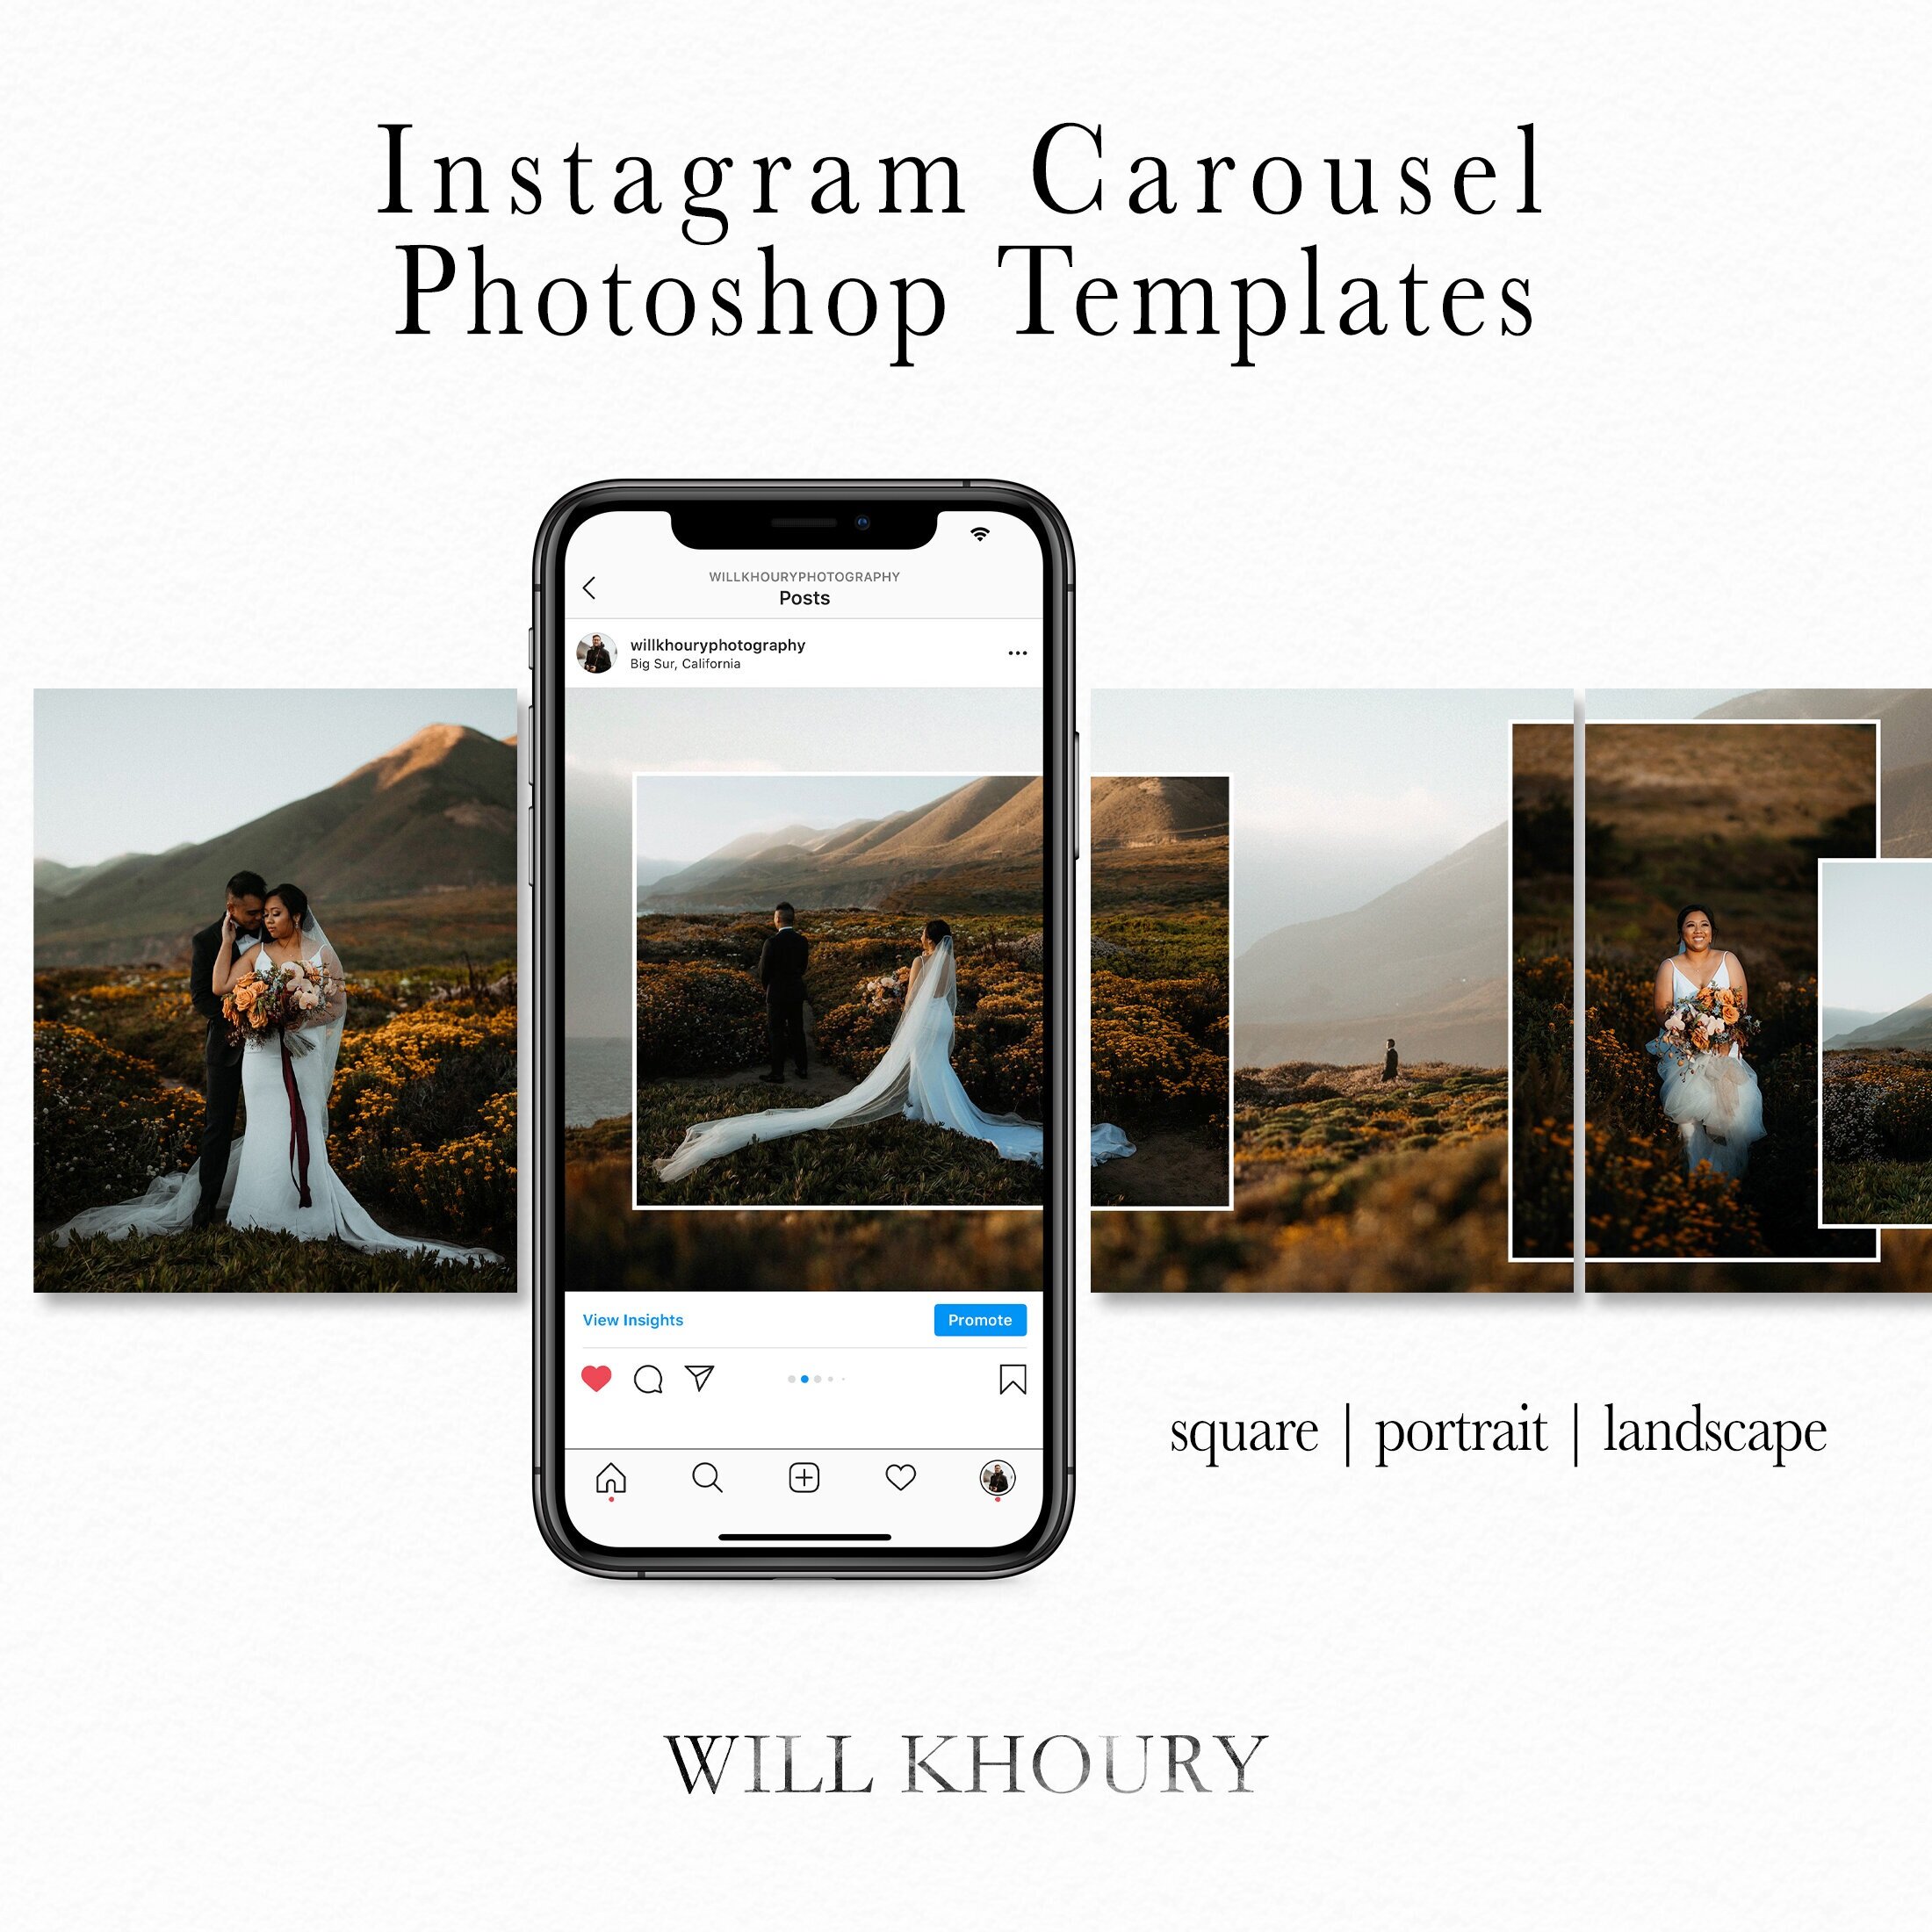
How To Create Instagram Carousel

Hey Everyone!
Ready to kick IG storytelling up a notch?? I think we all can use some help these days. After posting a seamless Instagram carousel, I received many questions on how to create Instagram carousel posts, so I decided to put together this tutorial so everyone can create something awesome and way more fun than just some photos to swipe through! After all, this is how so many couples find our work, and it better be something that’ll stop them in their tracks from mindlessly scrolling and grab their attention!


Before getting started on how to create Instagram carousels, make sure to join the Facebook photographers’ community!!
What’s an Instagram Carousel?
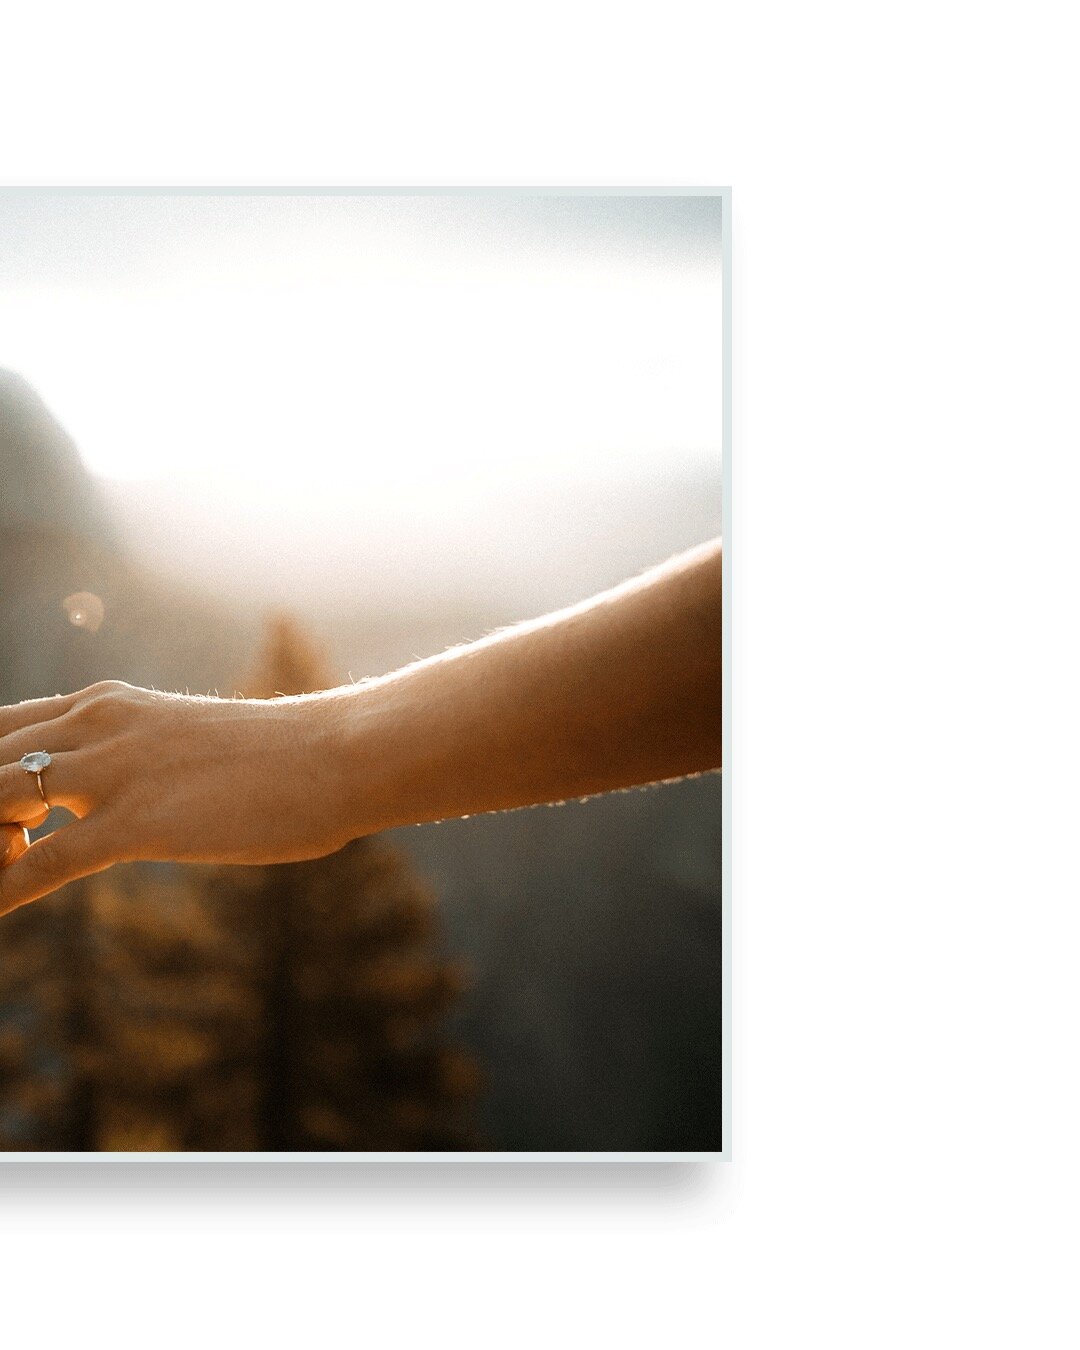
Instagram lets you post up to 10 photos or videos as 1 swipe-able carousel. This is an awesome feature for all of us photographers who want to show way more than the photos that usually won't be ideal to post as the main photo on your feed. Photos such as a landscape shot from the area you shot at, out-of-focus photos that capture a feeling, or all the awesome in-between moments.
With Instagram Carousels, you’re able to post 10, side-by-side photos. But to take things a step further, you can create a seamless 10-photo “panorama” to post. By creating a seamless Instagram carousel in photoshop - With the help of templates that you can find in this blog, you can add borders, background colors (think branding), overlapping photos, PNG logos, or even create a white frame around odd shape photo ratio so you won't miss out on sharing a full photo!
Storytelling
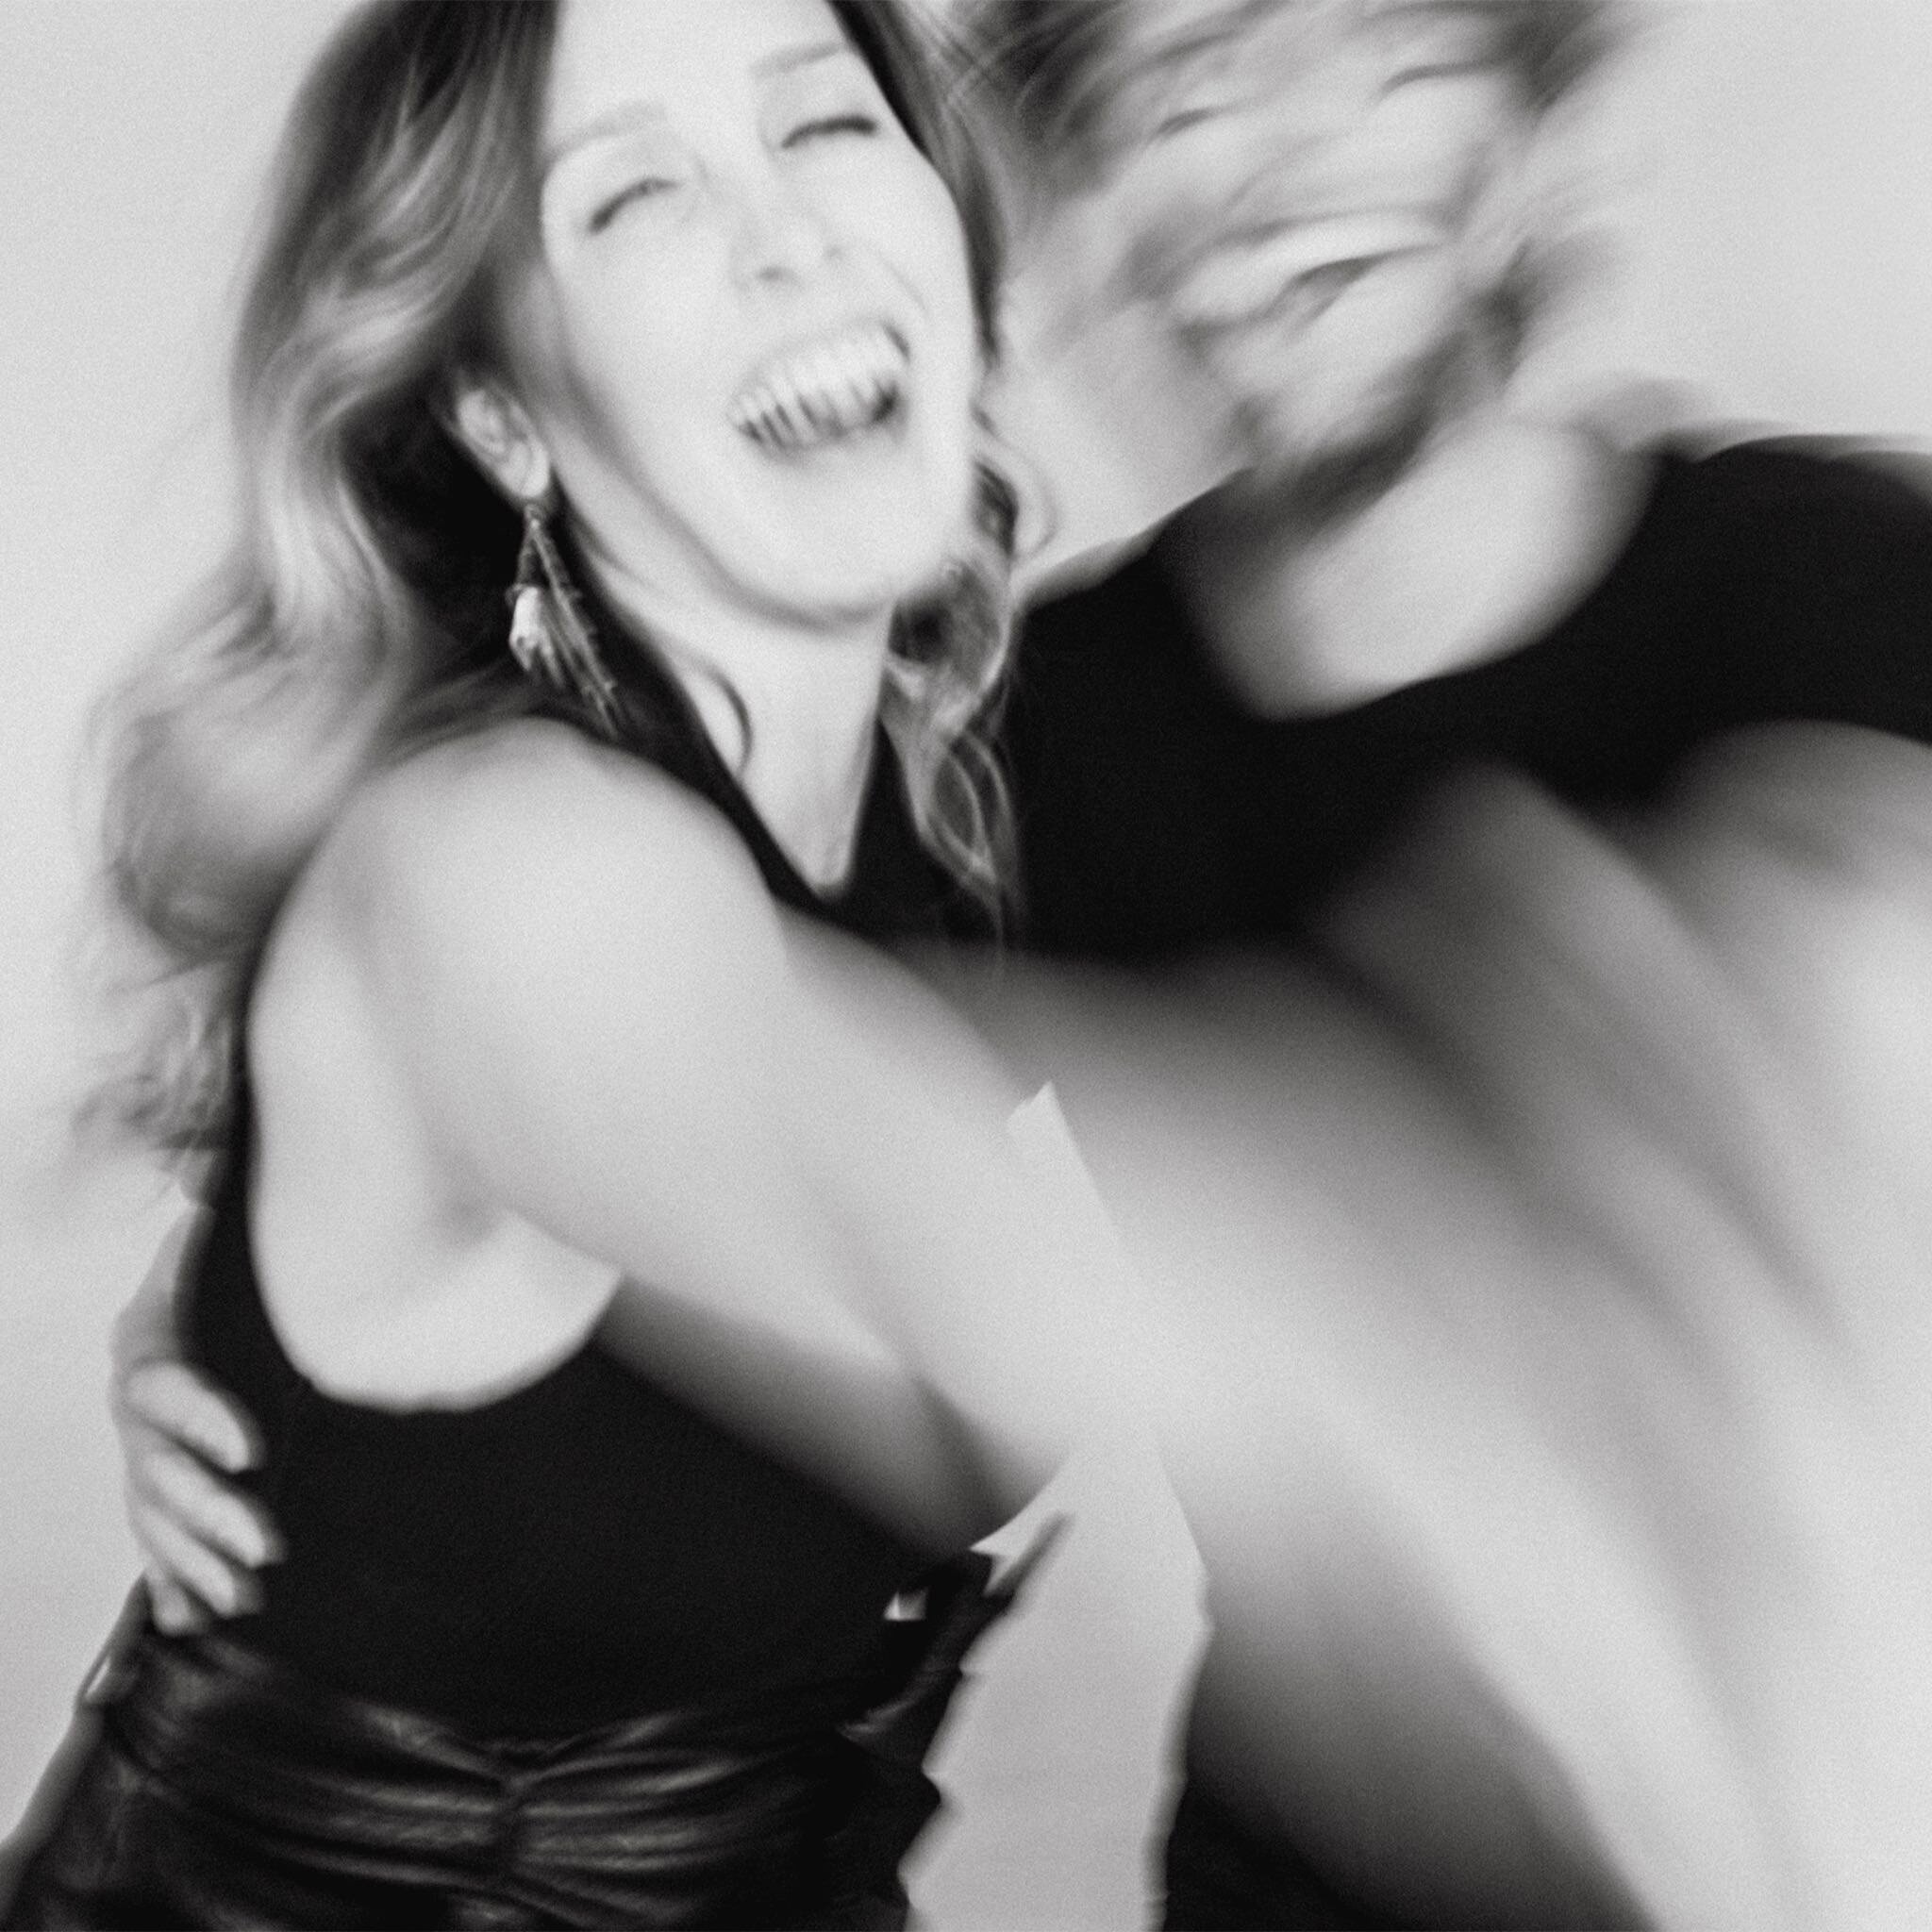
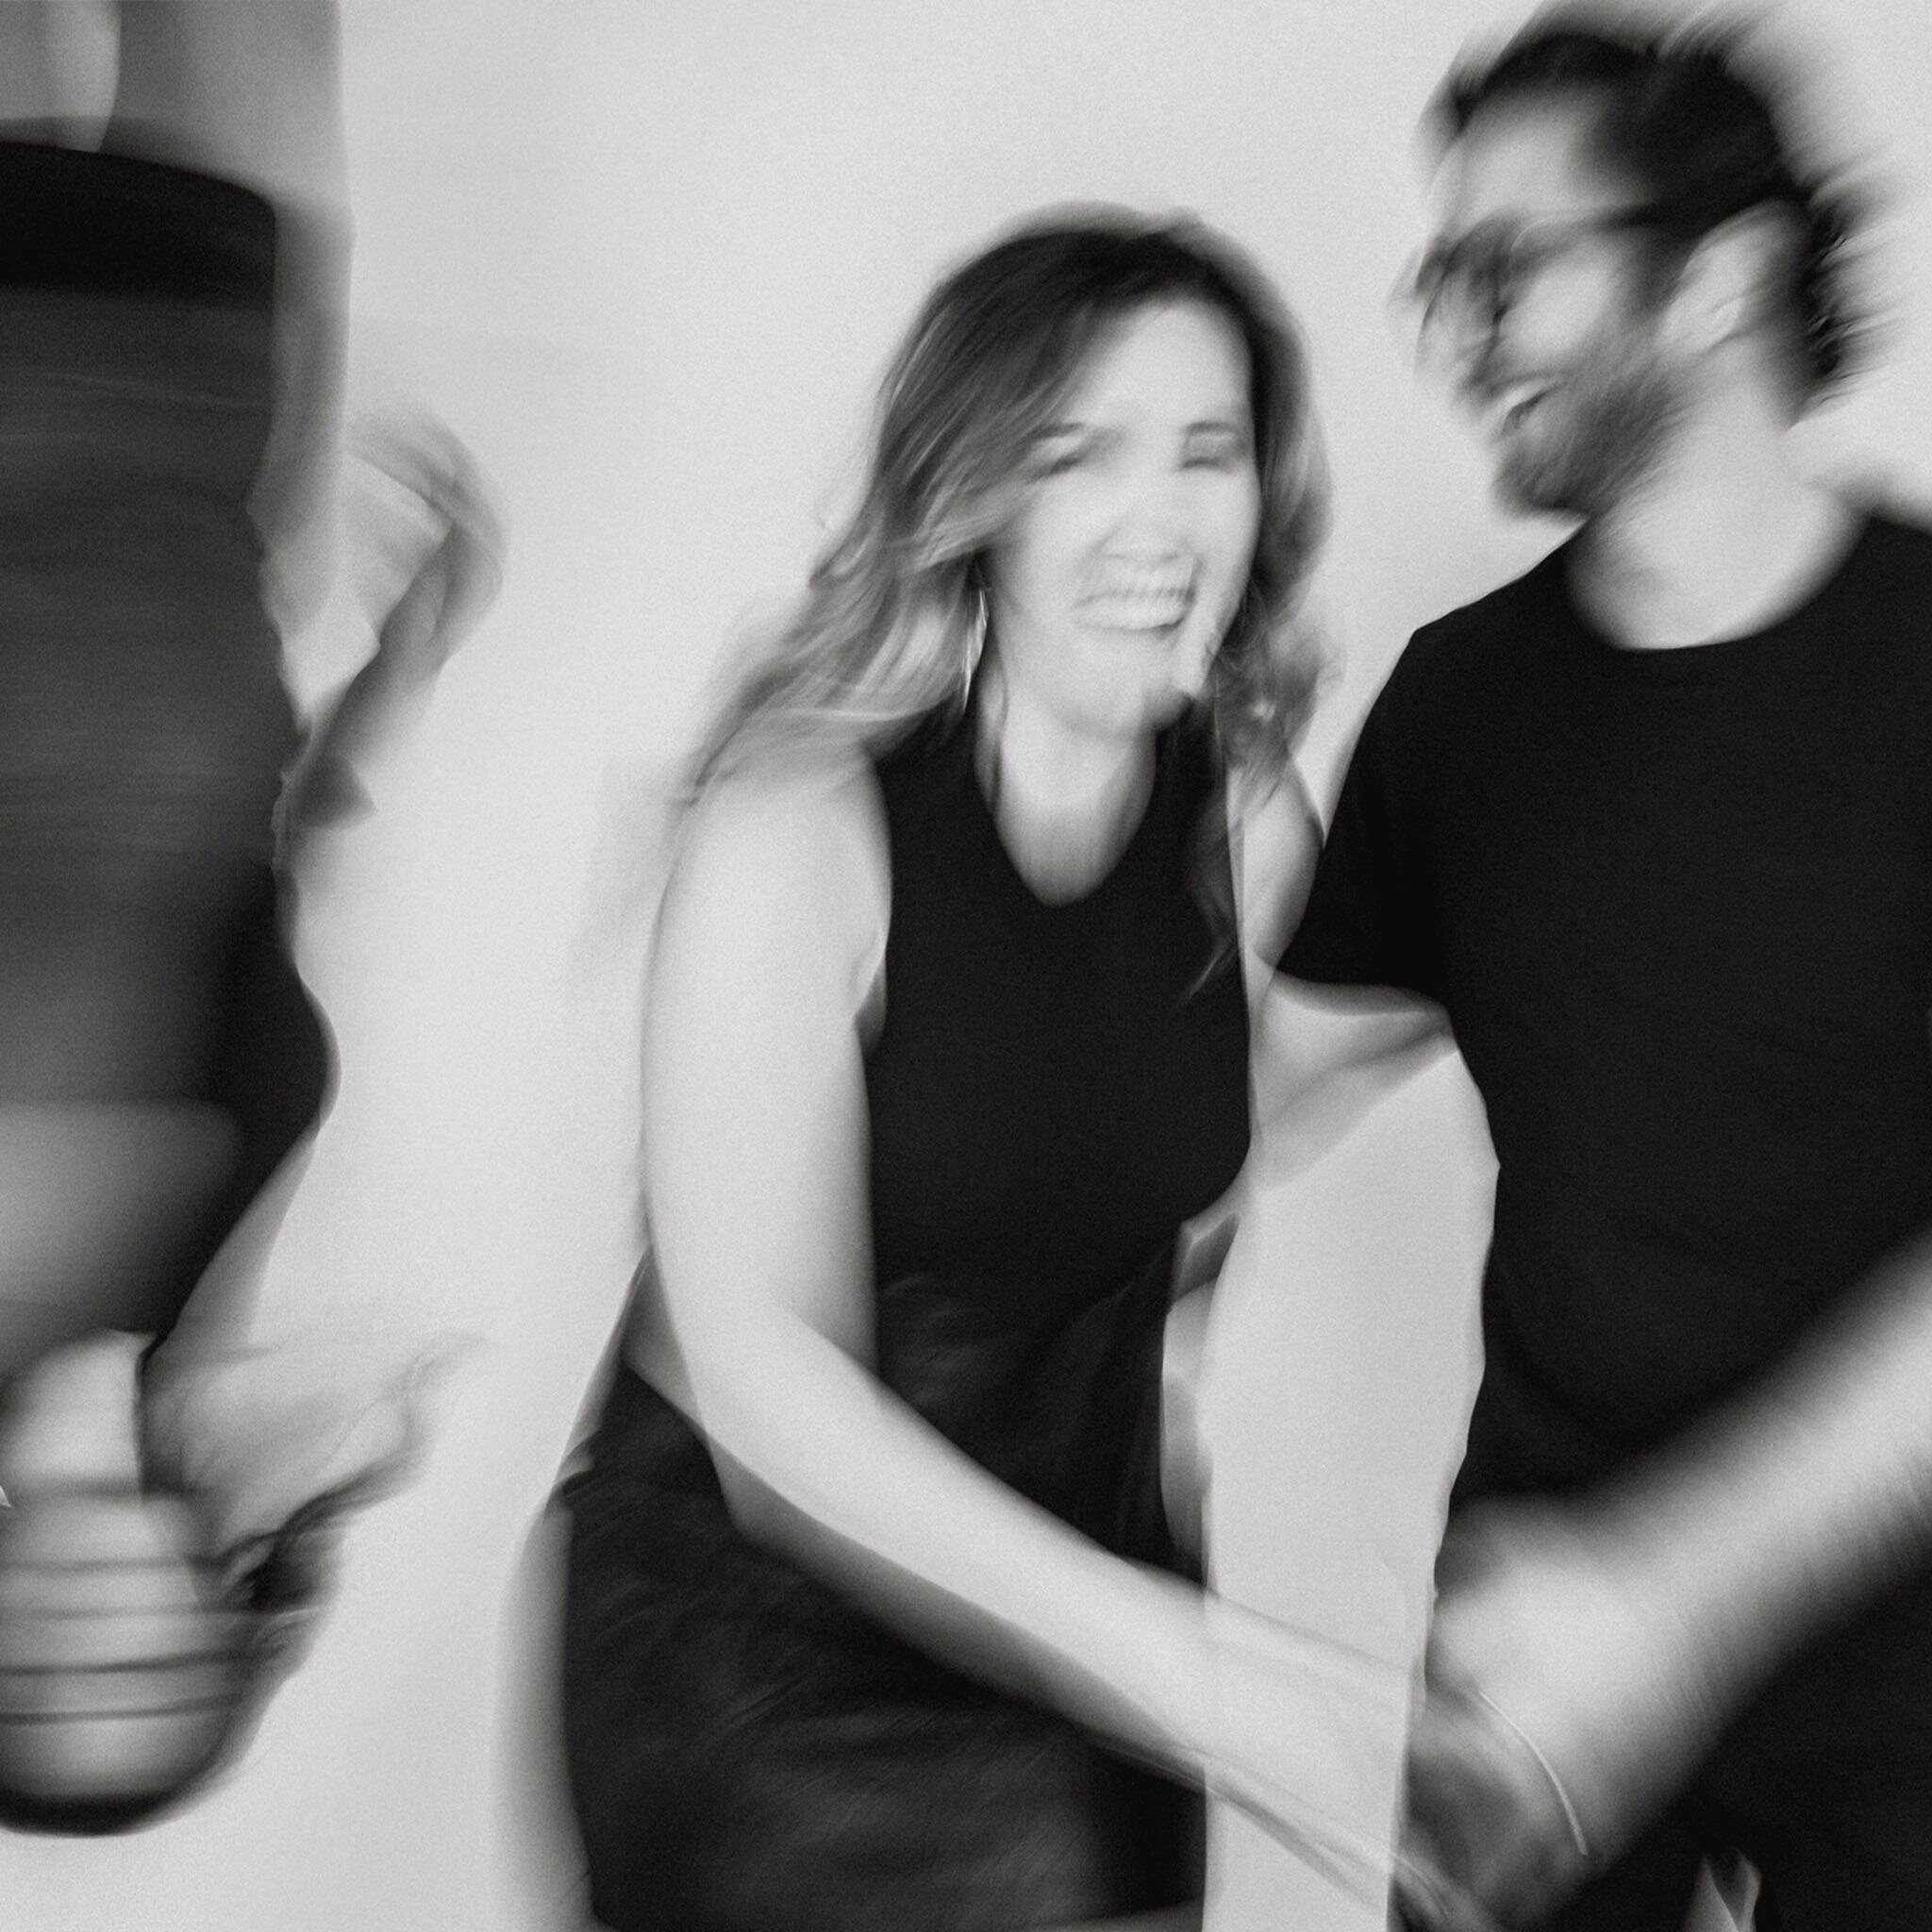
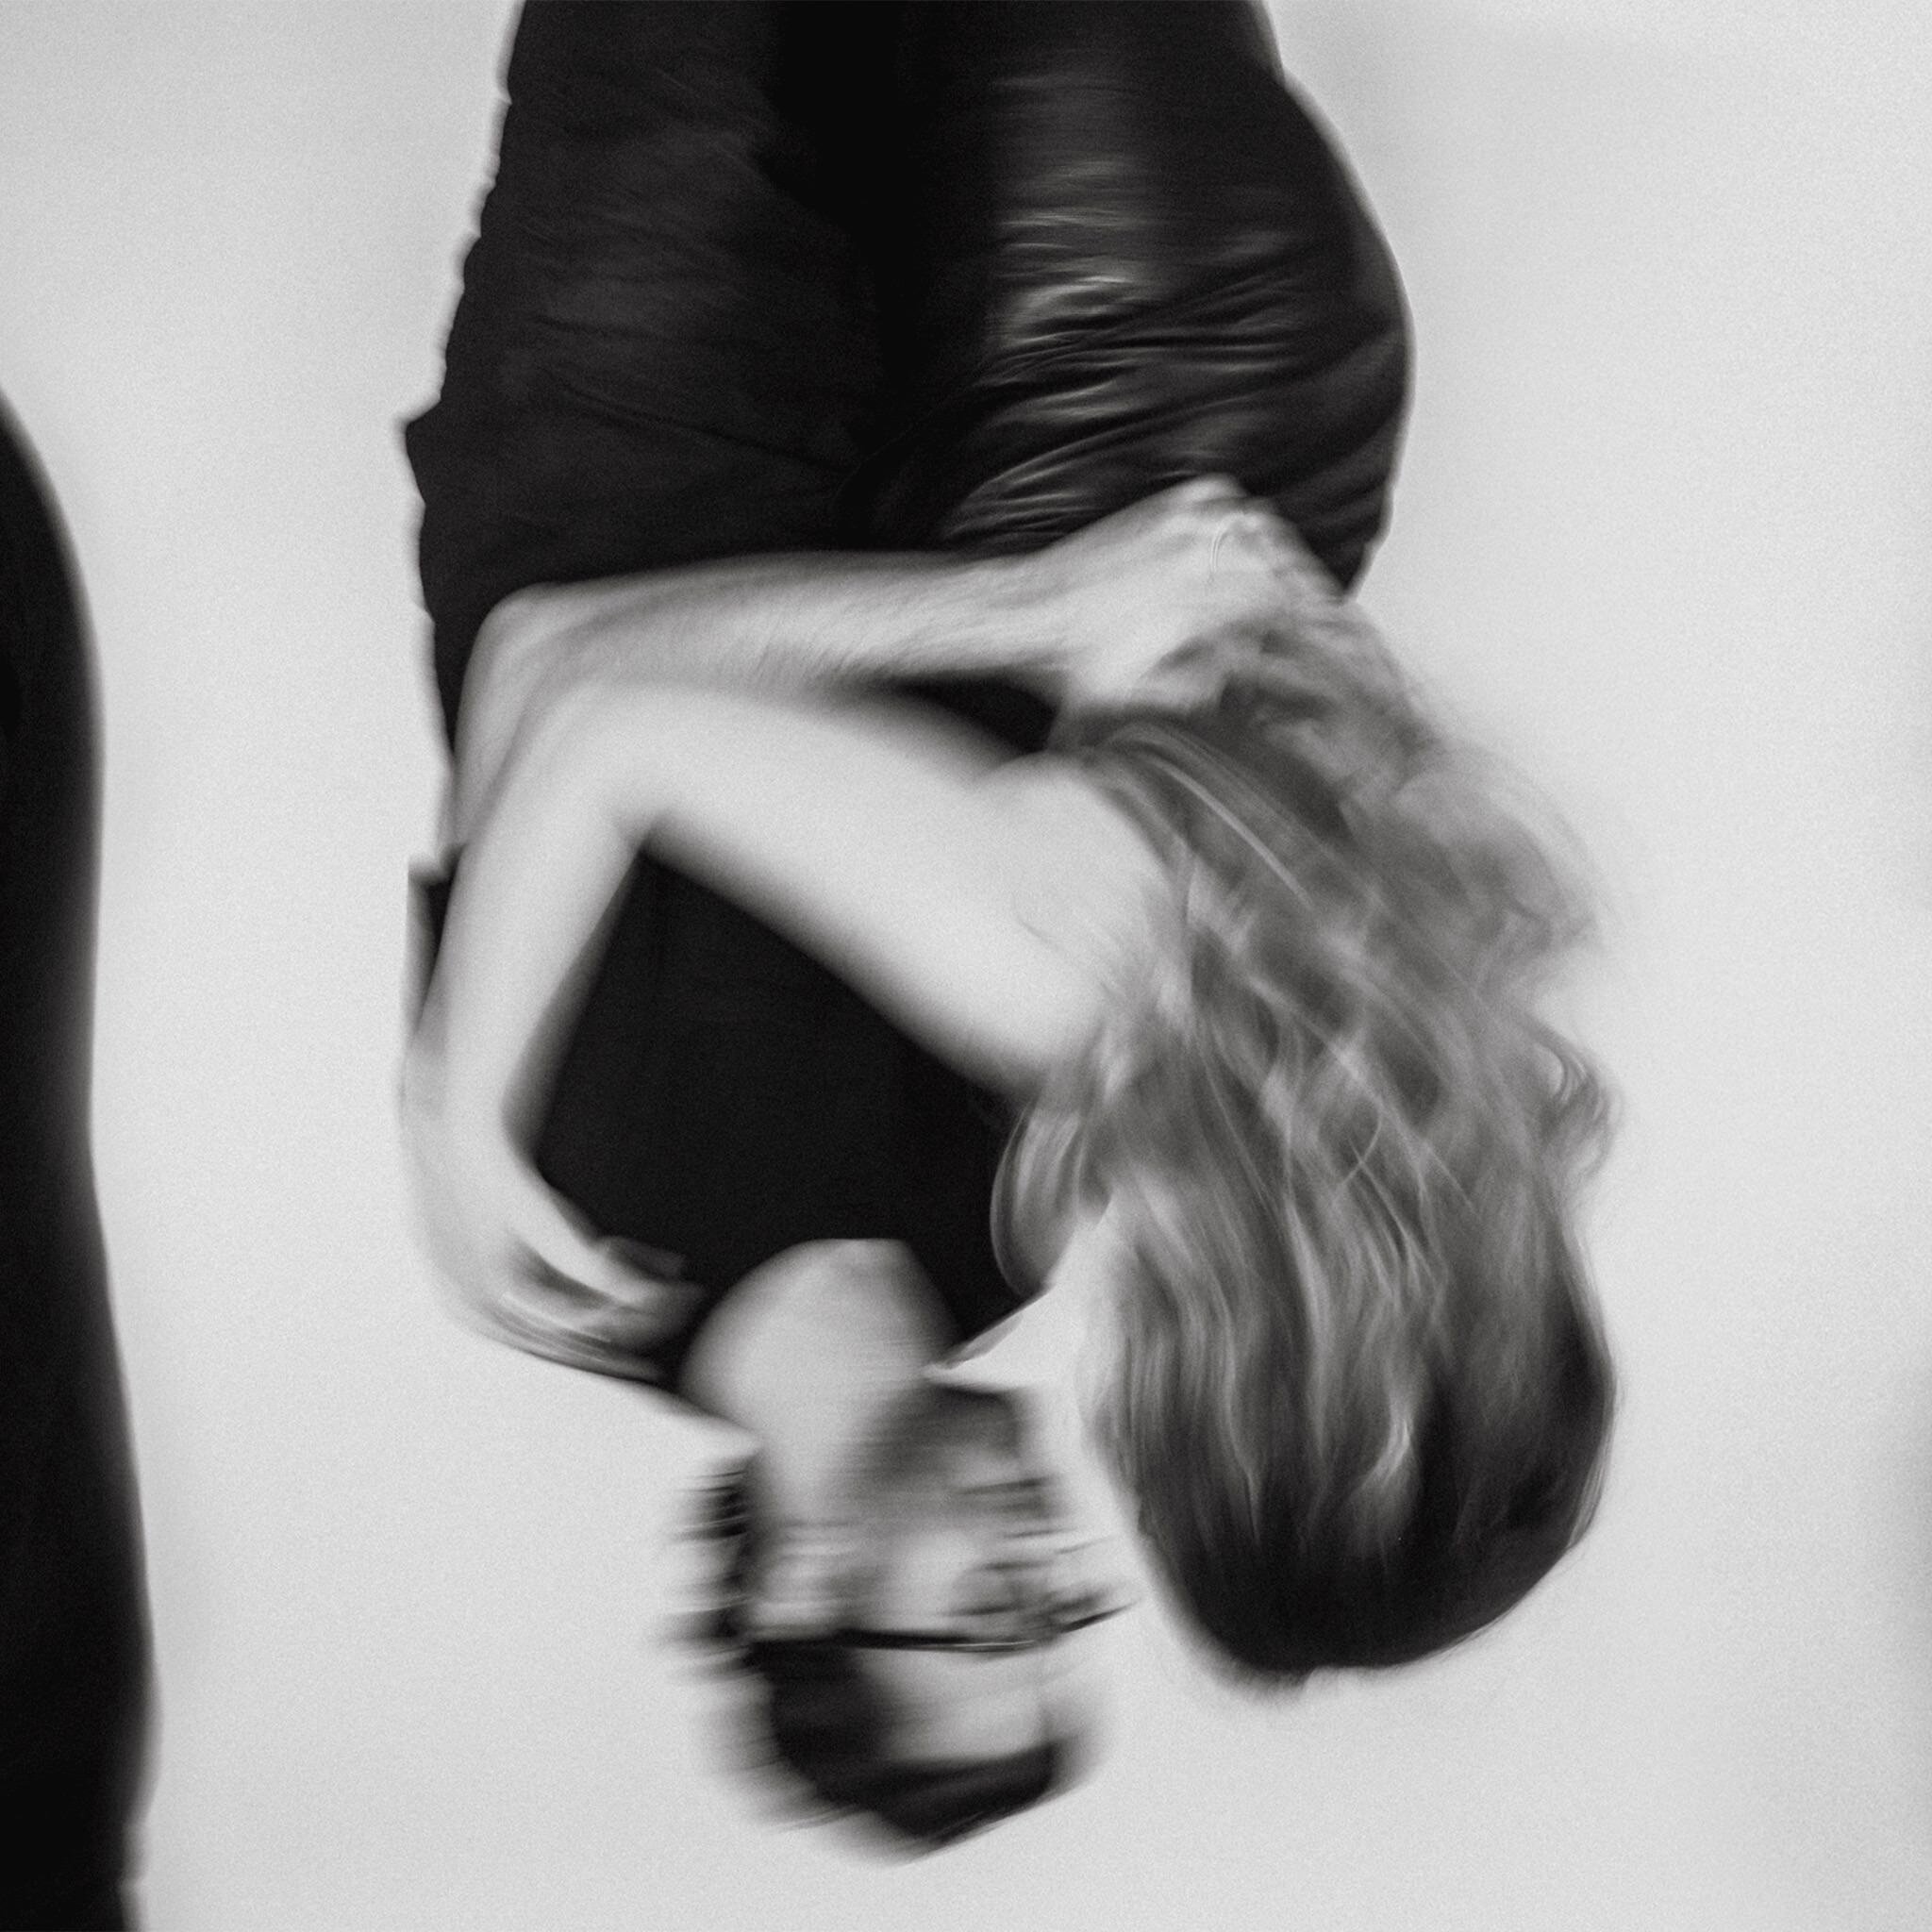
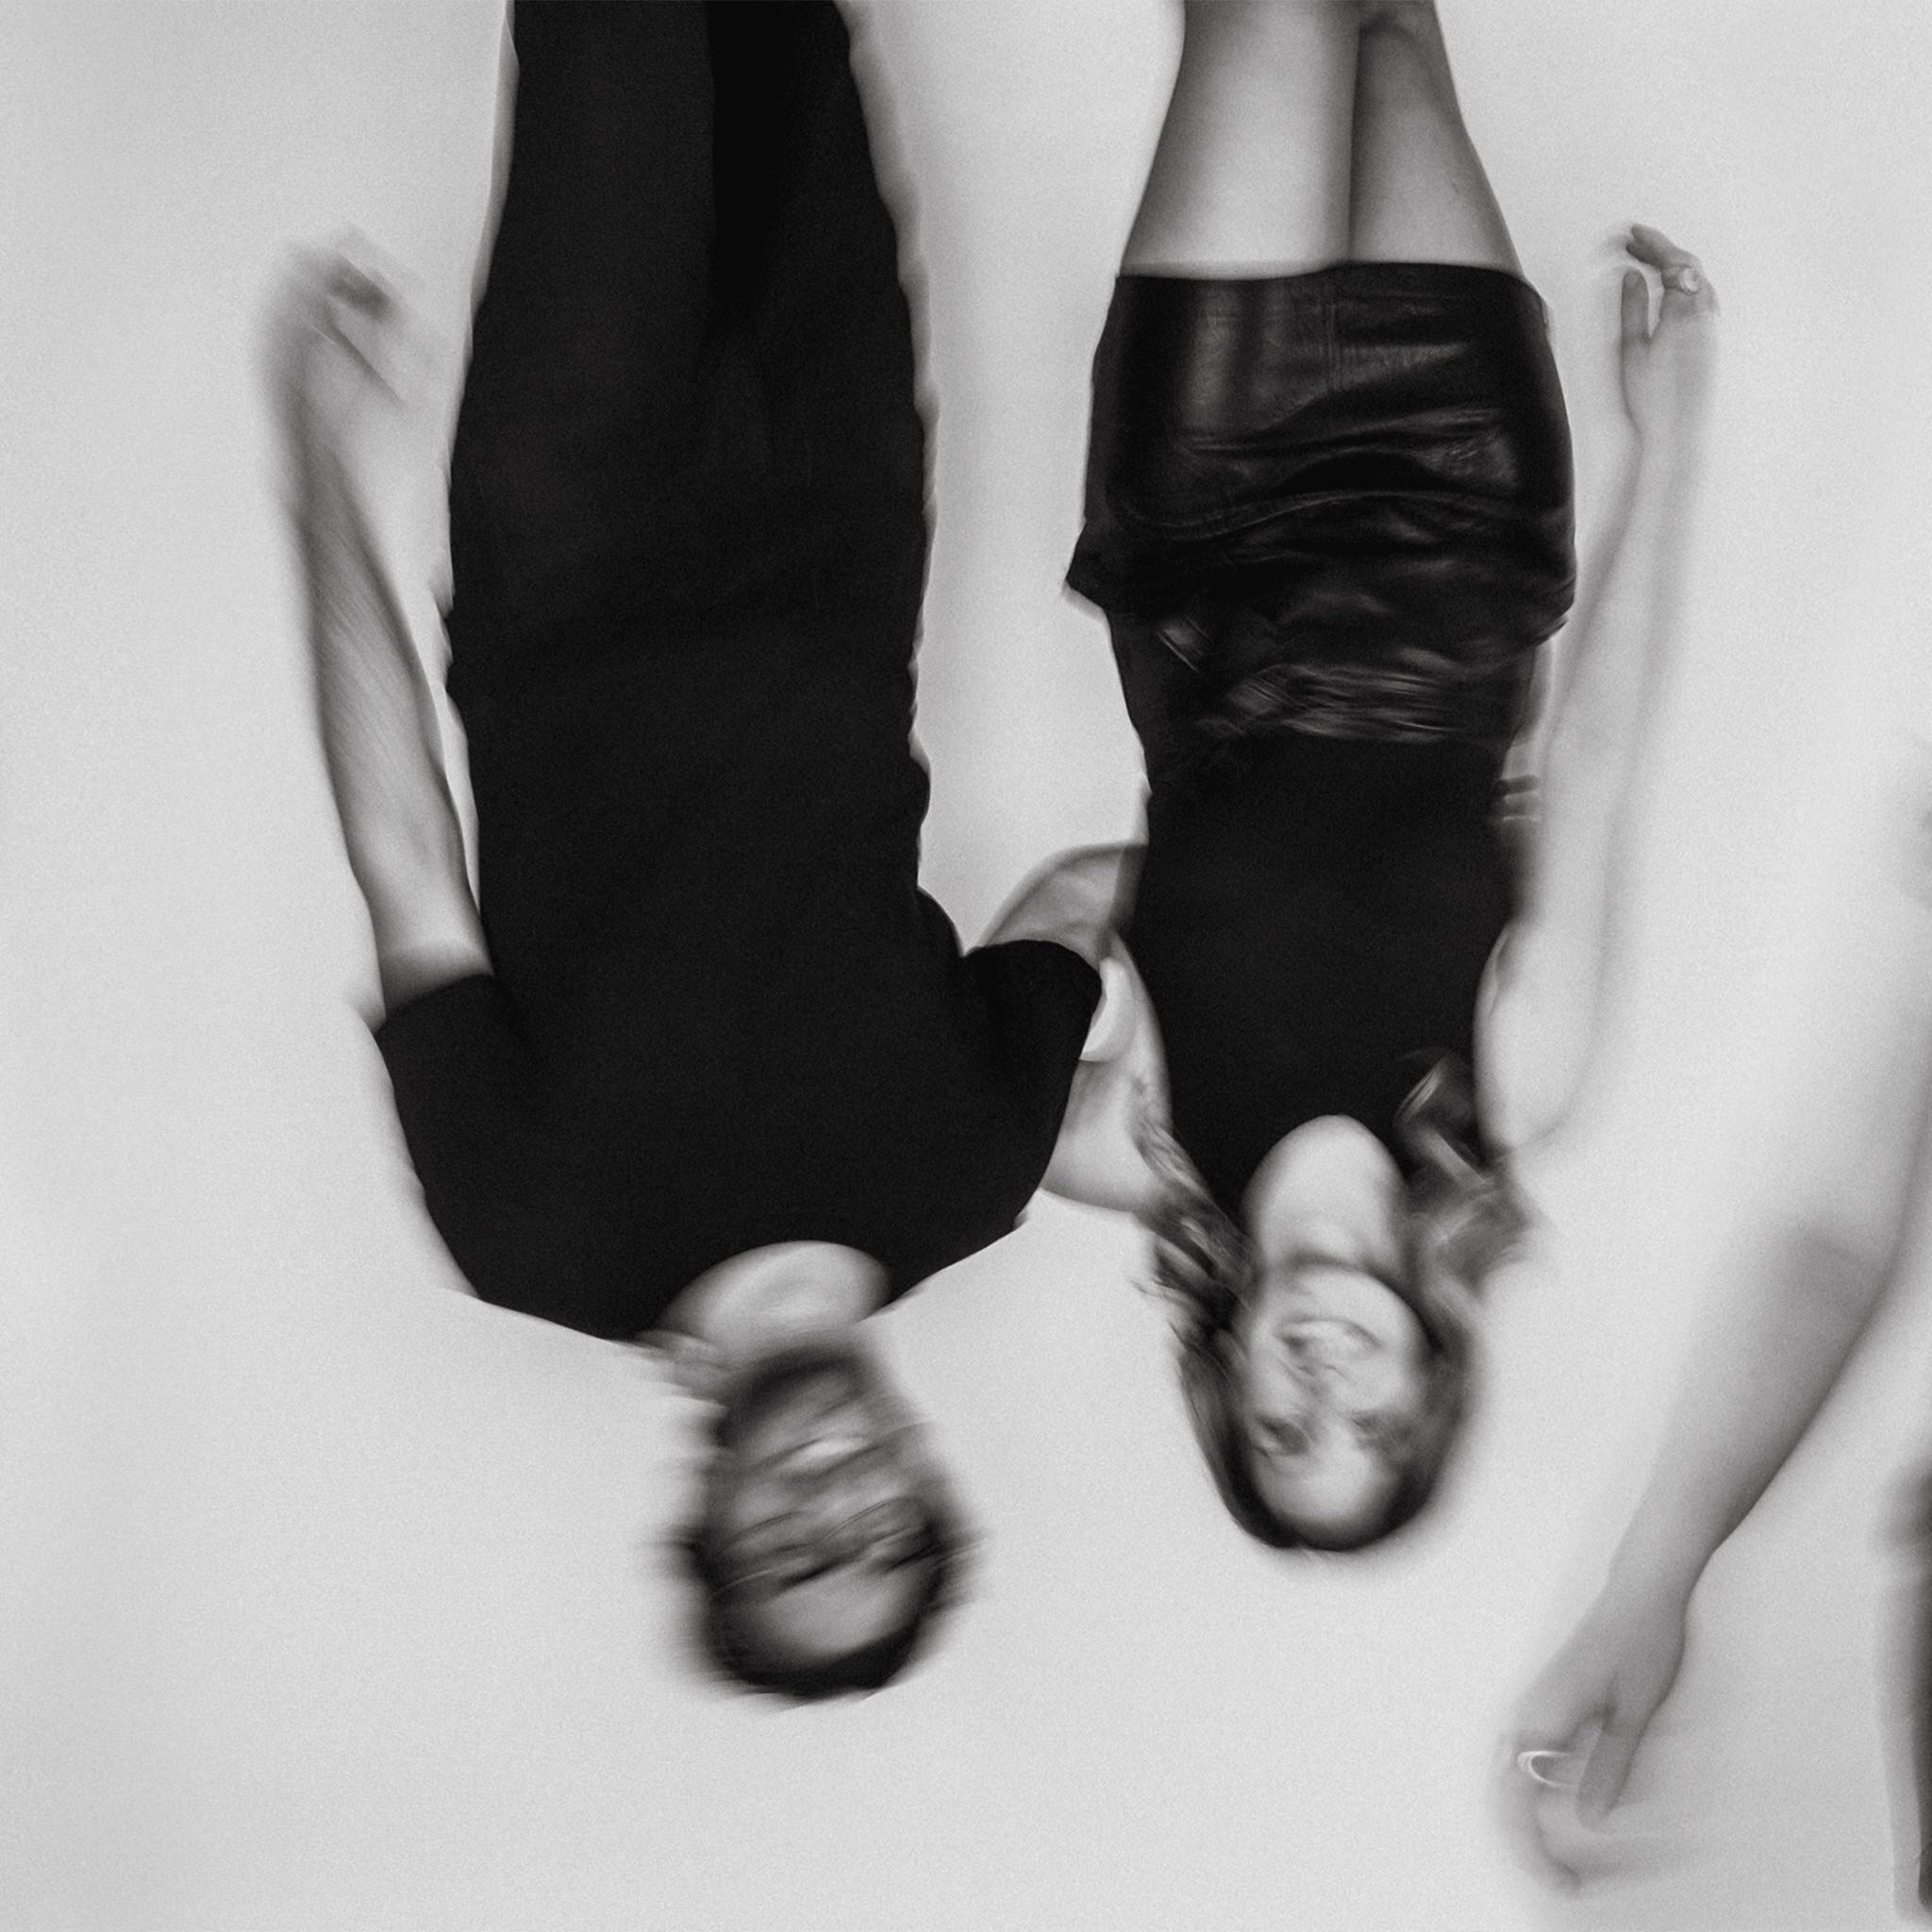
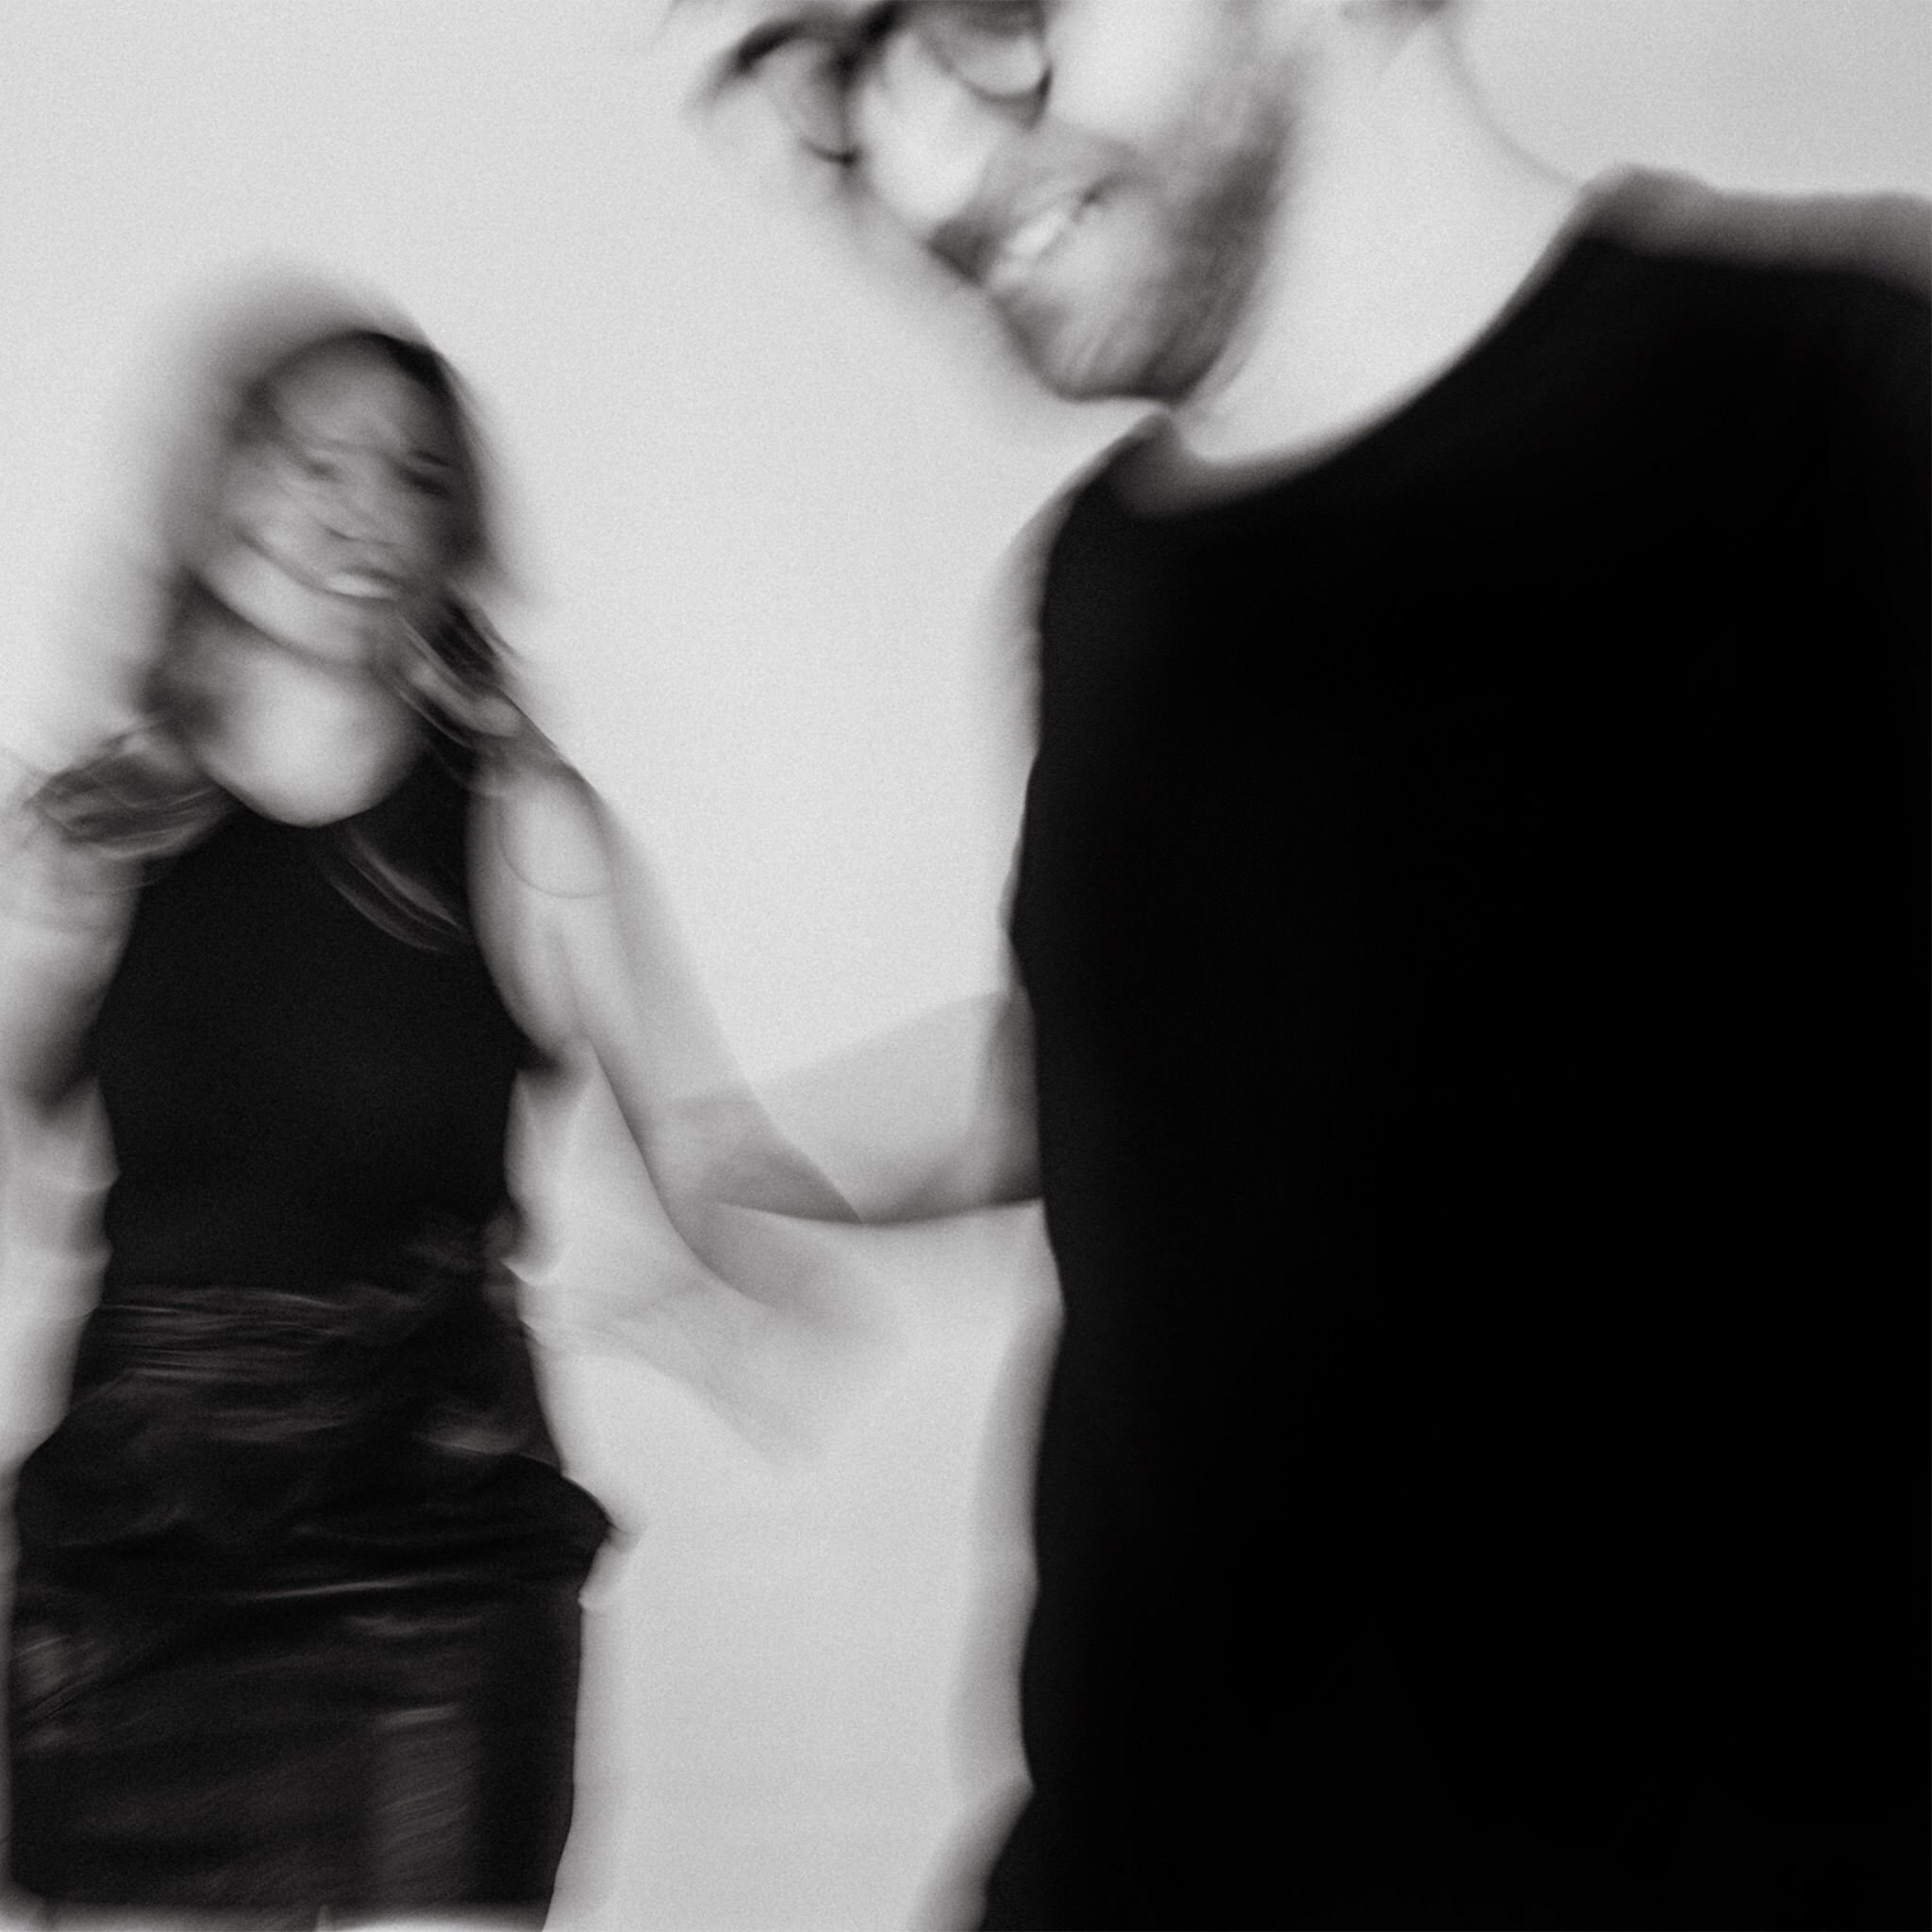
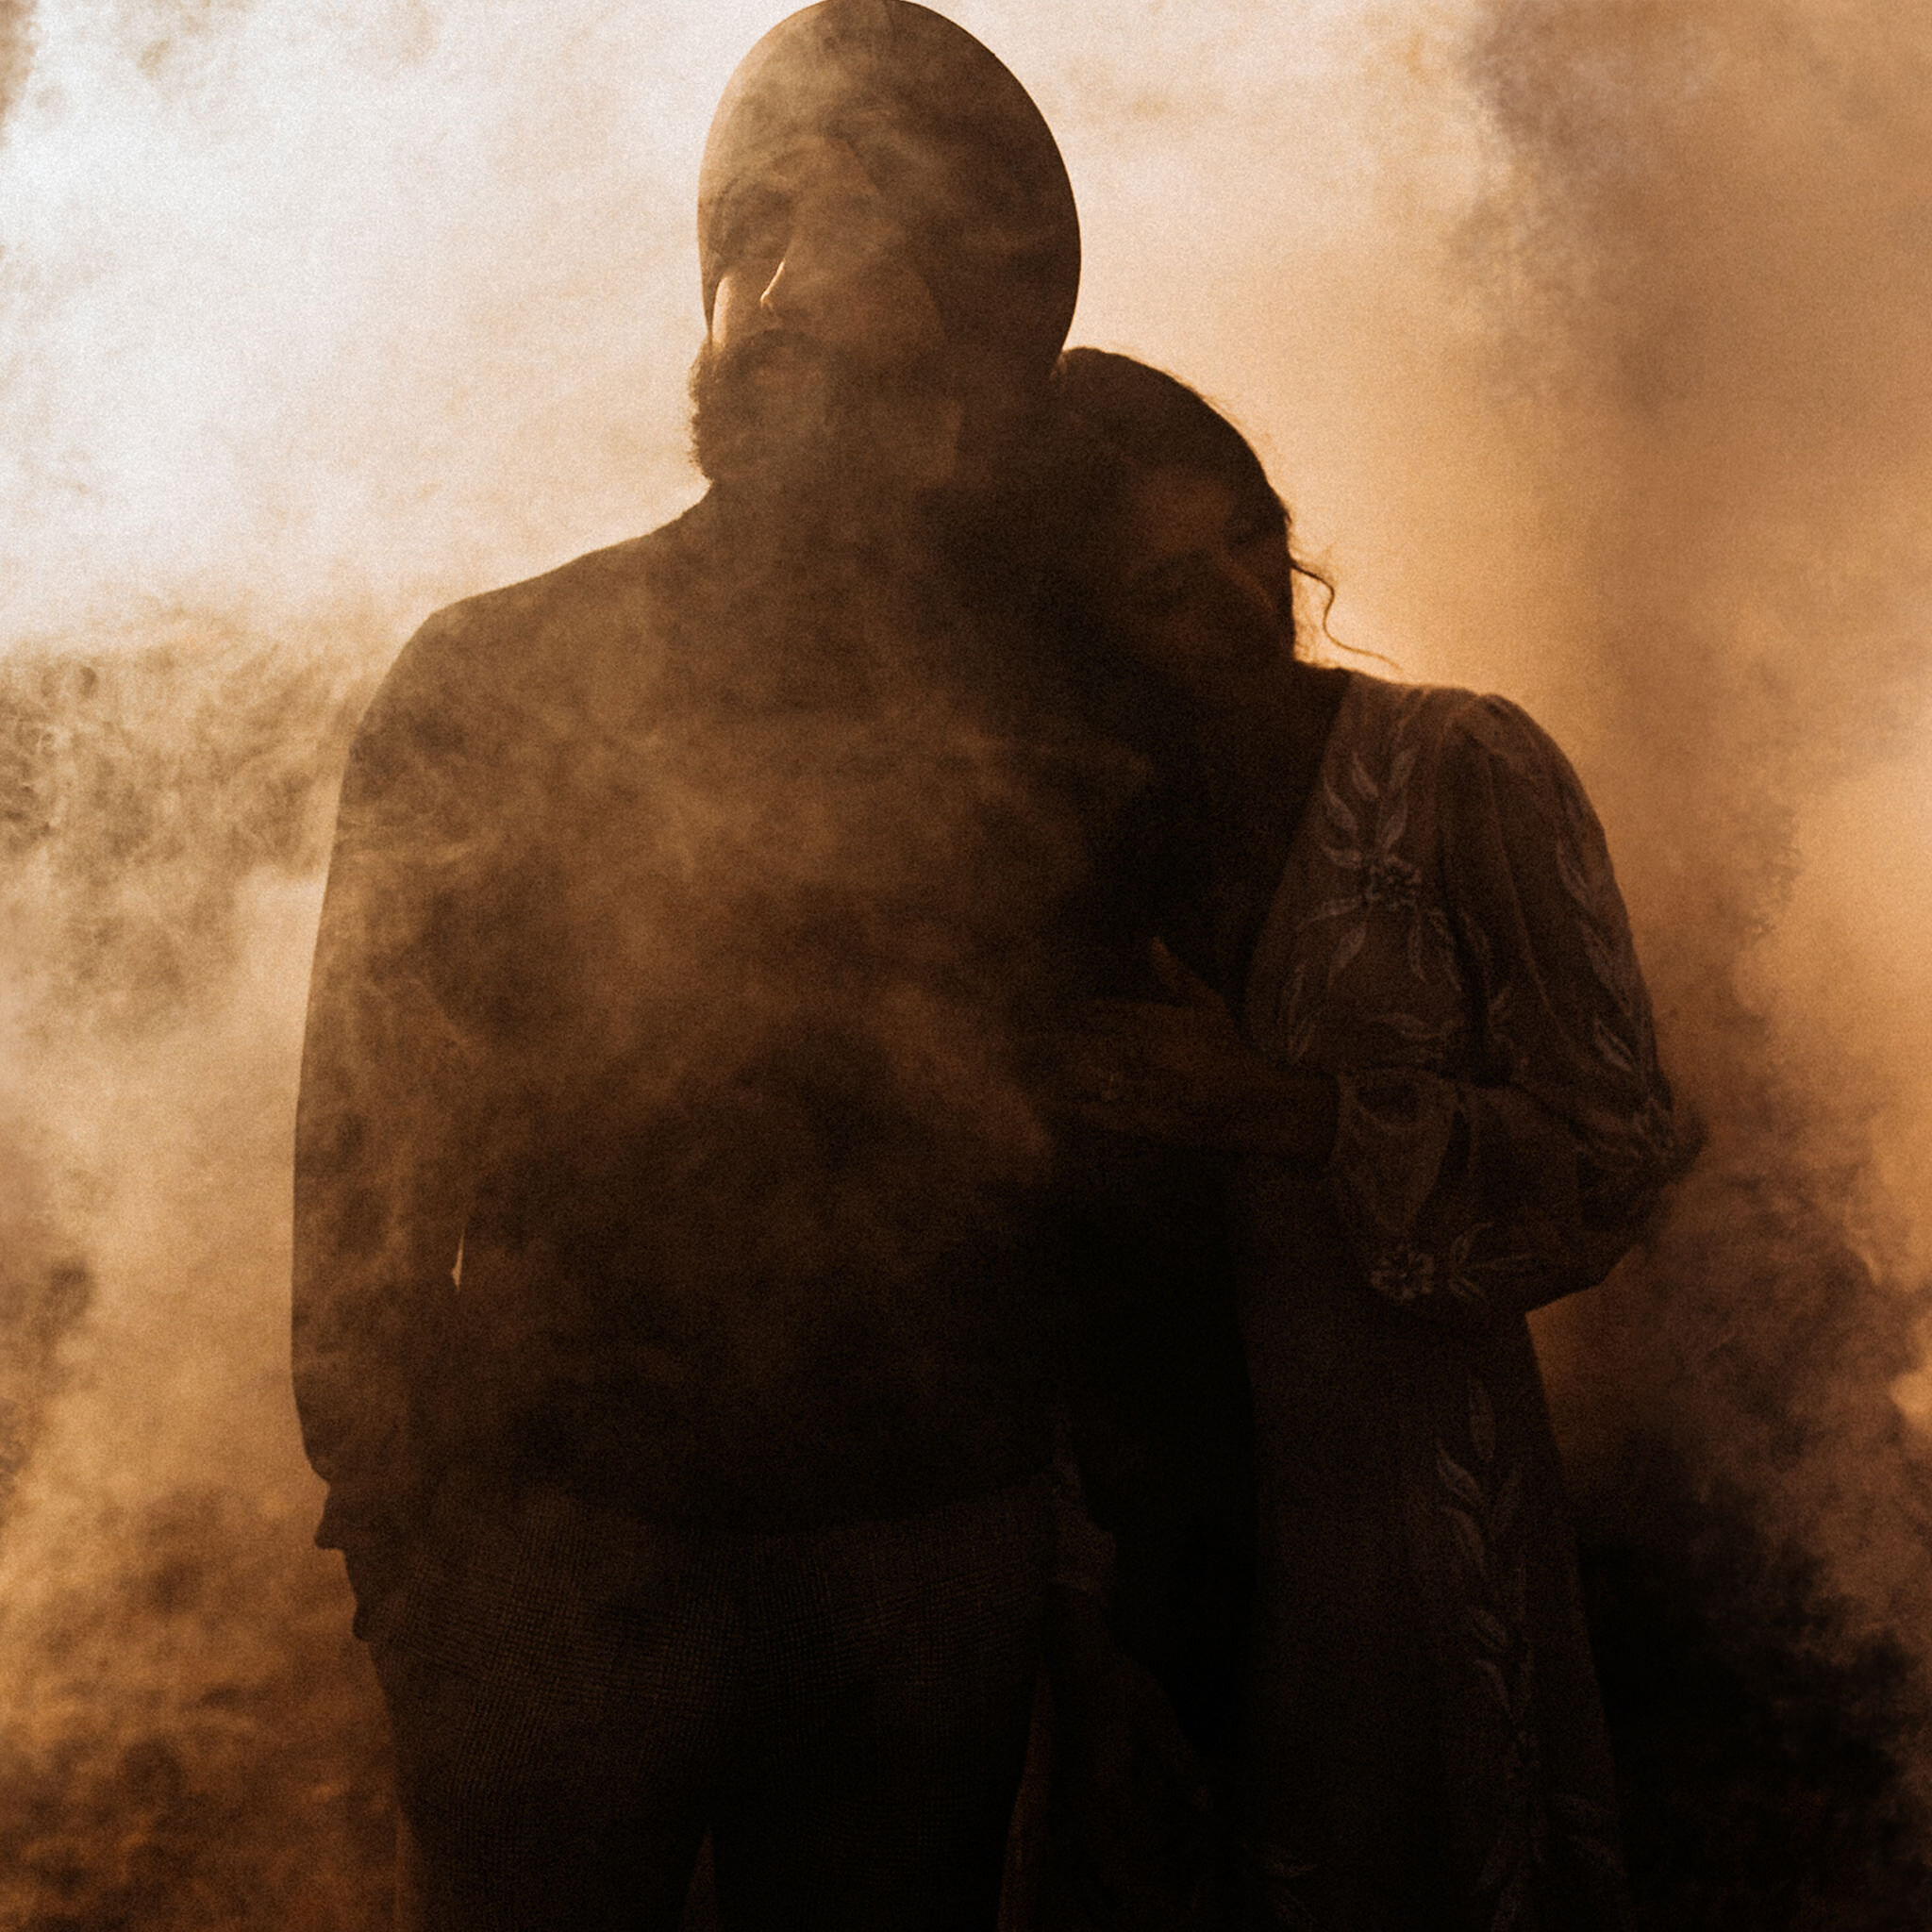
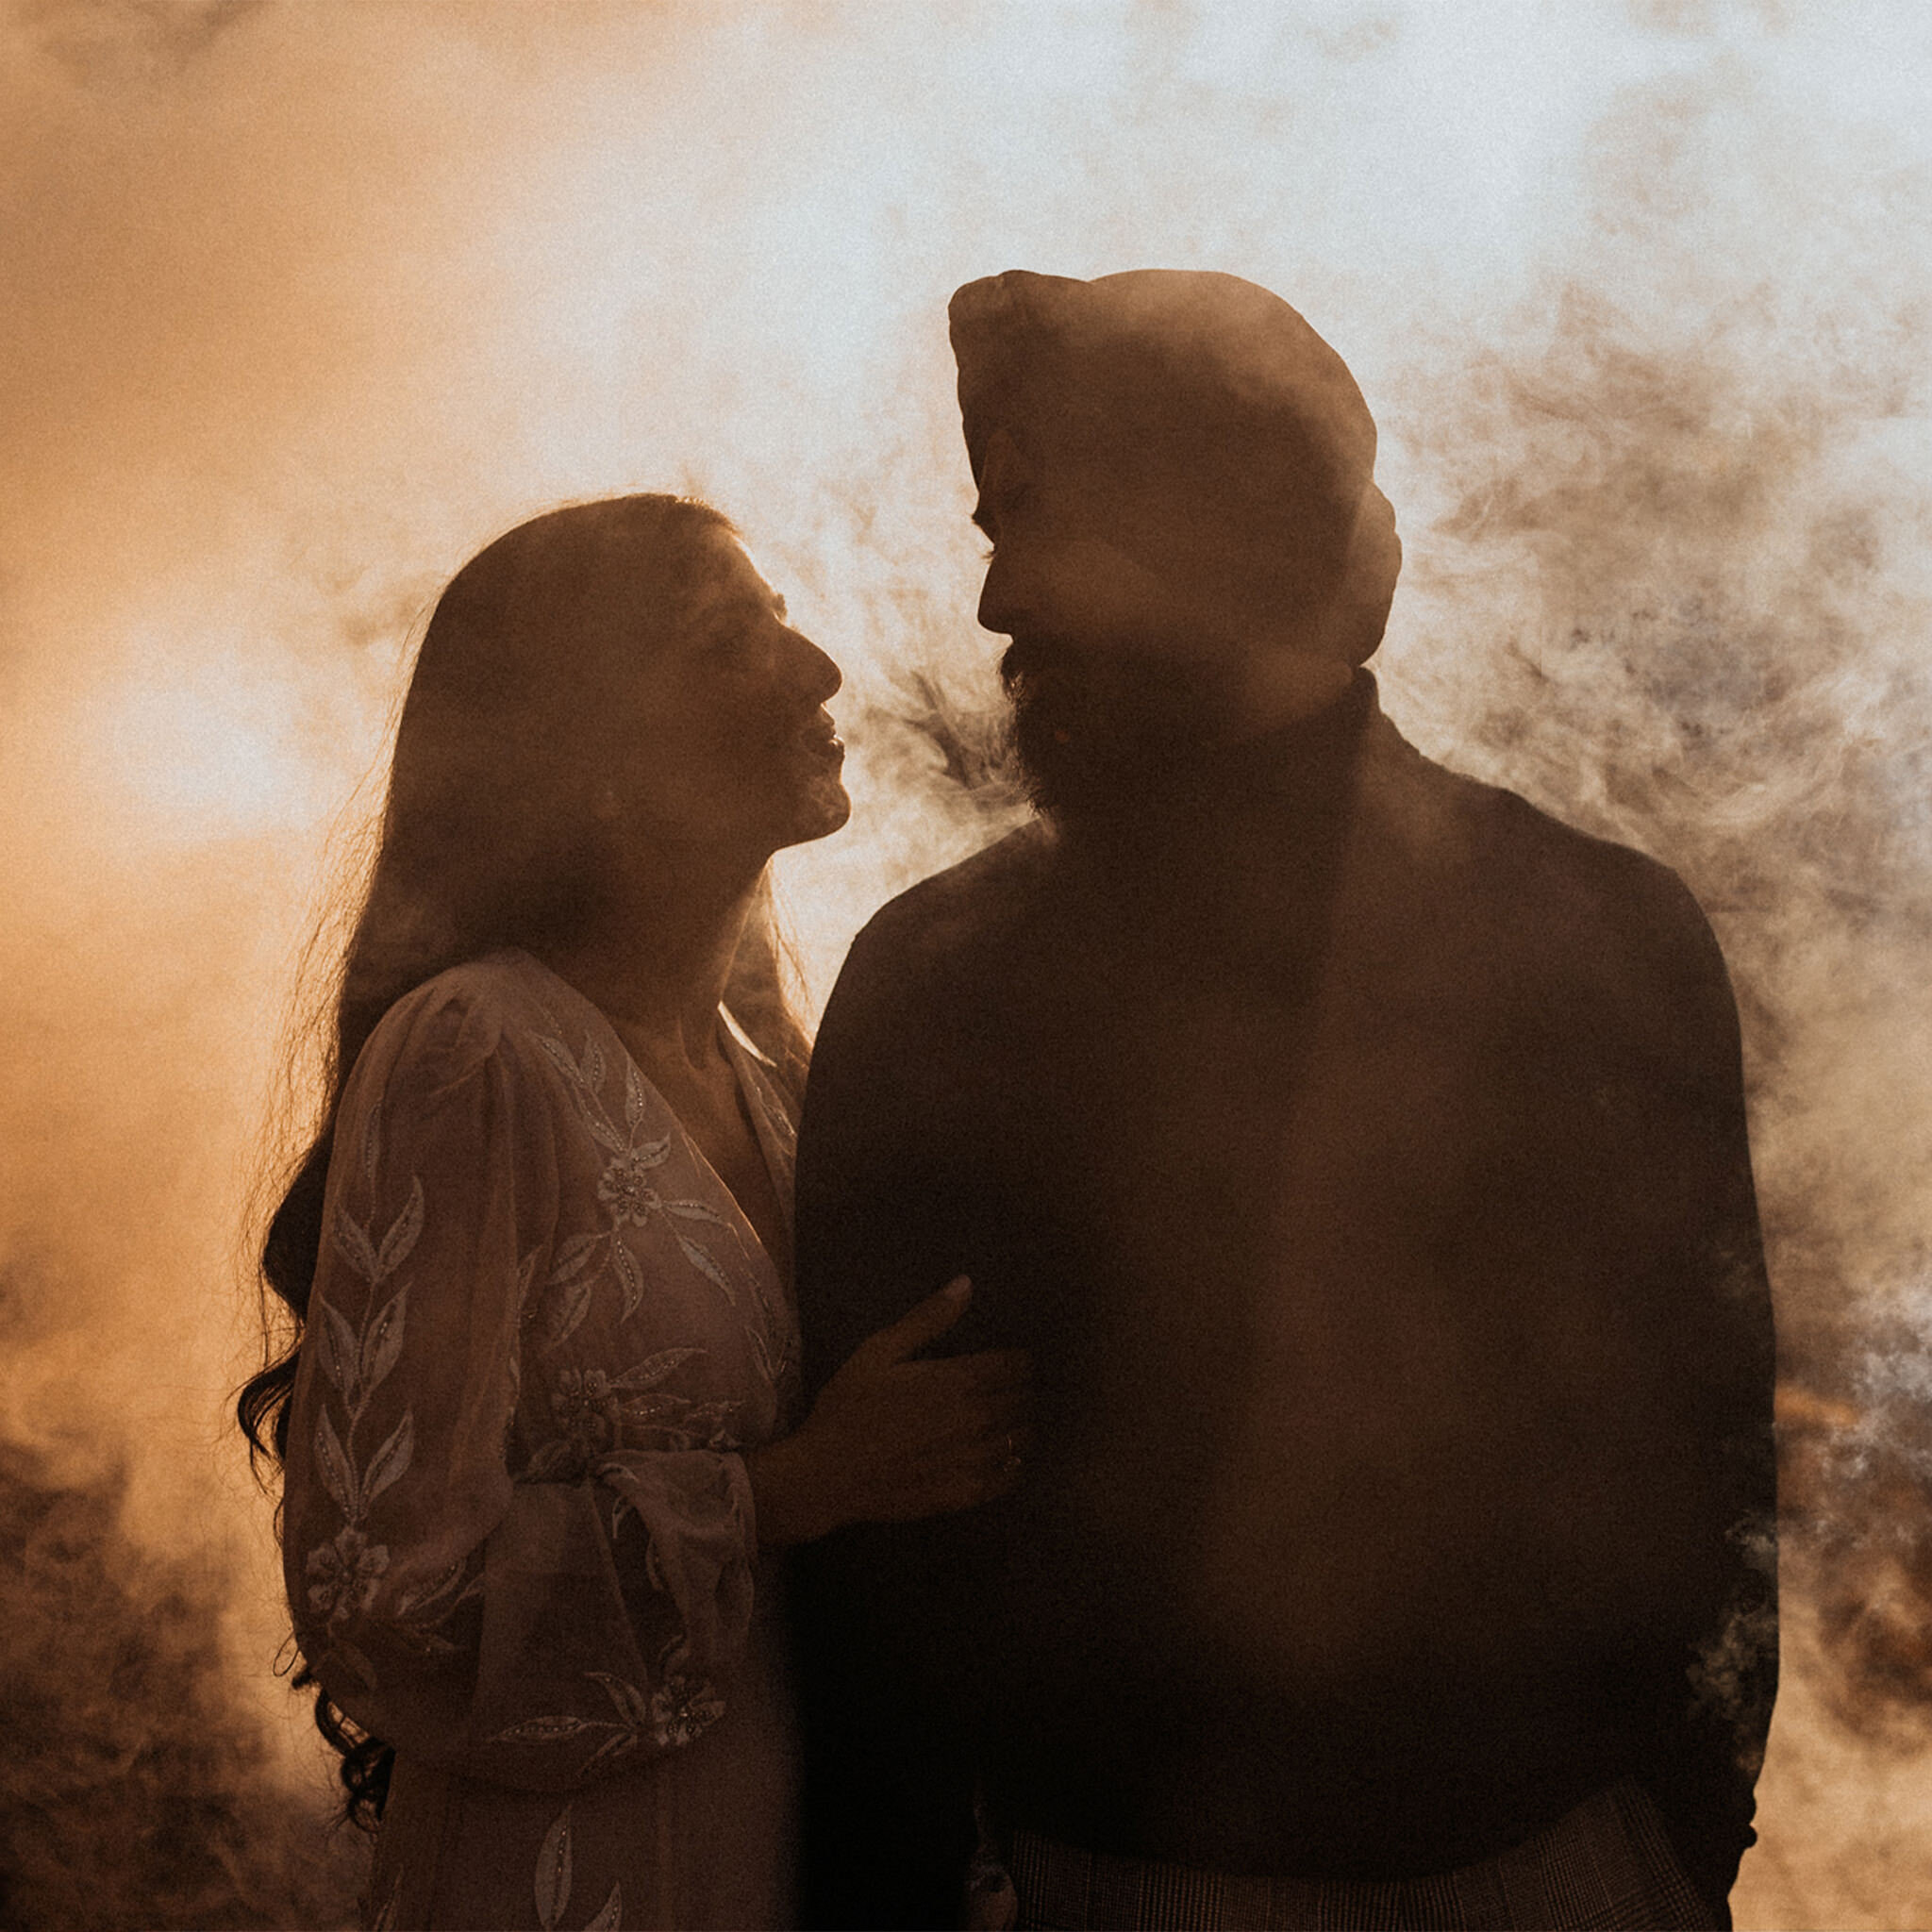
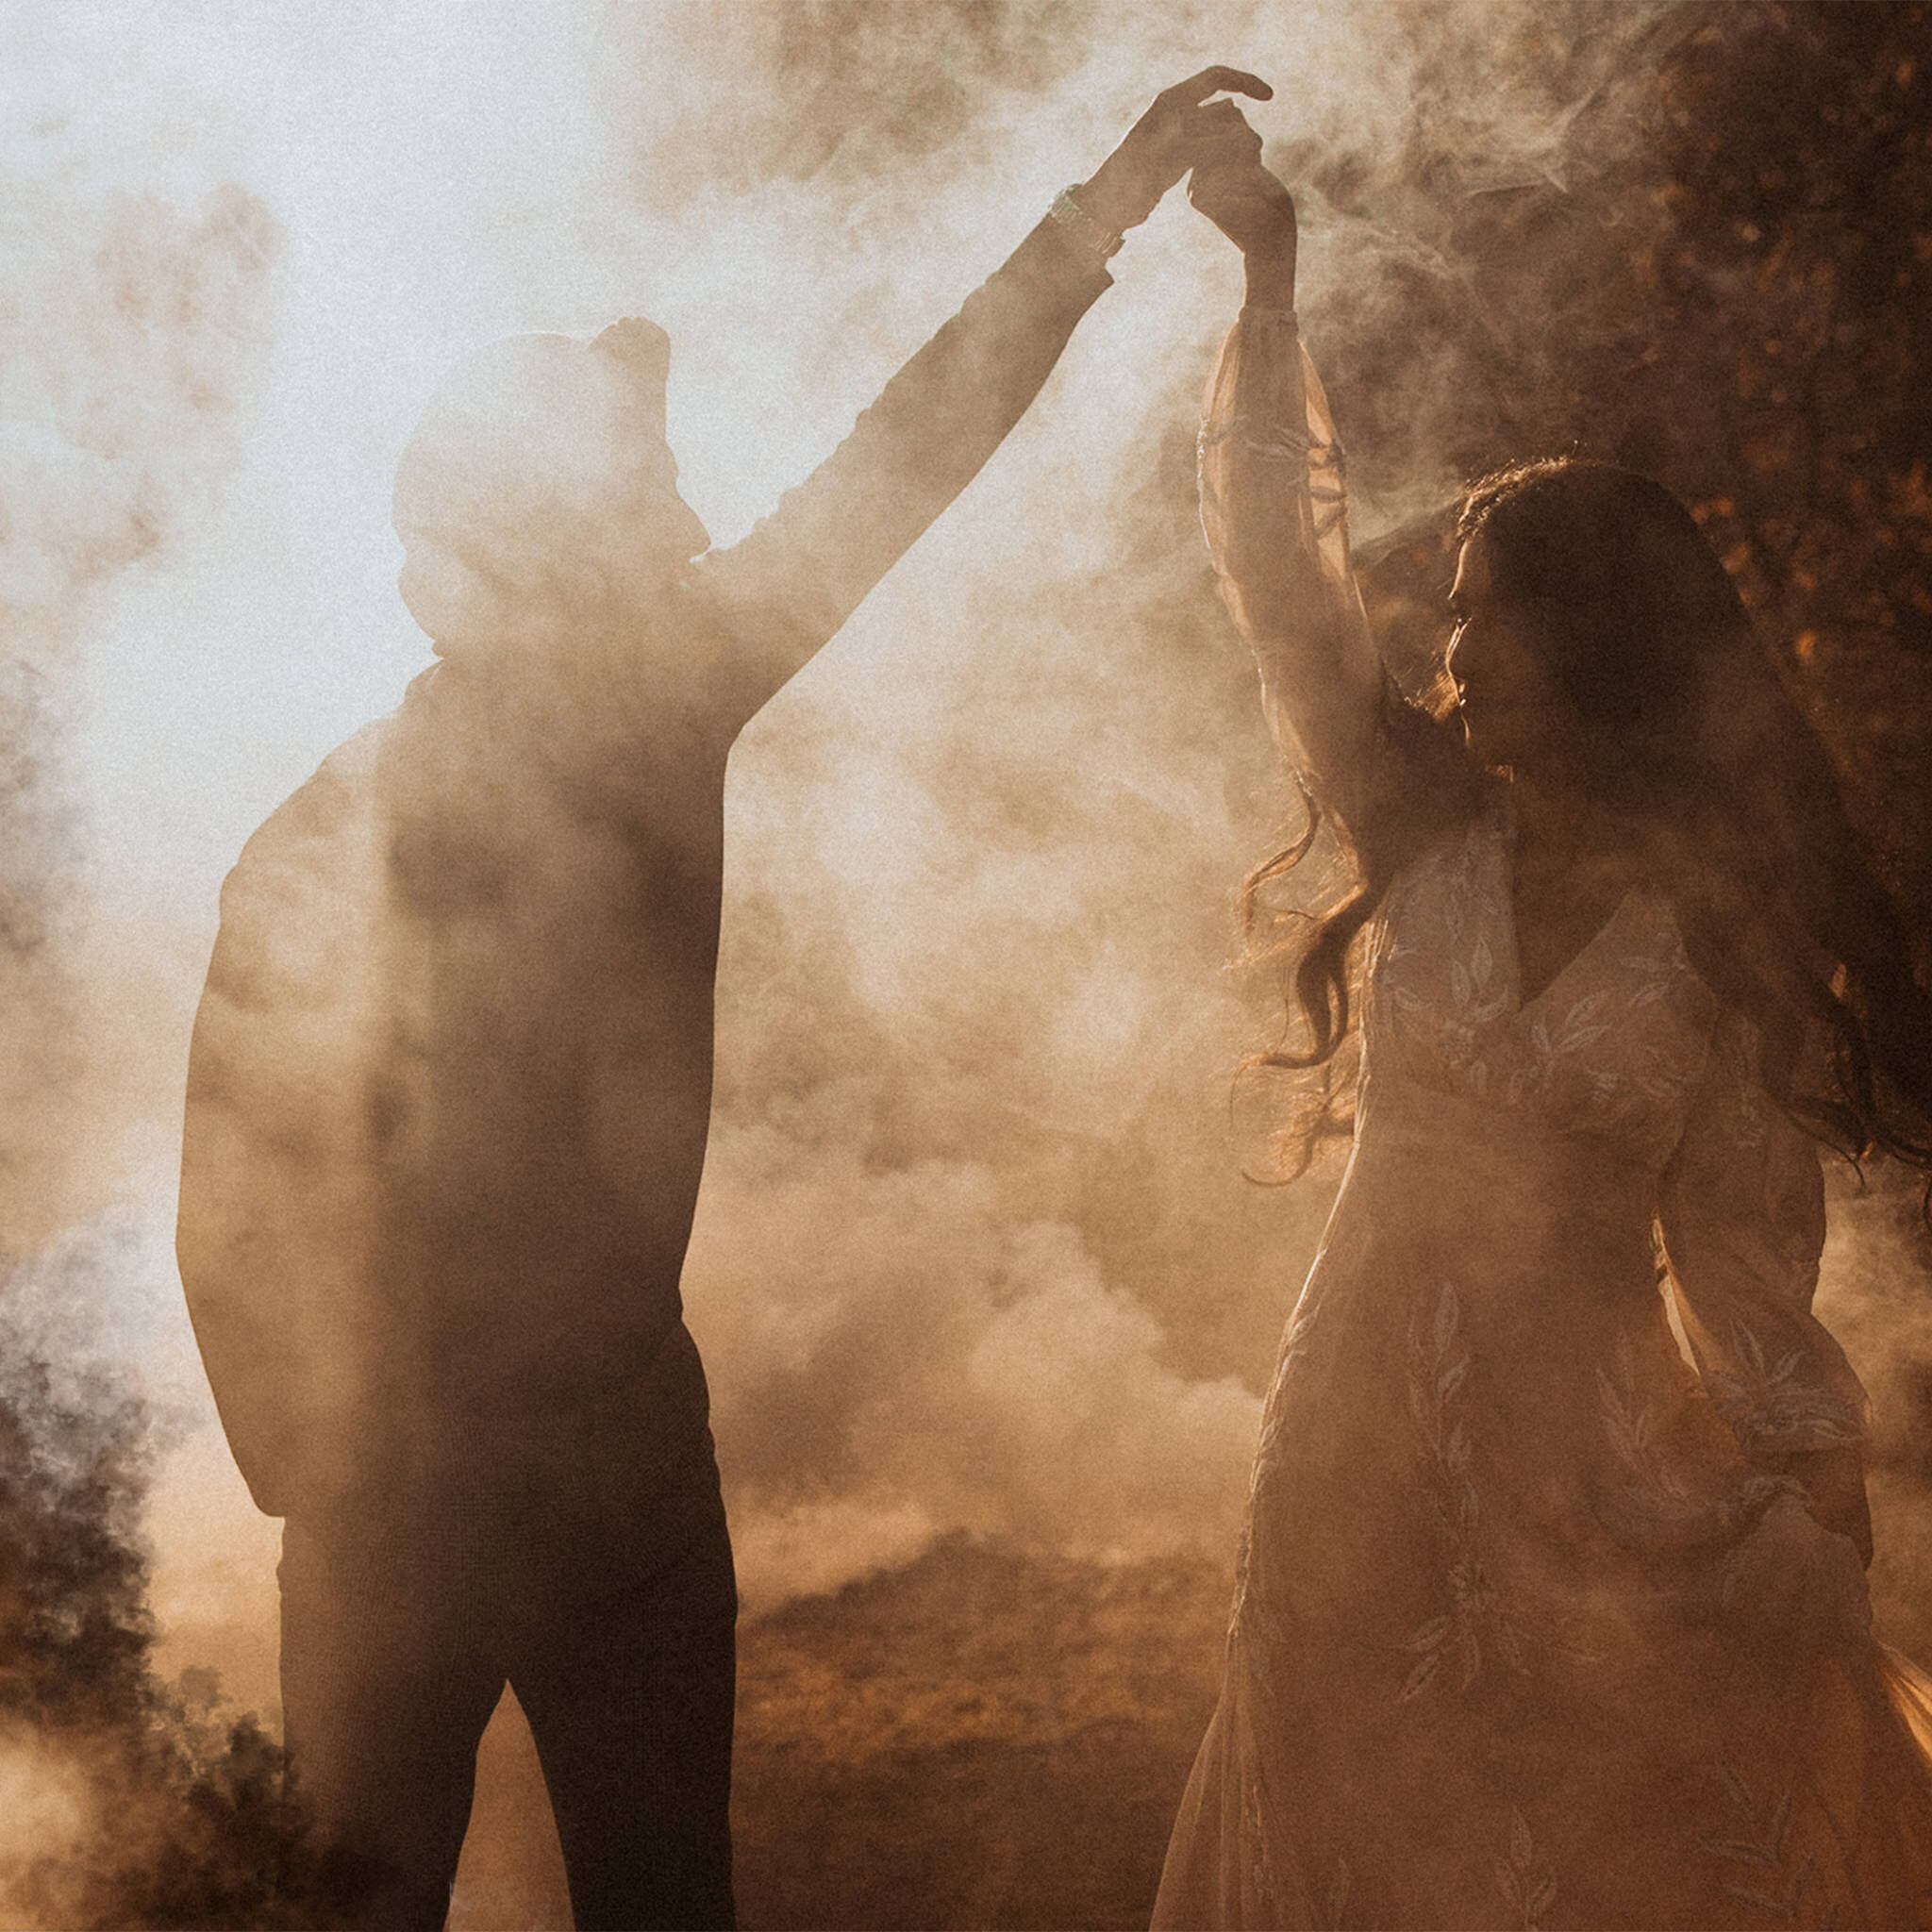
These awesome features are really what will add so much more to your storytelling! Think about the shot that you’d never share on its own. YES - the B-Roll photos that tell the full story!! Maybe it’s an incredible location photo, an out-of-focus on, a creative masterpiece, or just an awesome detail shot!! Now that photo can be added to another hero shot to convey the mood of the scene, and take your work in an awesome direction because you’re able to show more and tell the full story!!
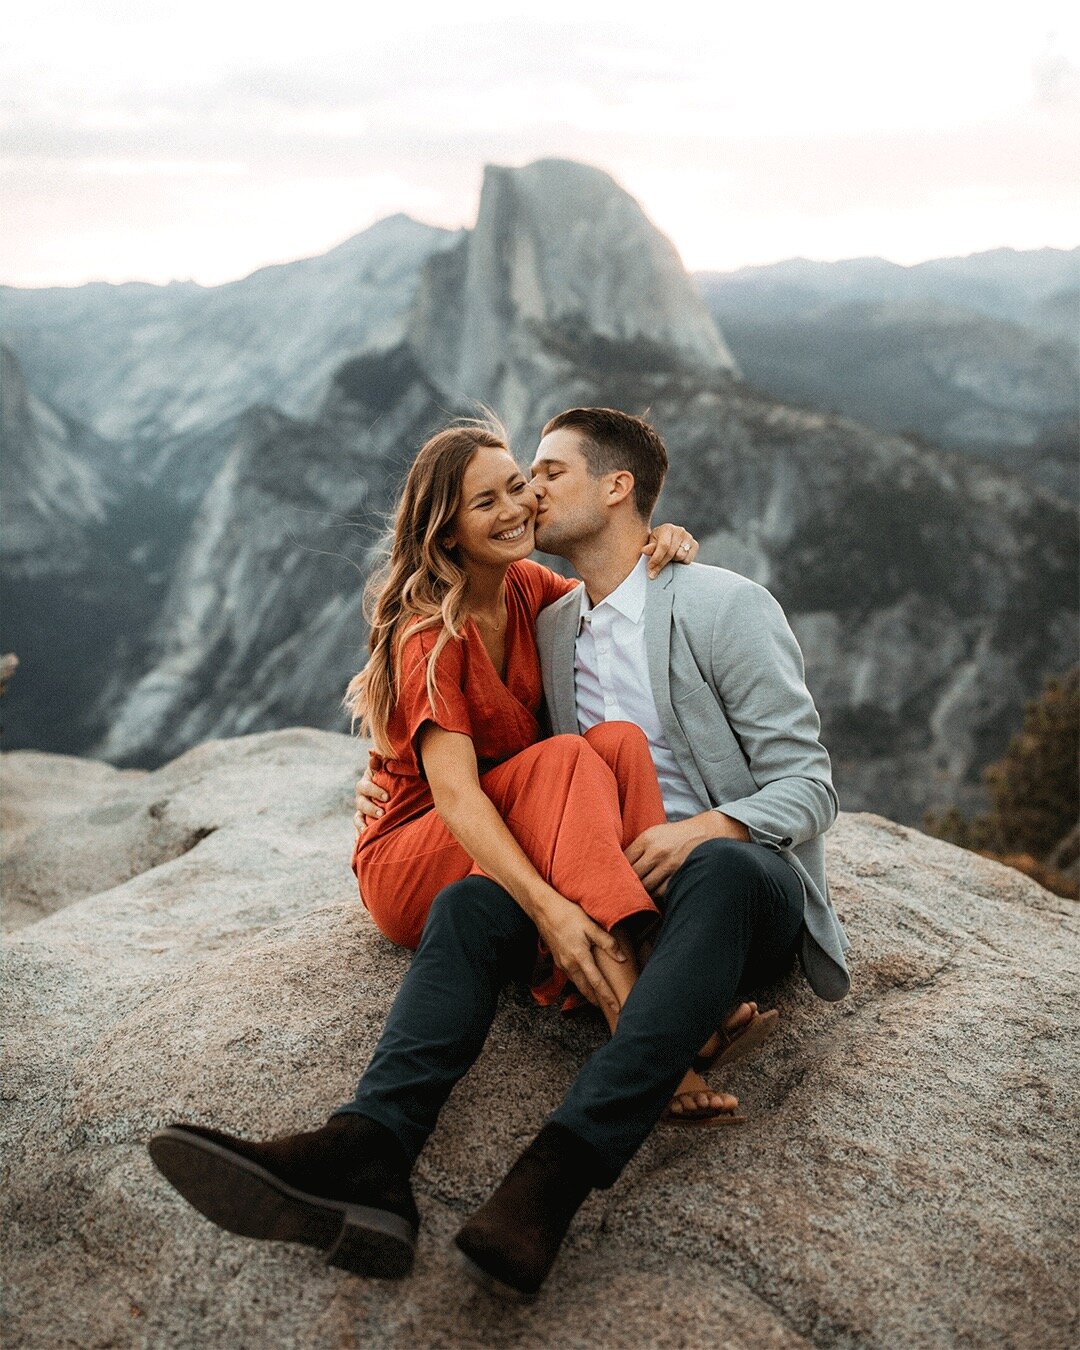
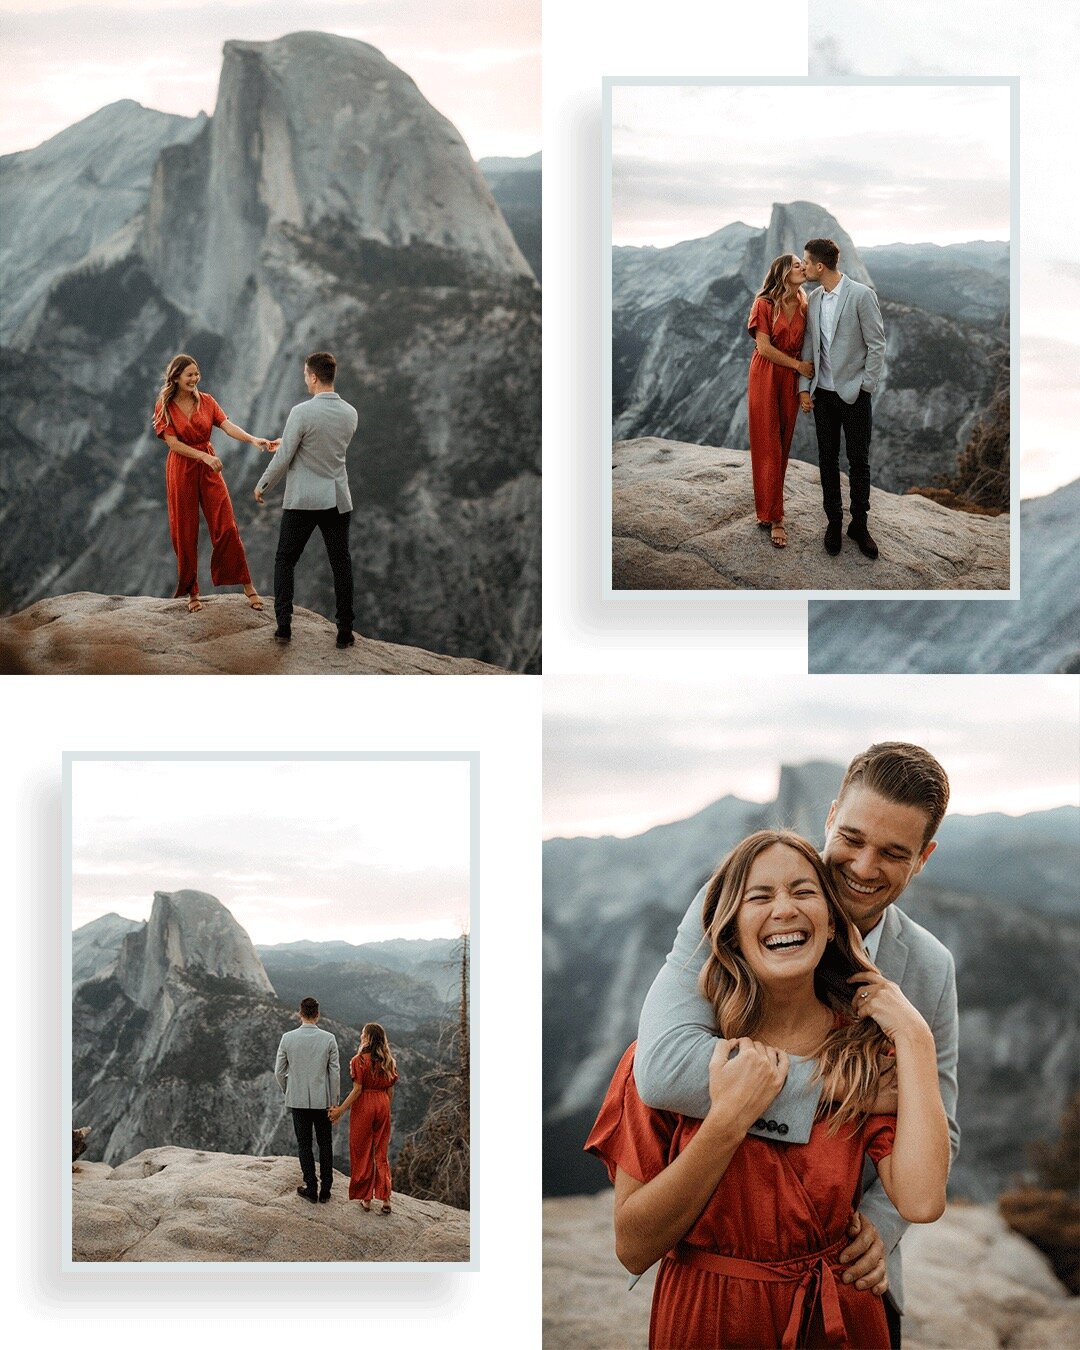
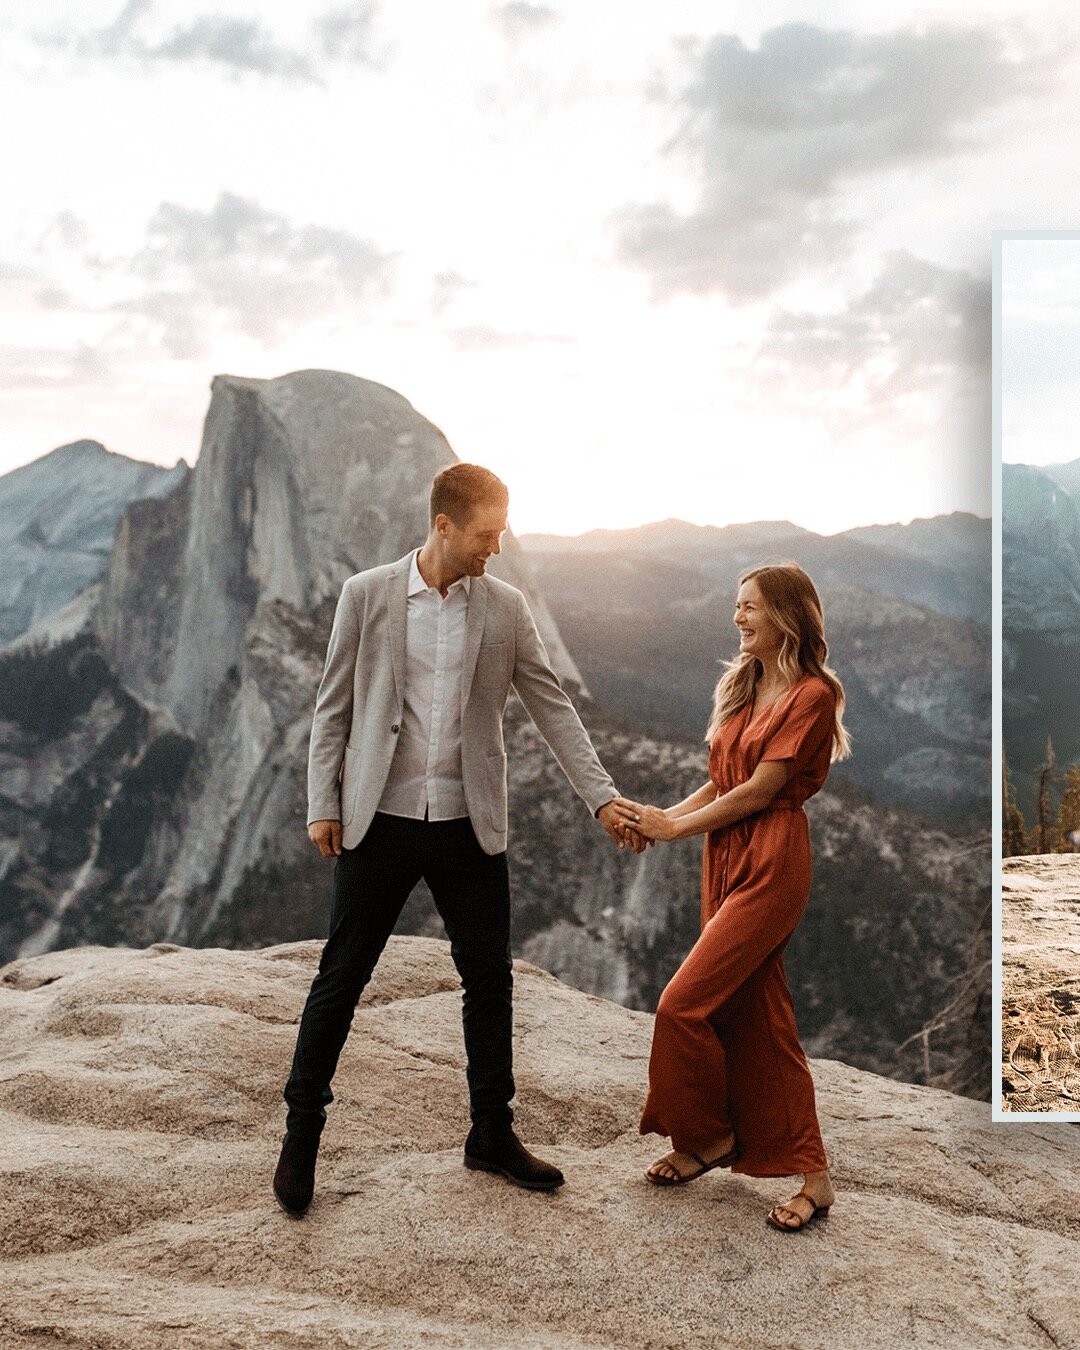
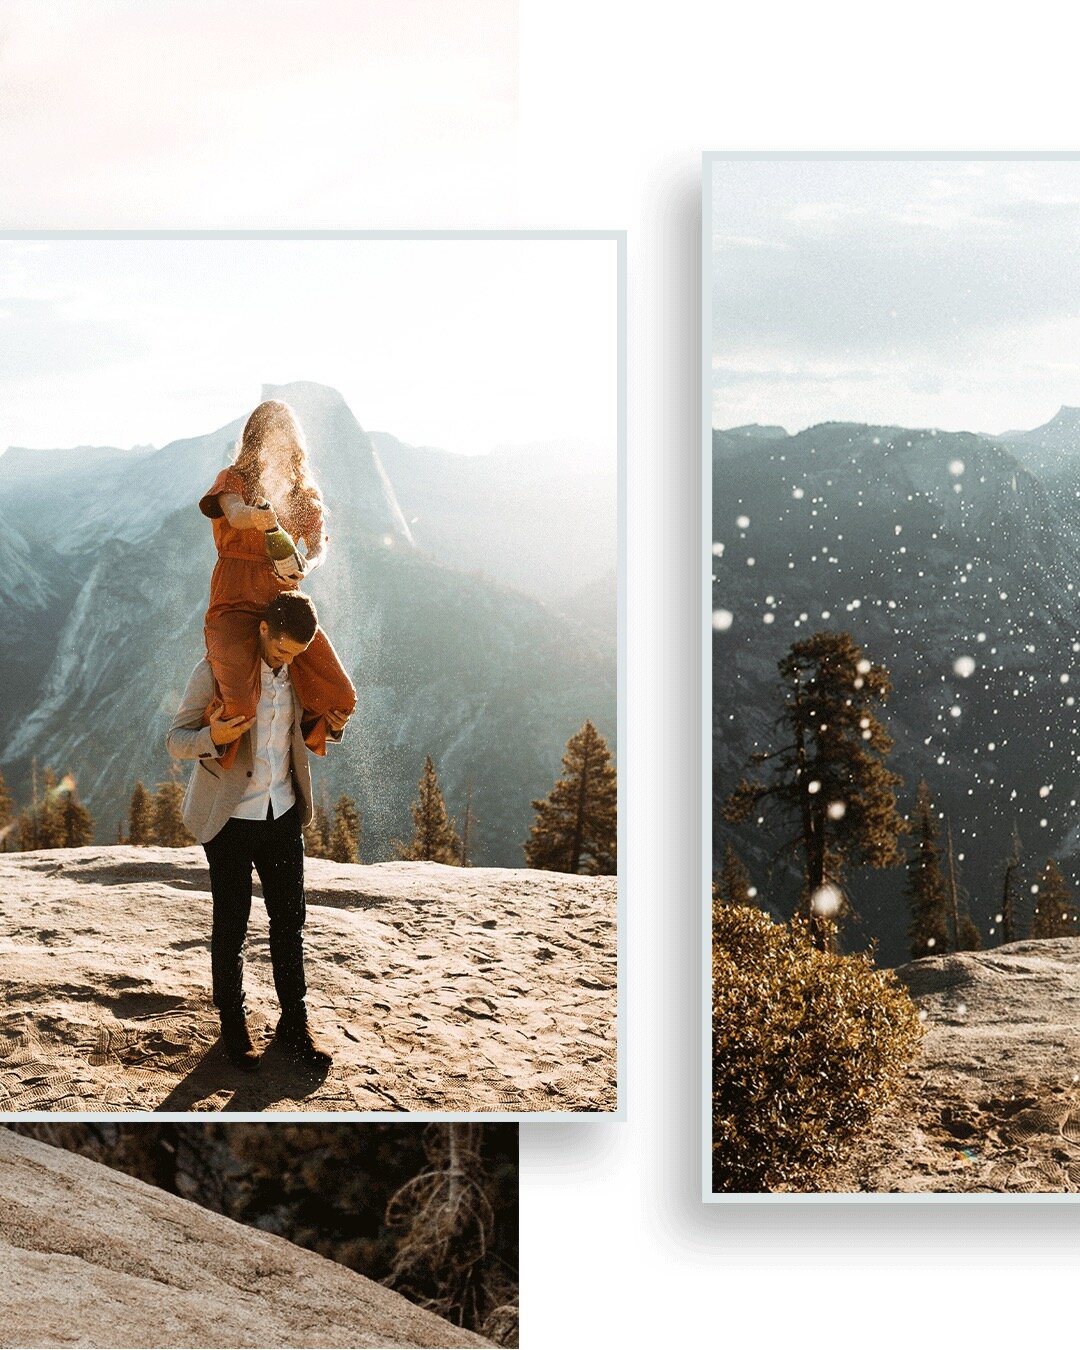
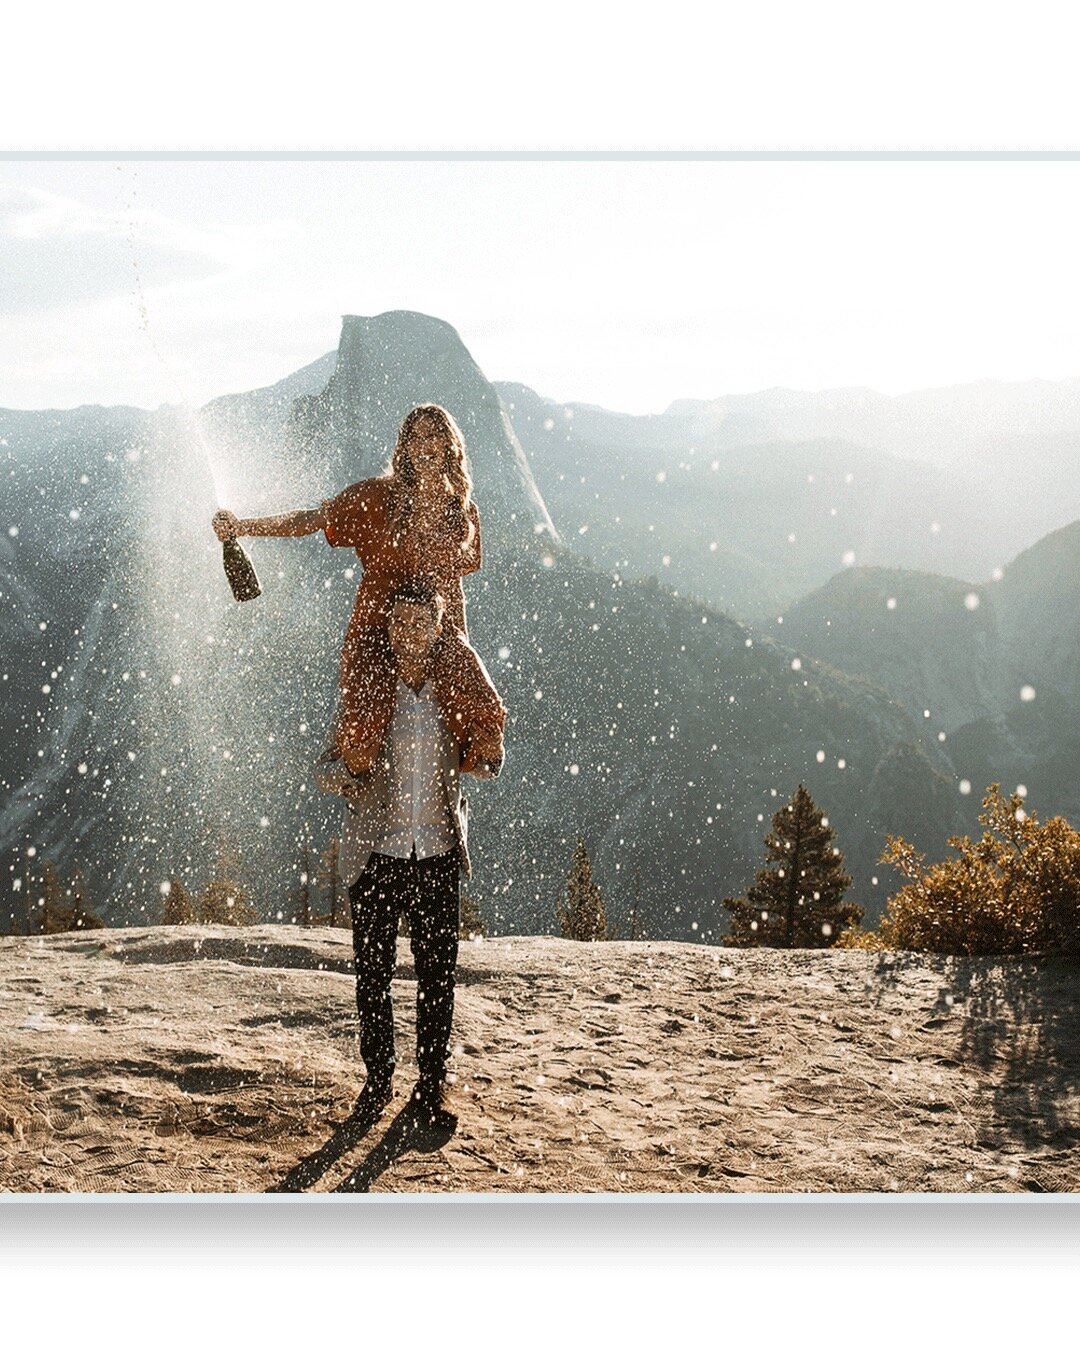
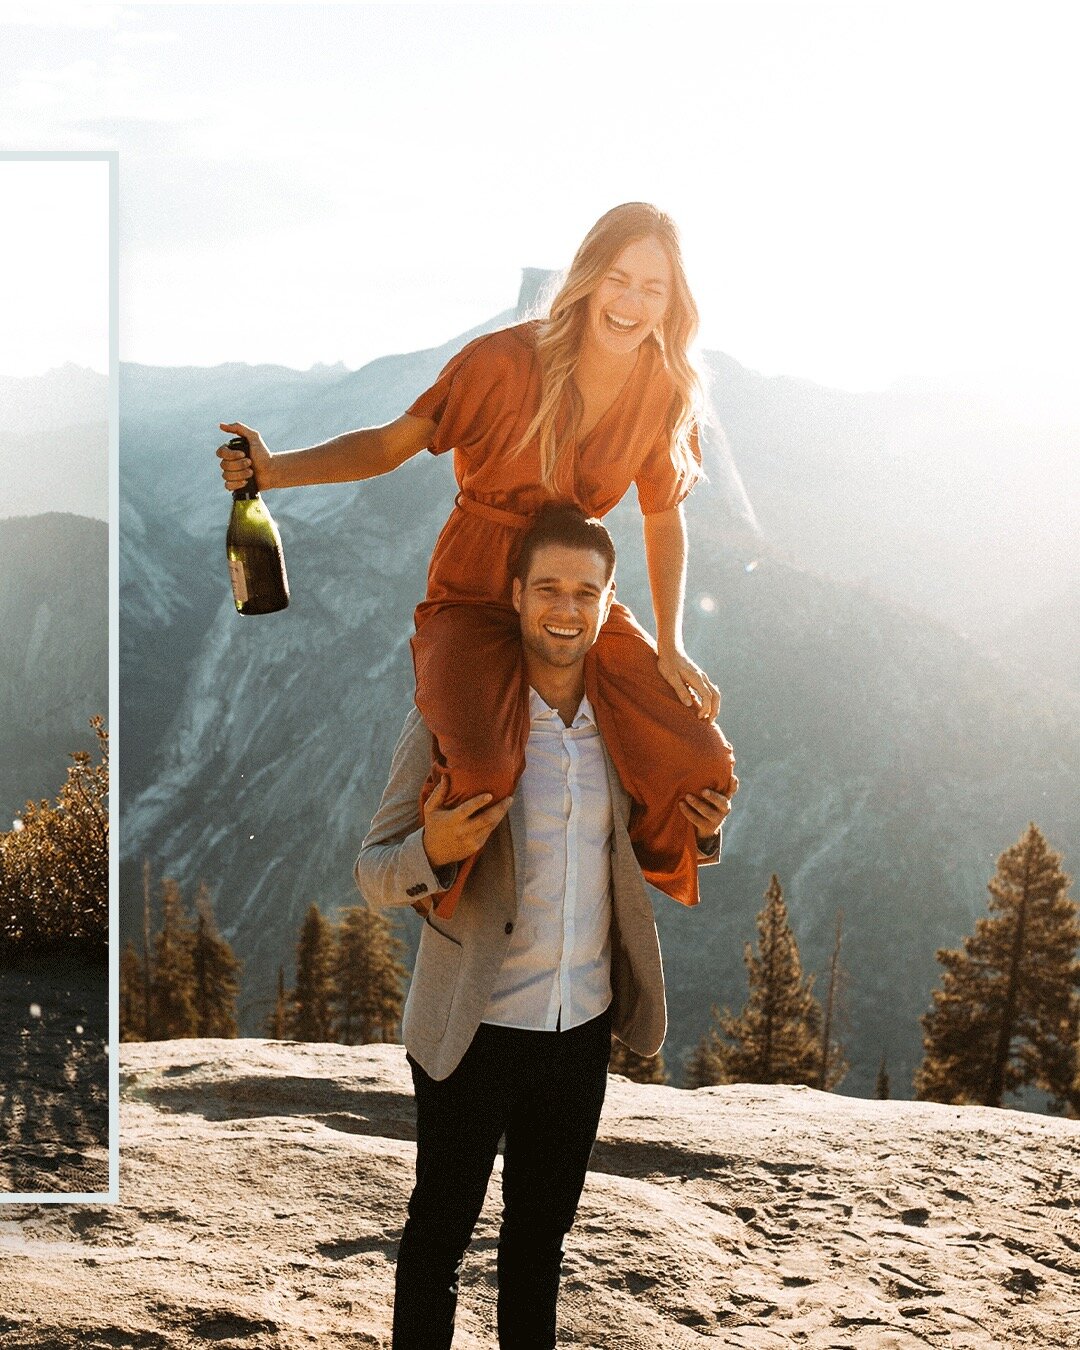
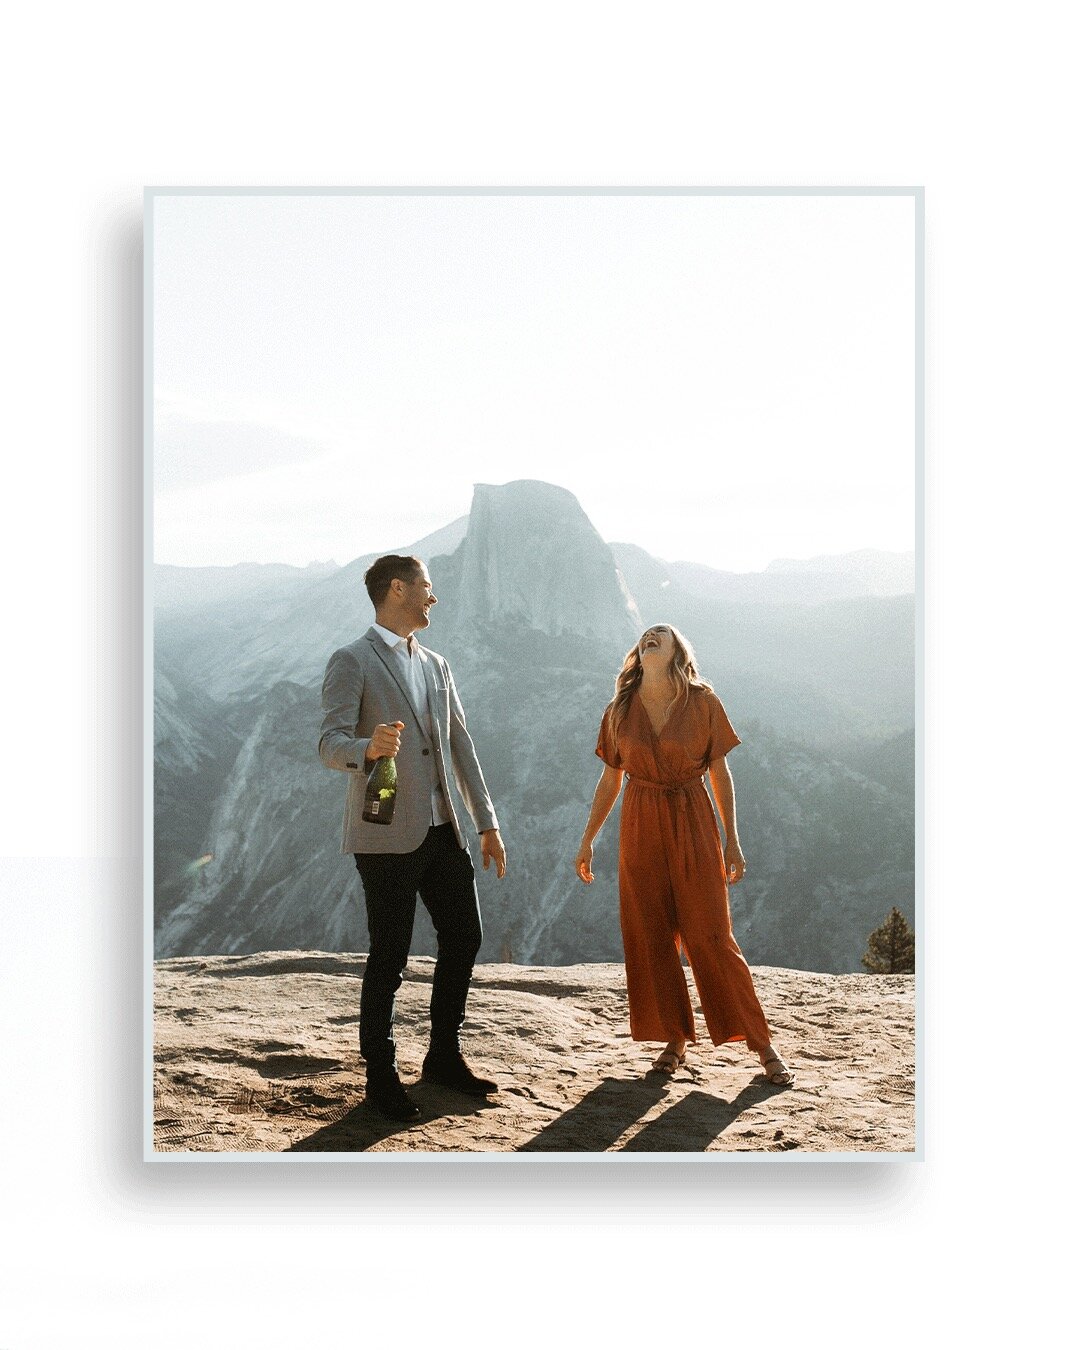
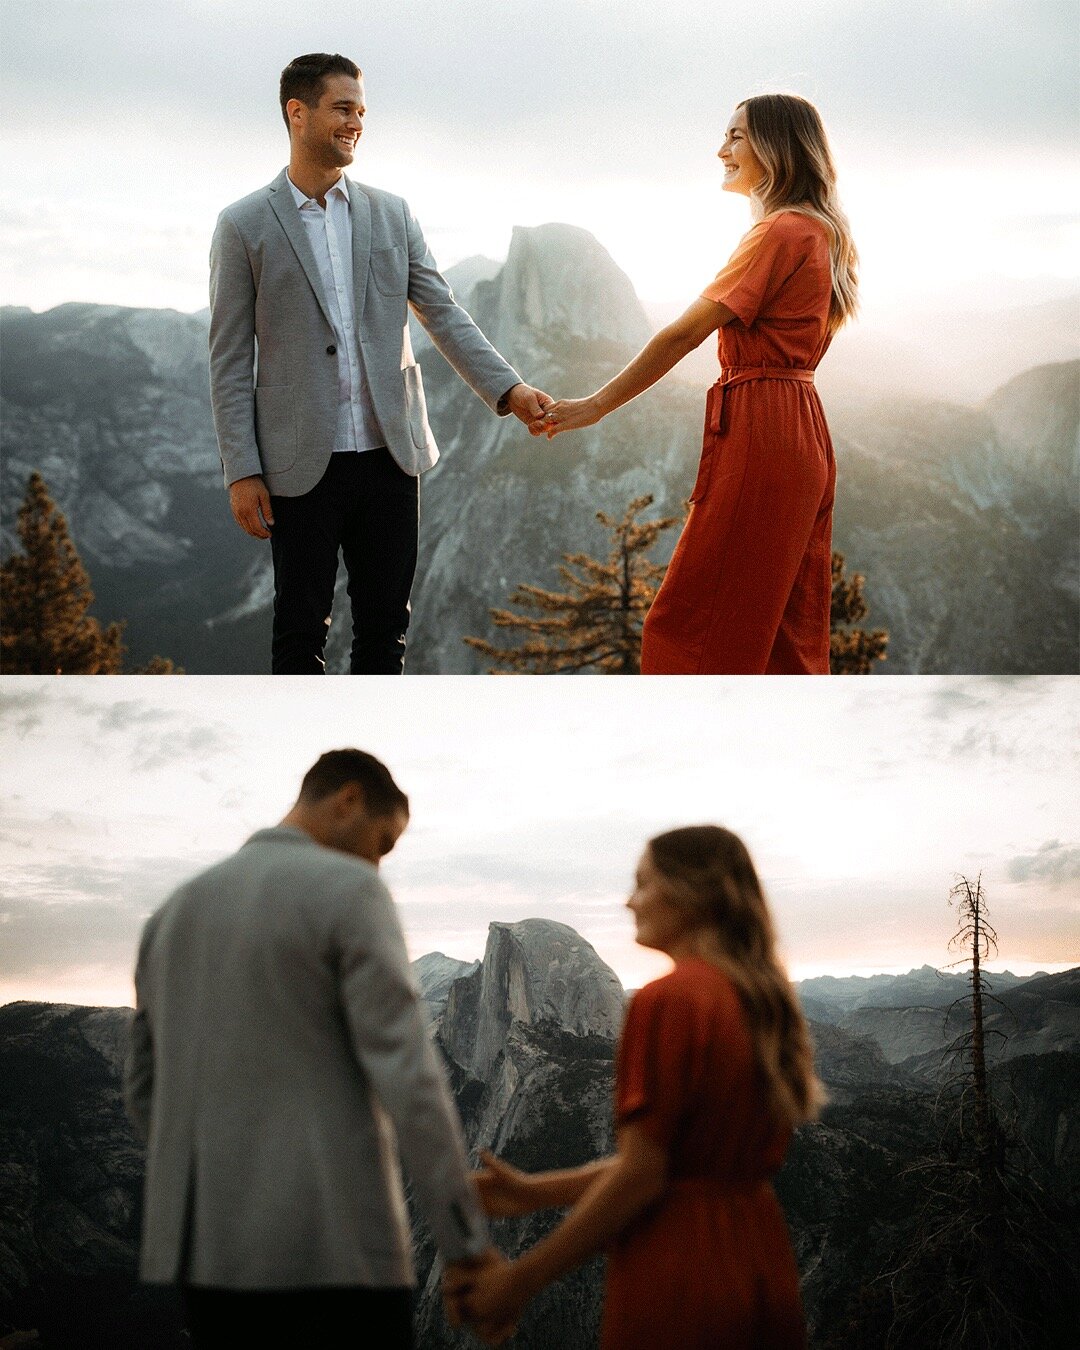
The best part about Instagram Carousels is that once you share your post, it will be seamless and you won't see any gaps, spaces, or lines between each photo as you swipe!!
Swipe the image below to see a few Before & After examples using the Drag & Drop Instagram Carousel Templates

Why use Photoshop to create your Instagram Carousel?
There are a few apps that could help with seamless Instagram carousels, but let’s be real, it’s not fun editing on a tiny screen, your post will end up being cluttered with uneven spacing, odd margins, and weird photo sizes (and it’ll look so unprofessional). I mean, where’s the artistry in that? Putting your Instagram Carousel in photoshop as a photo collage or a mixed combination of your photos will give you so much more control, creativity, better photo placement, and consistency & really showcase your work to the world.


Step-by-Step on how to create Instagram Carousel in Photoshop
(Video Tutorial at the bottom)
Step 1: Setting up your Photoshop files
Let’s face it. We all (mostly) hate math. So I’m going to make this super simple for everyone because I created and optimized all the files that you need to get this started. The first thing that you want to do is click the button below to download the Instagram Carousel template photoshop files so you don’t have to do any pixel math in photoshop.
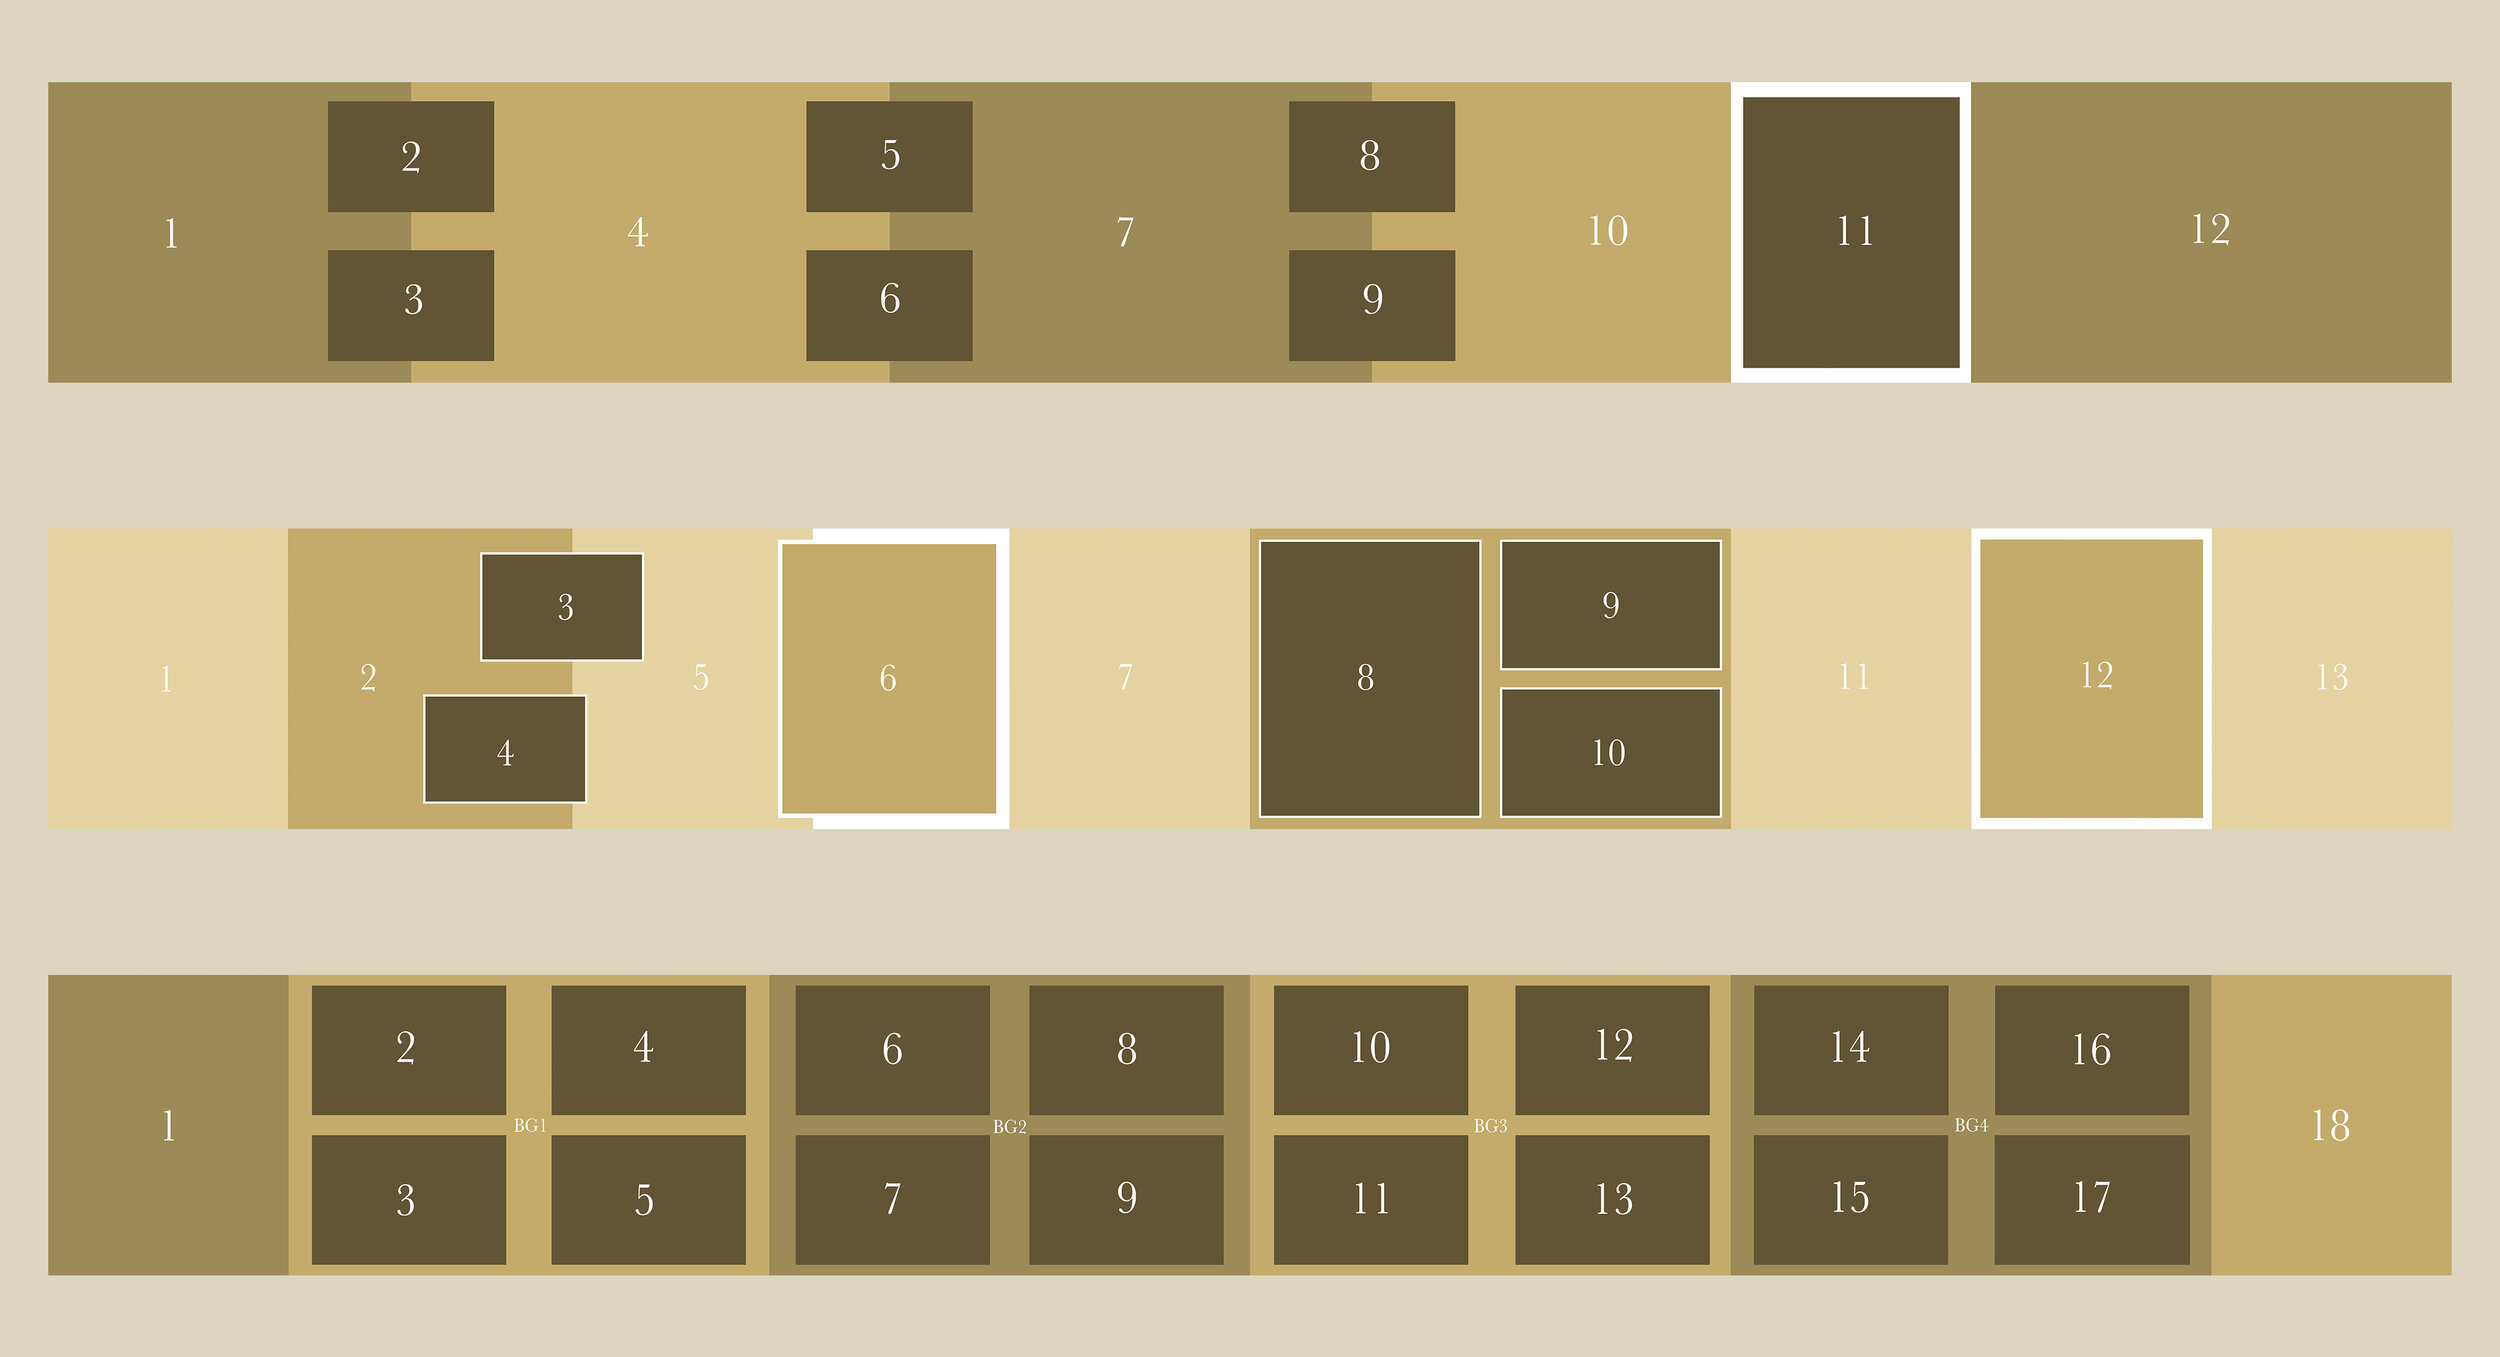
There are two different Instagram carousel templates to choose from:
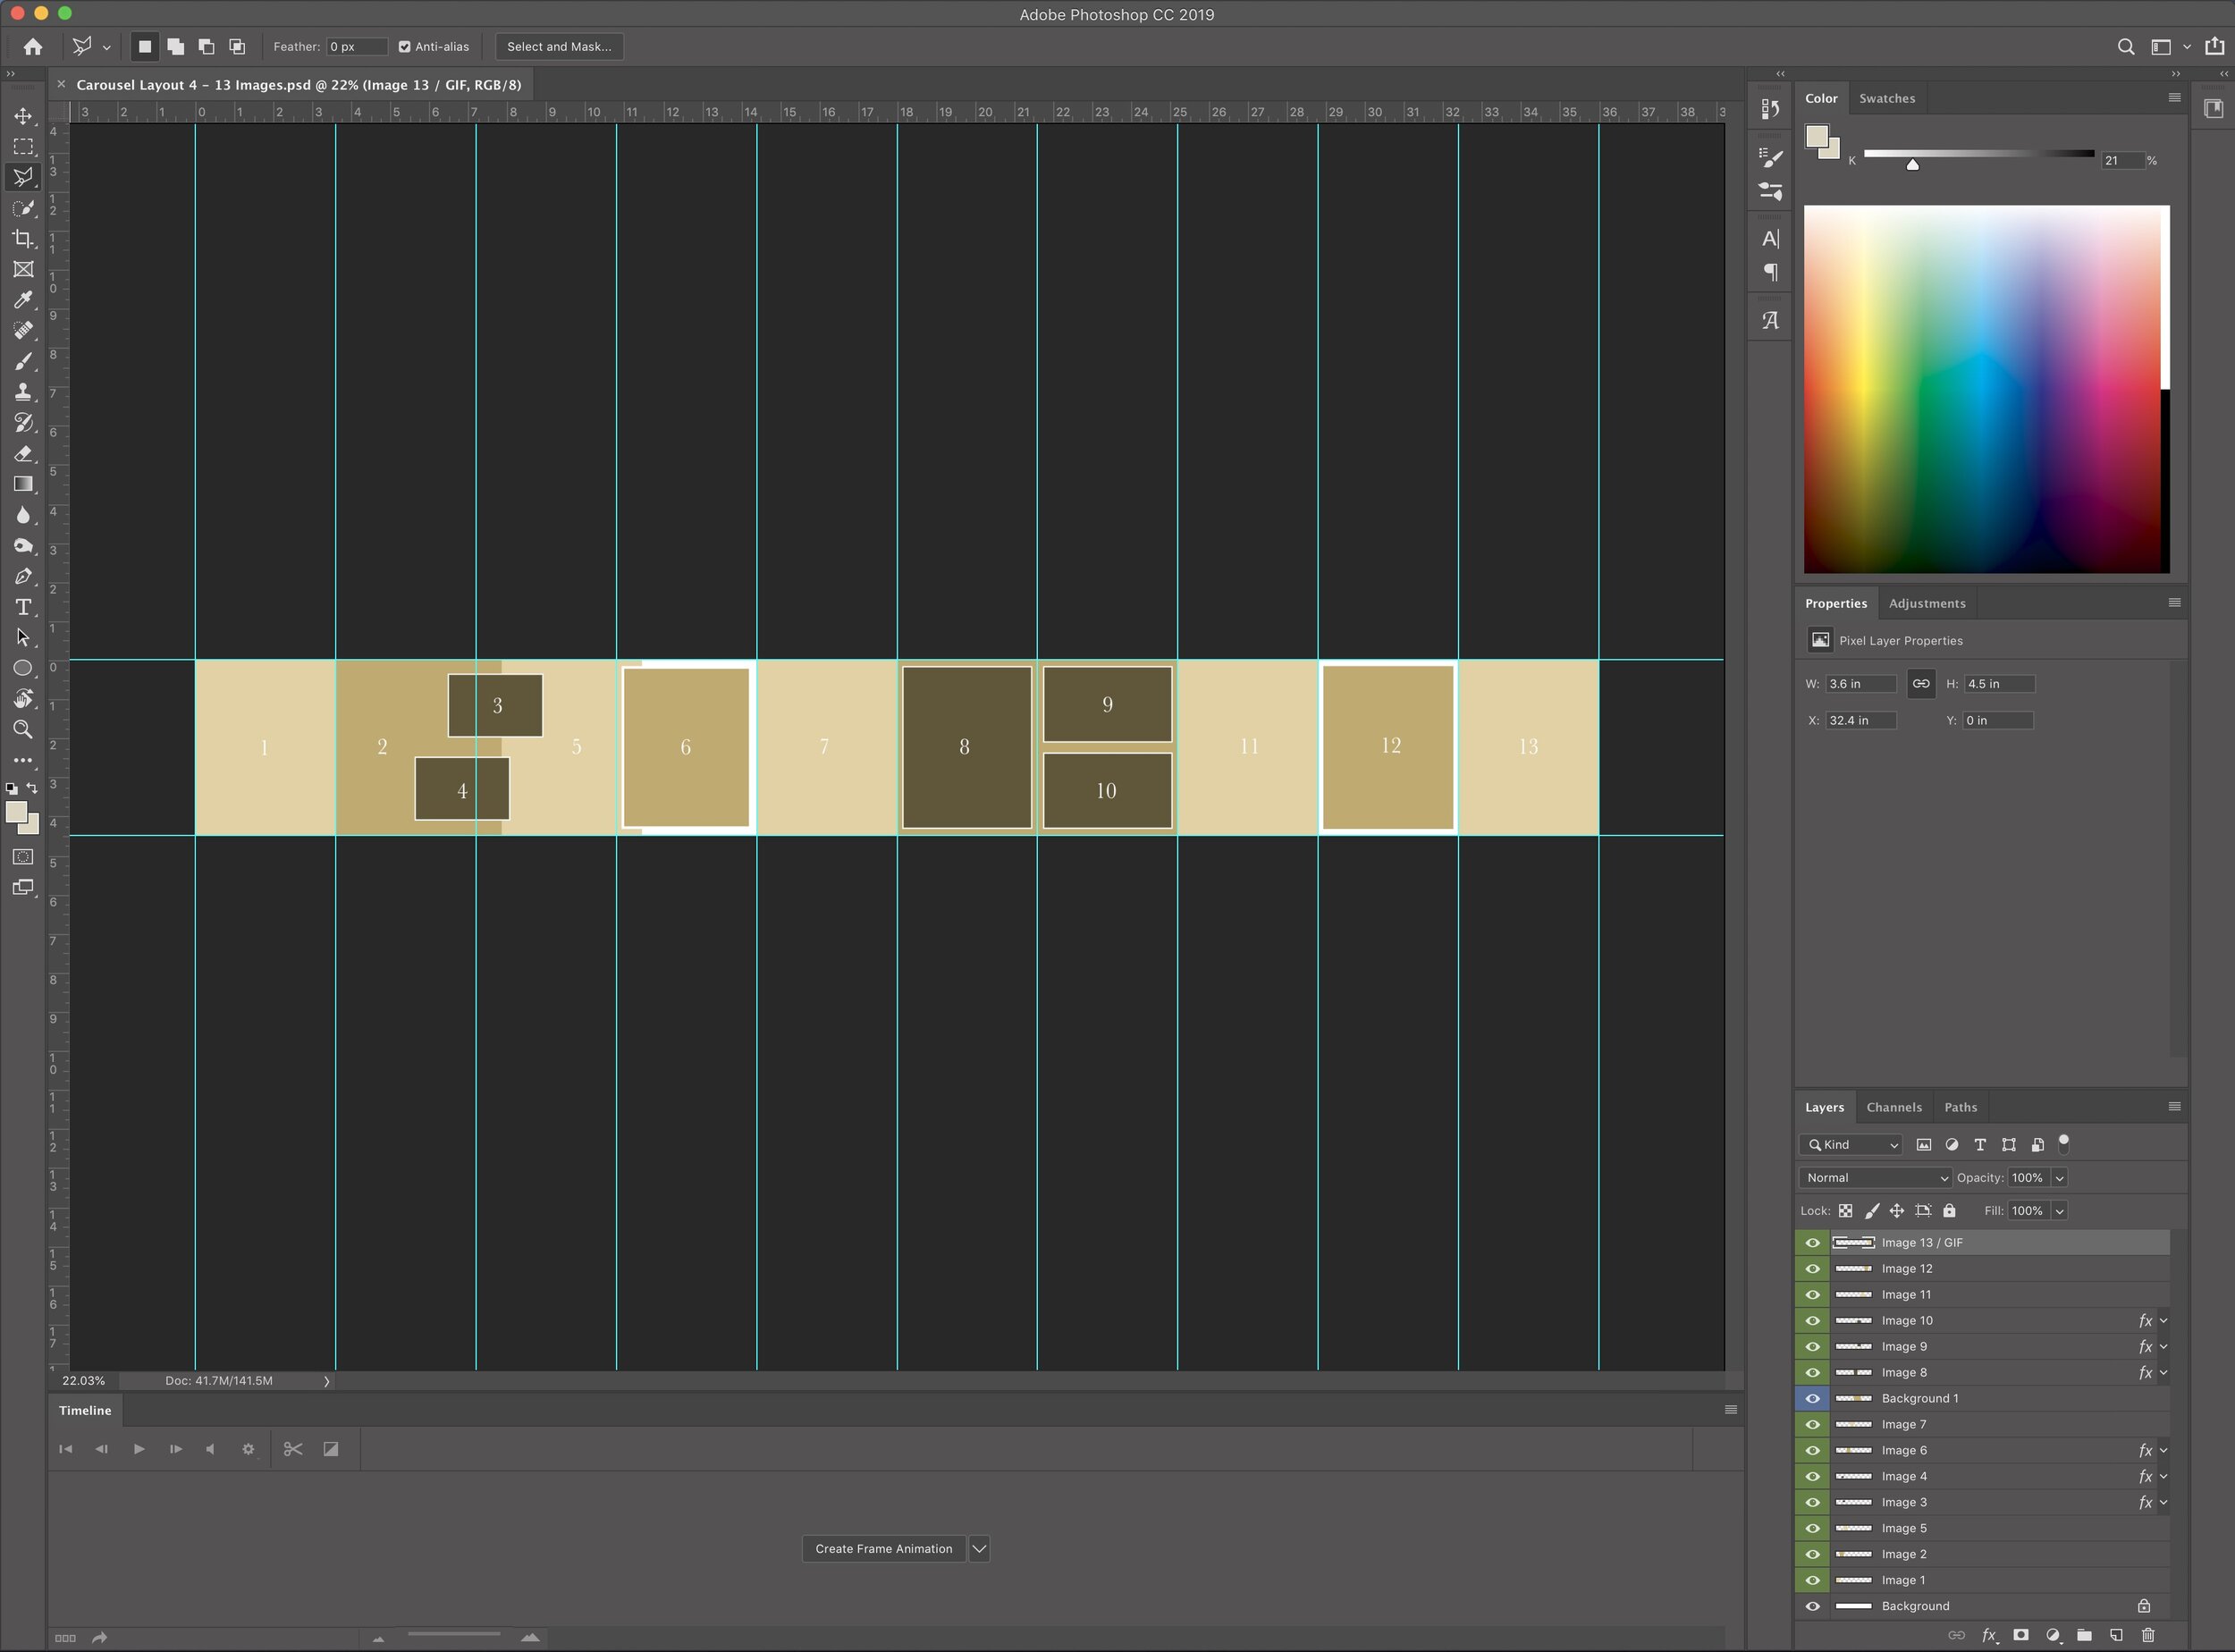
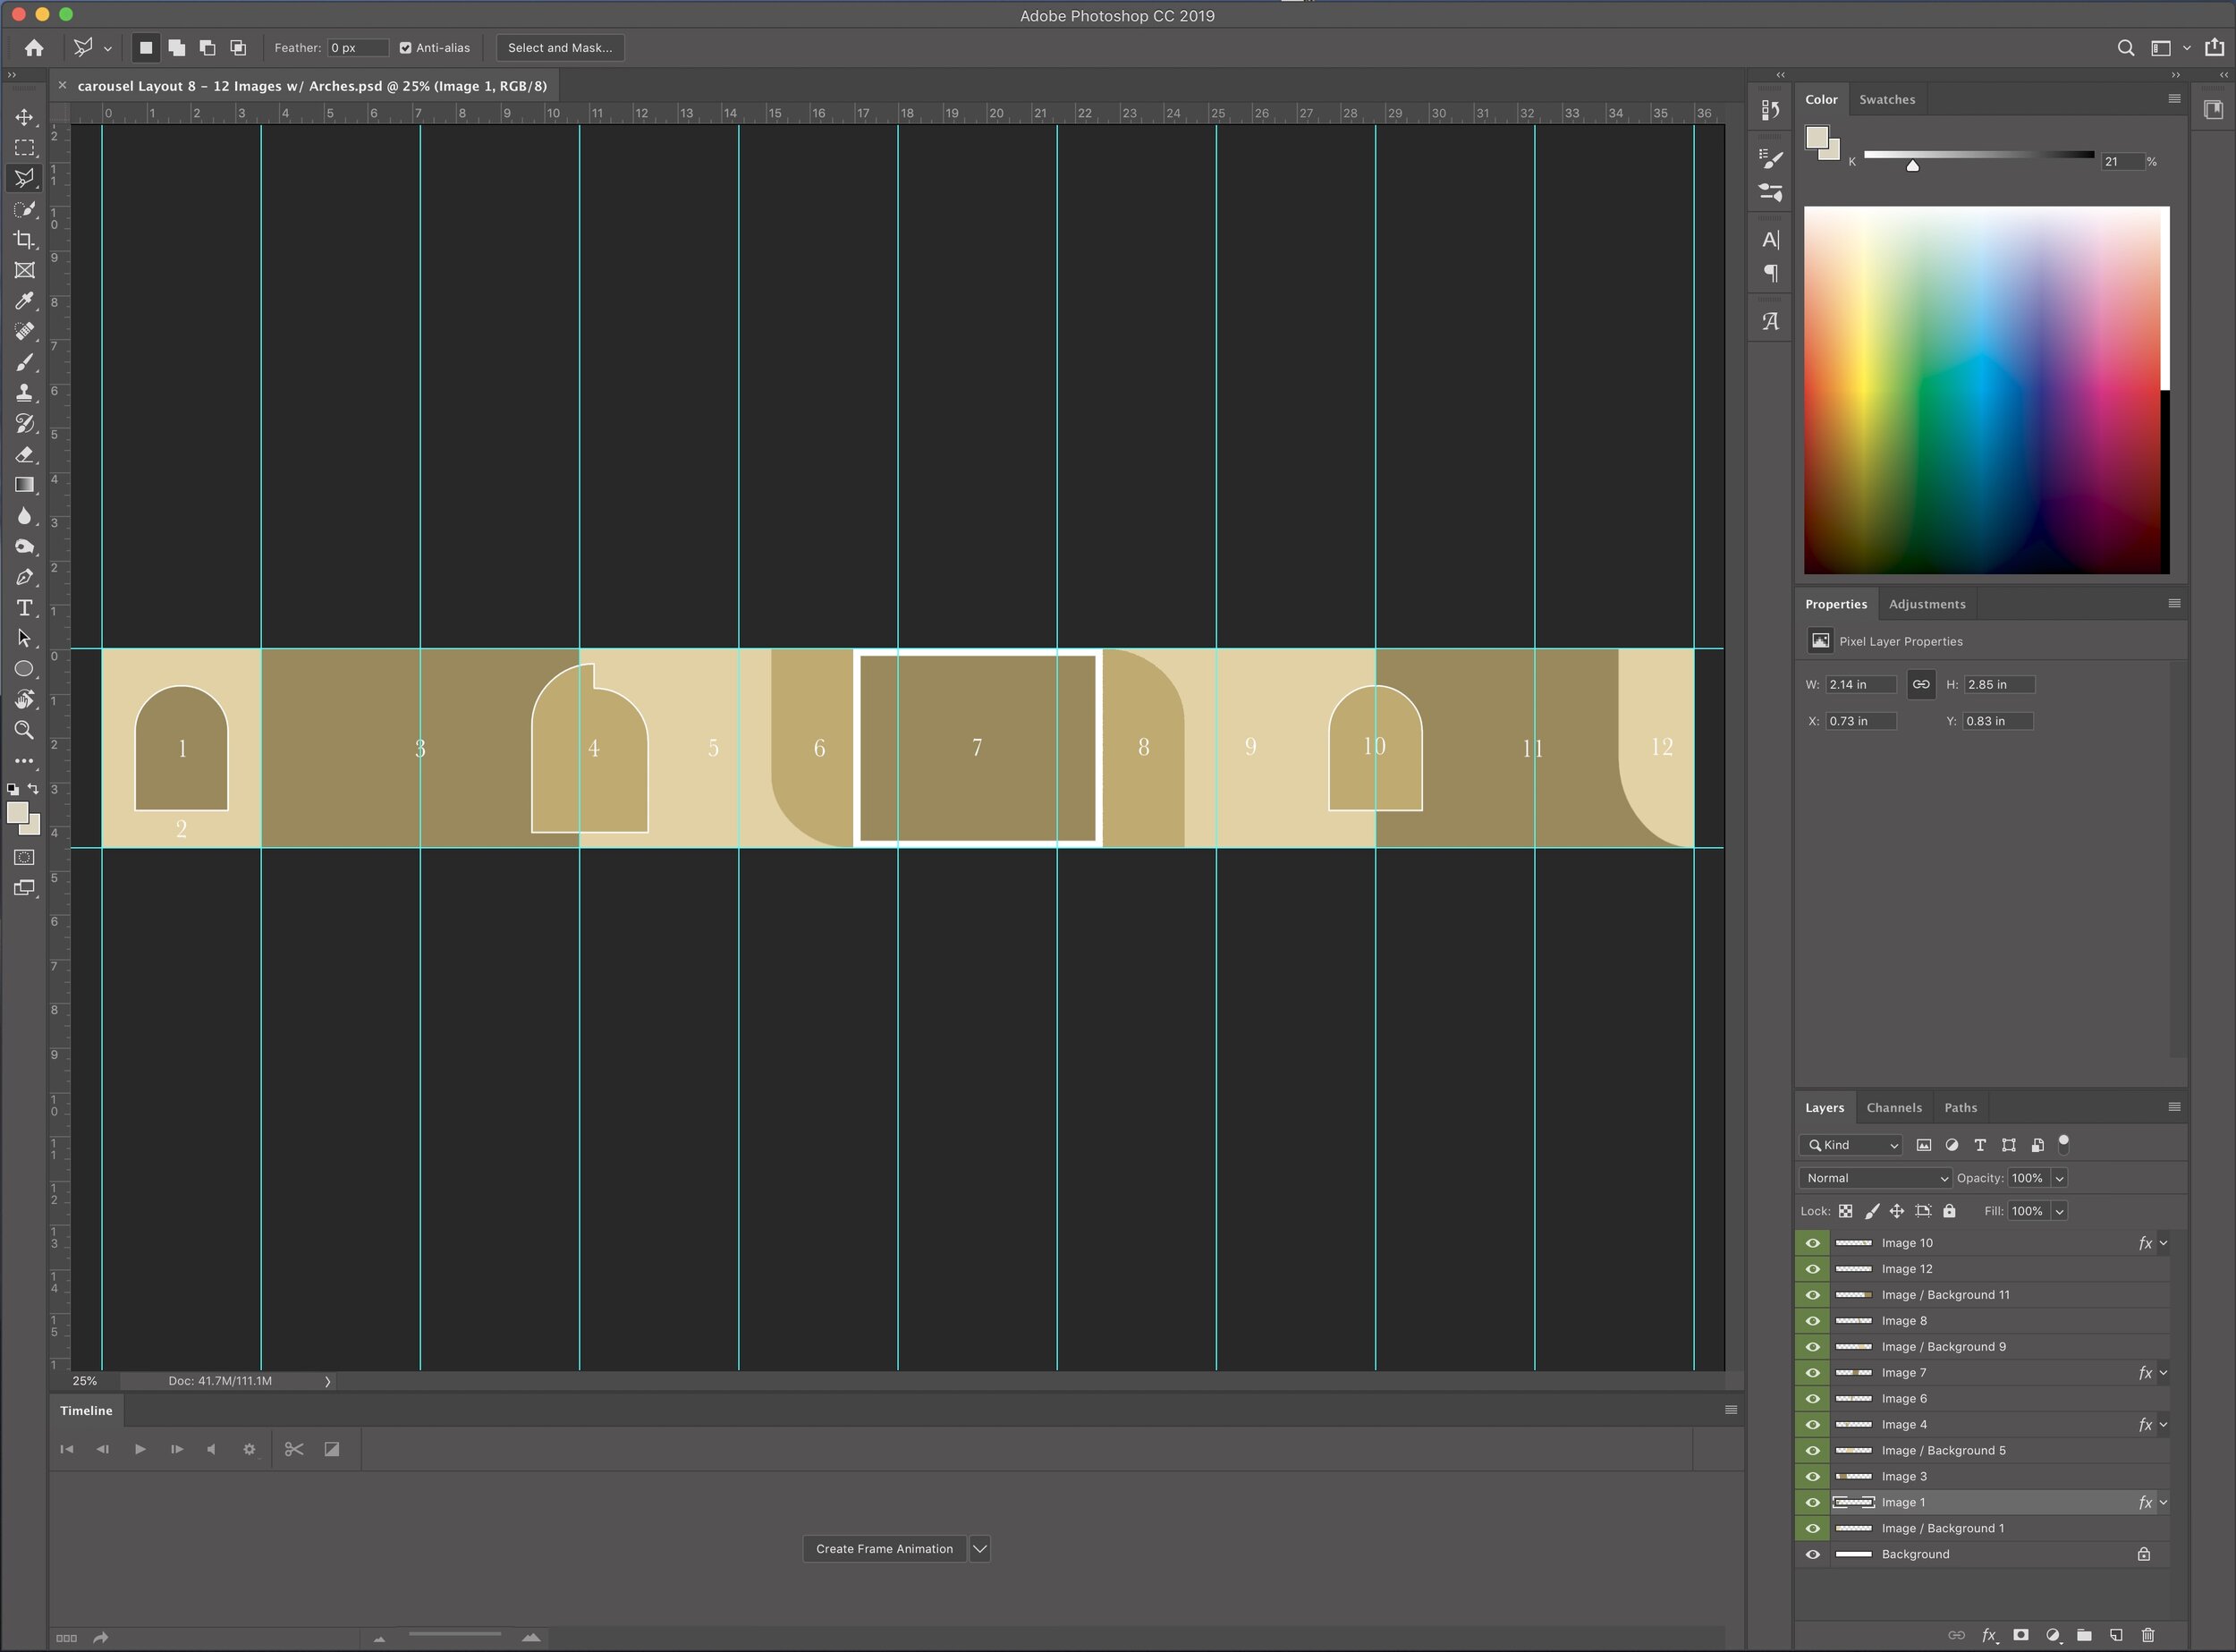
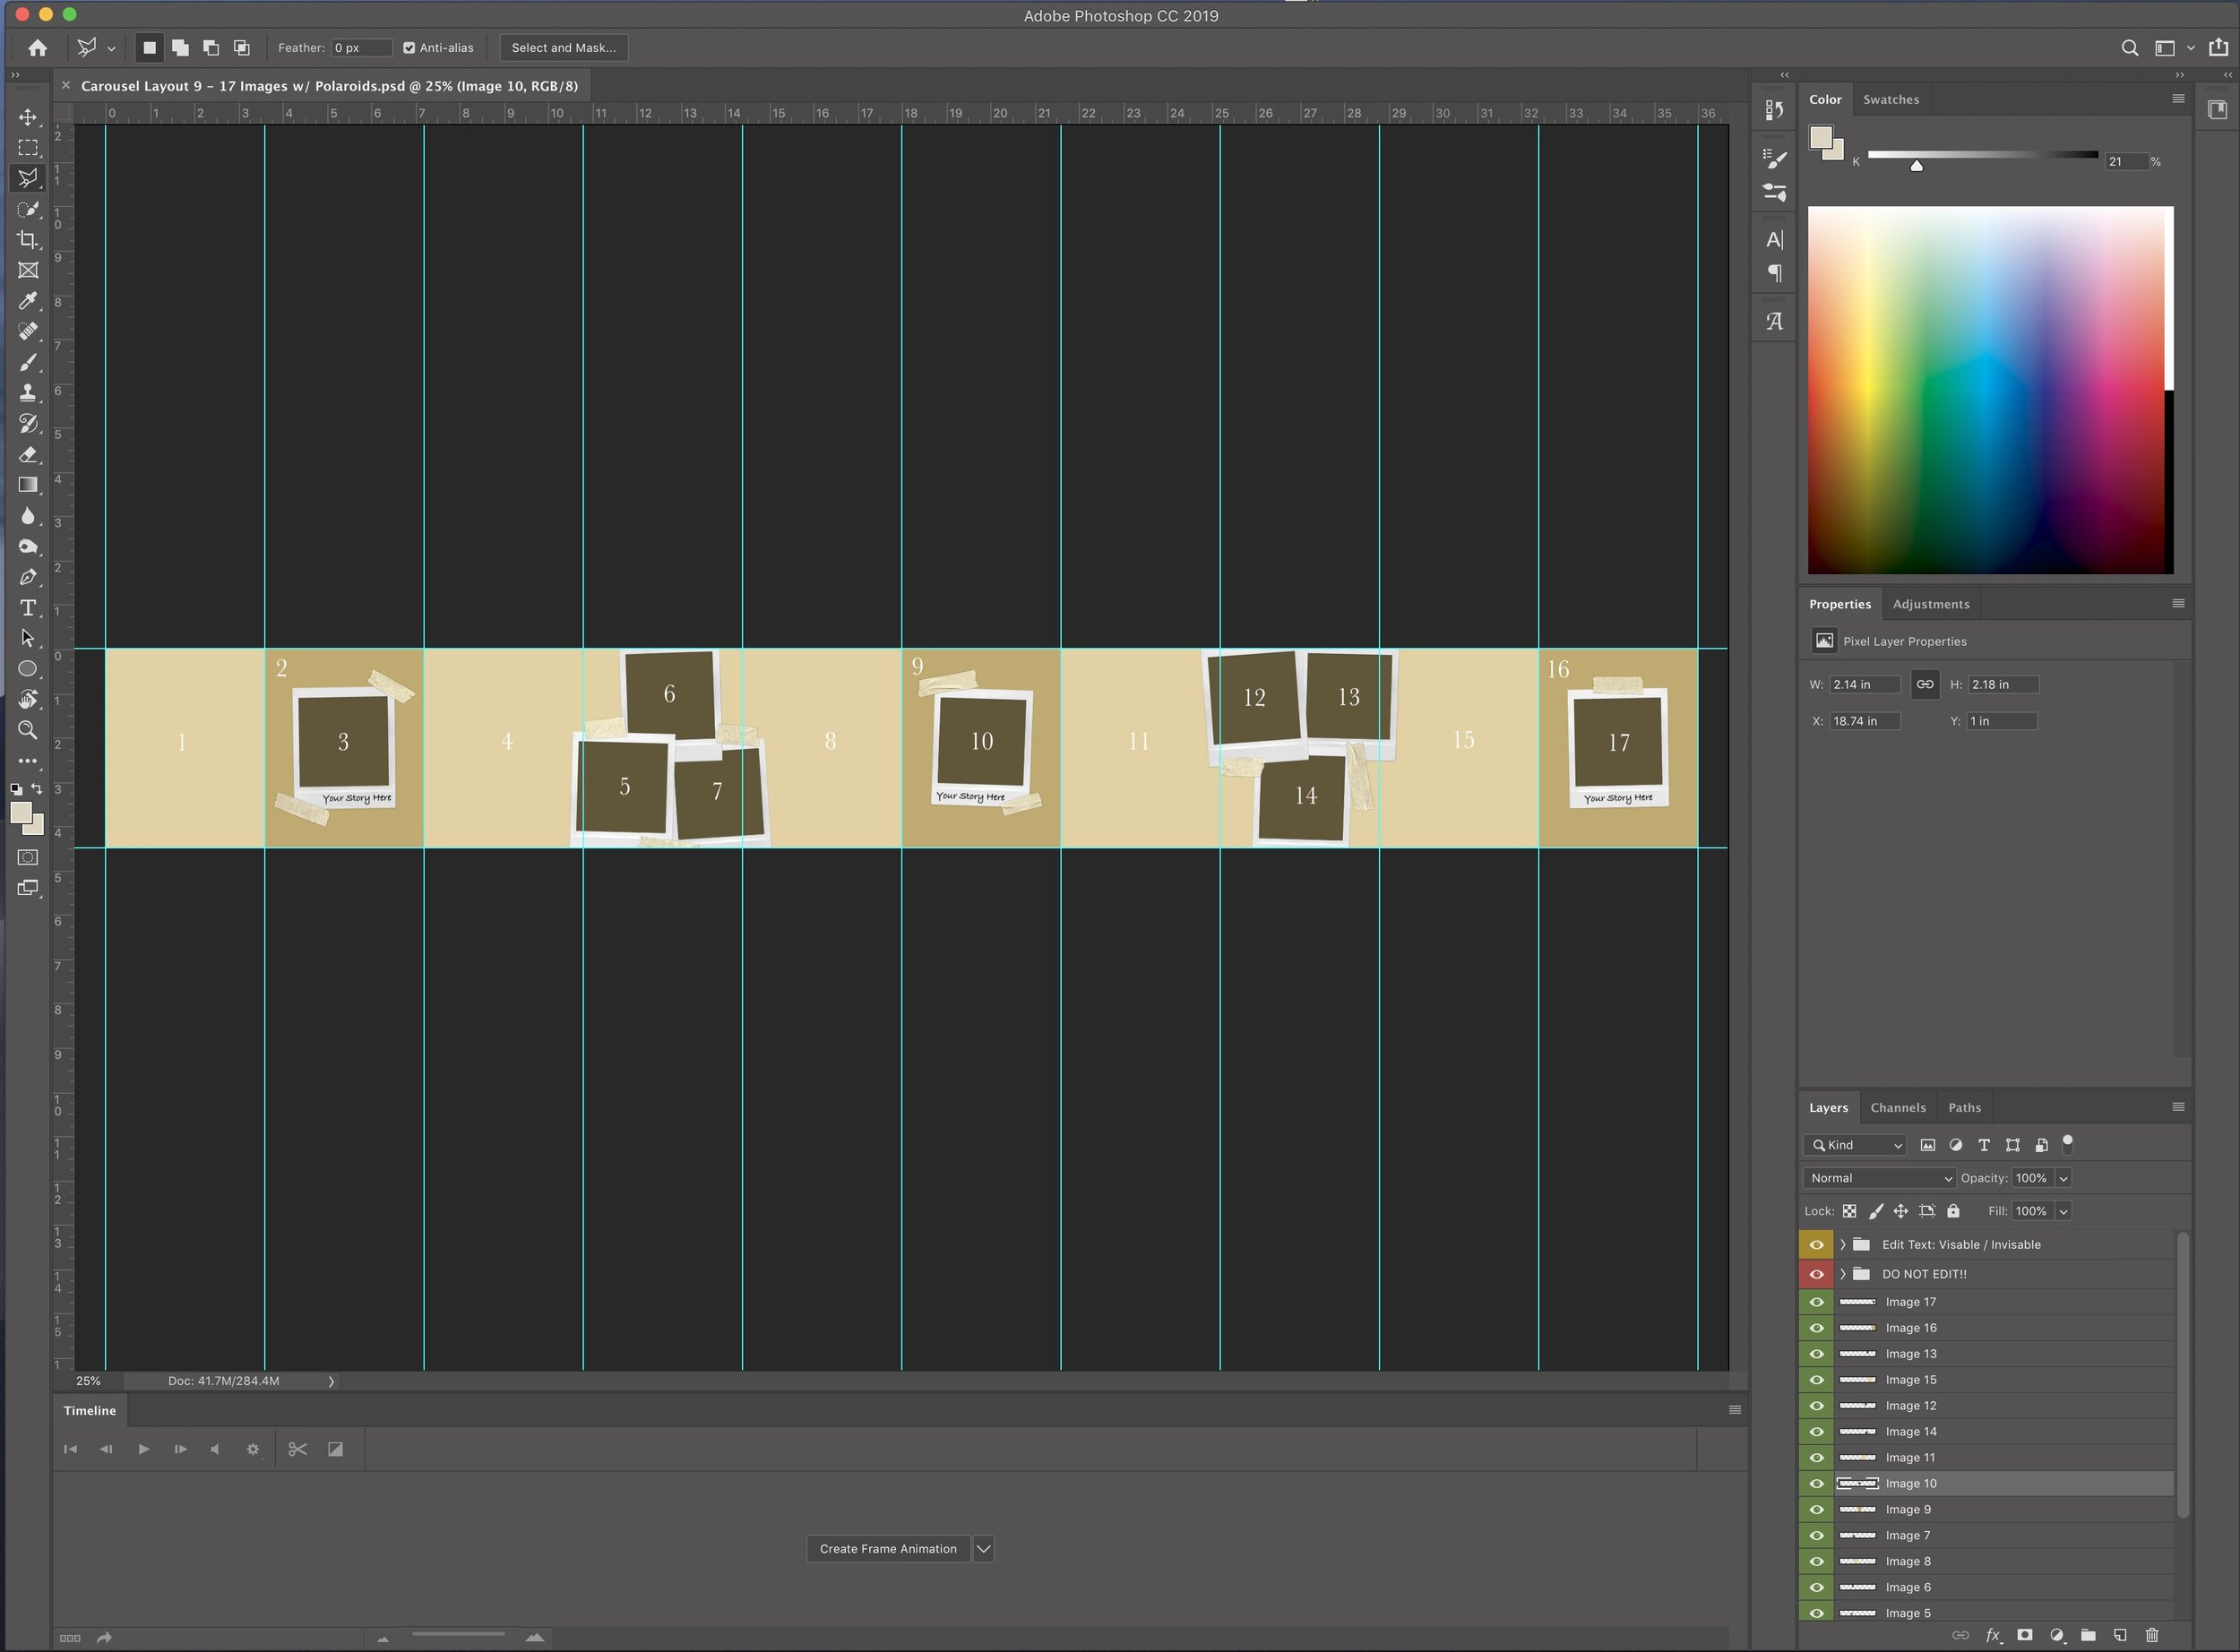
Option 1 —(Best Option) Drag & Drop Instagram Carousel Photoshop Templates that include curated layouts for the easiest possible setup.
There are 10 different curated Instagram carousel templates all in portrait style for the best layout and screen space. All you need is your photos and you’re set!!

Option 2 — Free Flow Instagram Carousel Photoshop Templates which is a more intricate approach where you have to spend more time designing the layout on your own.
There are three template options so you can use either square, portrait, or landscape format images.

Not a fan of Photoshop?
Try out the Canva version of these Instagram Carousel Templates
Step 2: Editing & Formatting
Okay, now that you’ve downloaded the template files, and you’ve edited your photos with WKpresets (😜shameless plug), go ahead and export your photos to the folder that you want to pull your carousel photos into.
Select the Instagram Carousel template that you wish to use, copy and paste it so you create a duplicate for the future, open the template that you want your post to be in.
Copy and paste the template file to save the original.
Pro tip: If you’re using the Free Form Instagram Carousel Layout, use the 4:5 ratio/portrait format for the best screen coverage. More bang for your buck! These photos will also perform the best on Instagram. All the drag and drop templates are in portrait format so you’re all set there.
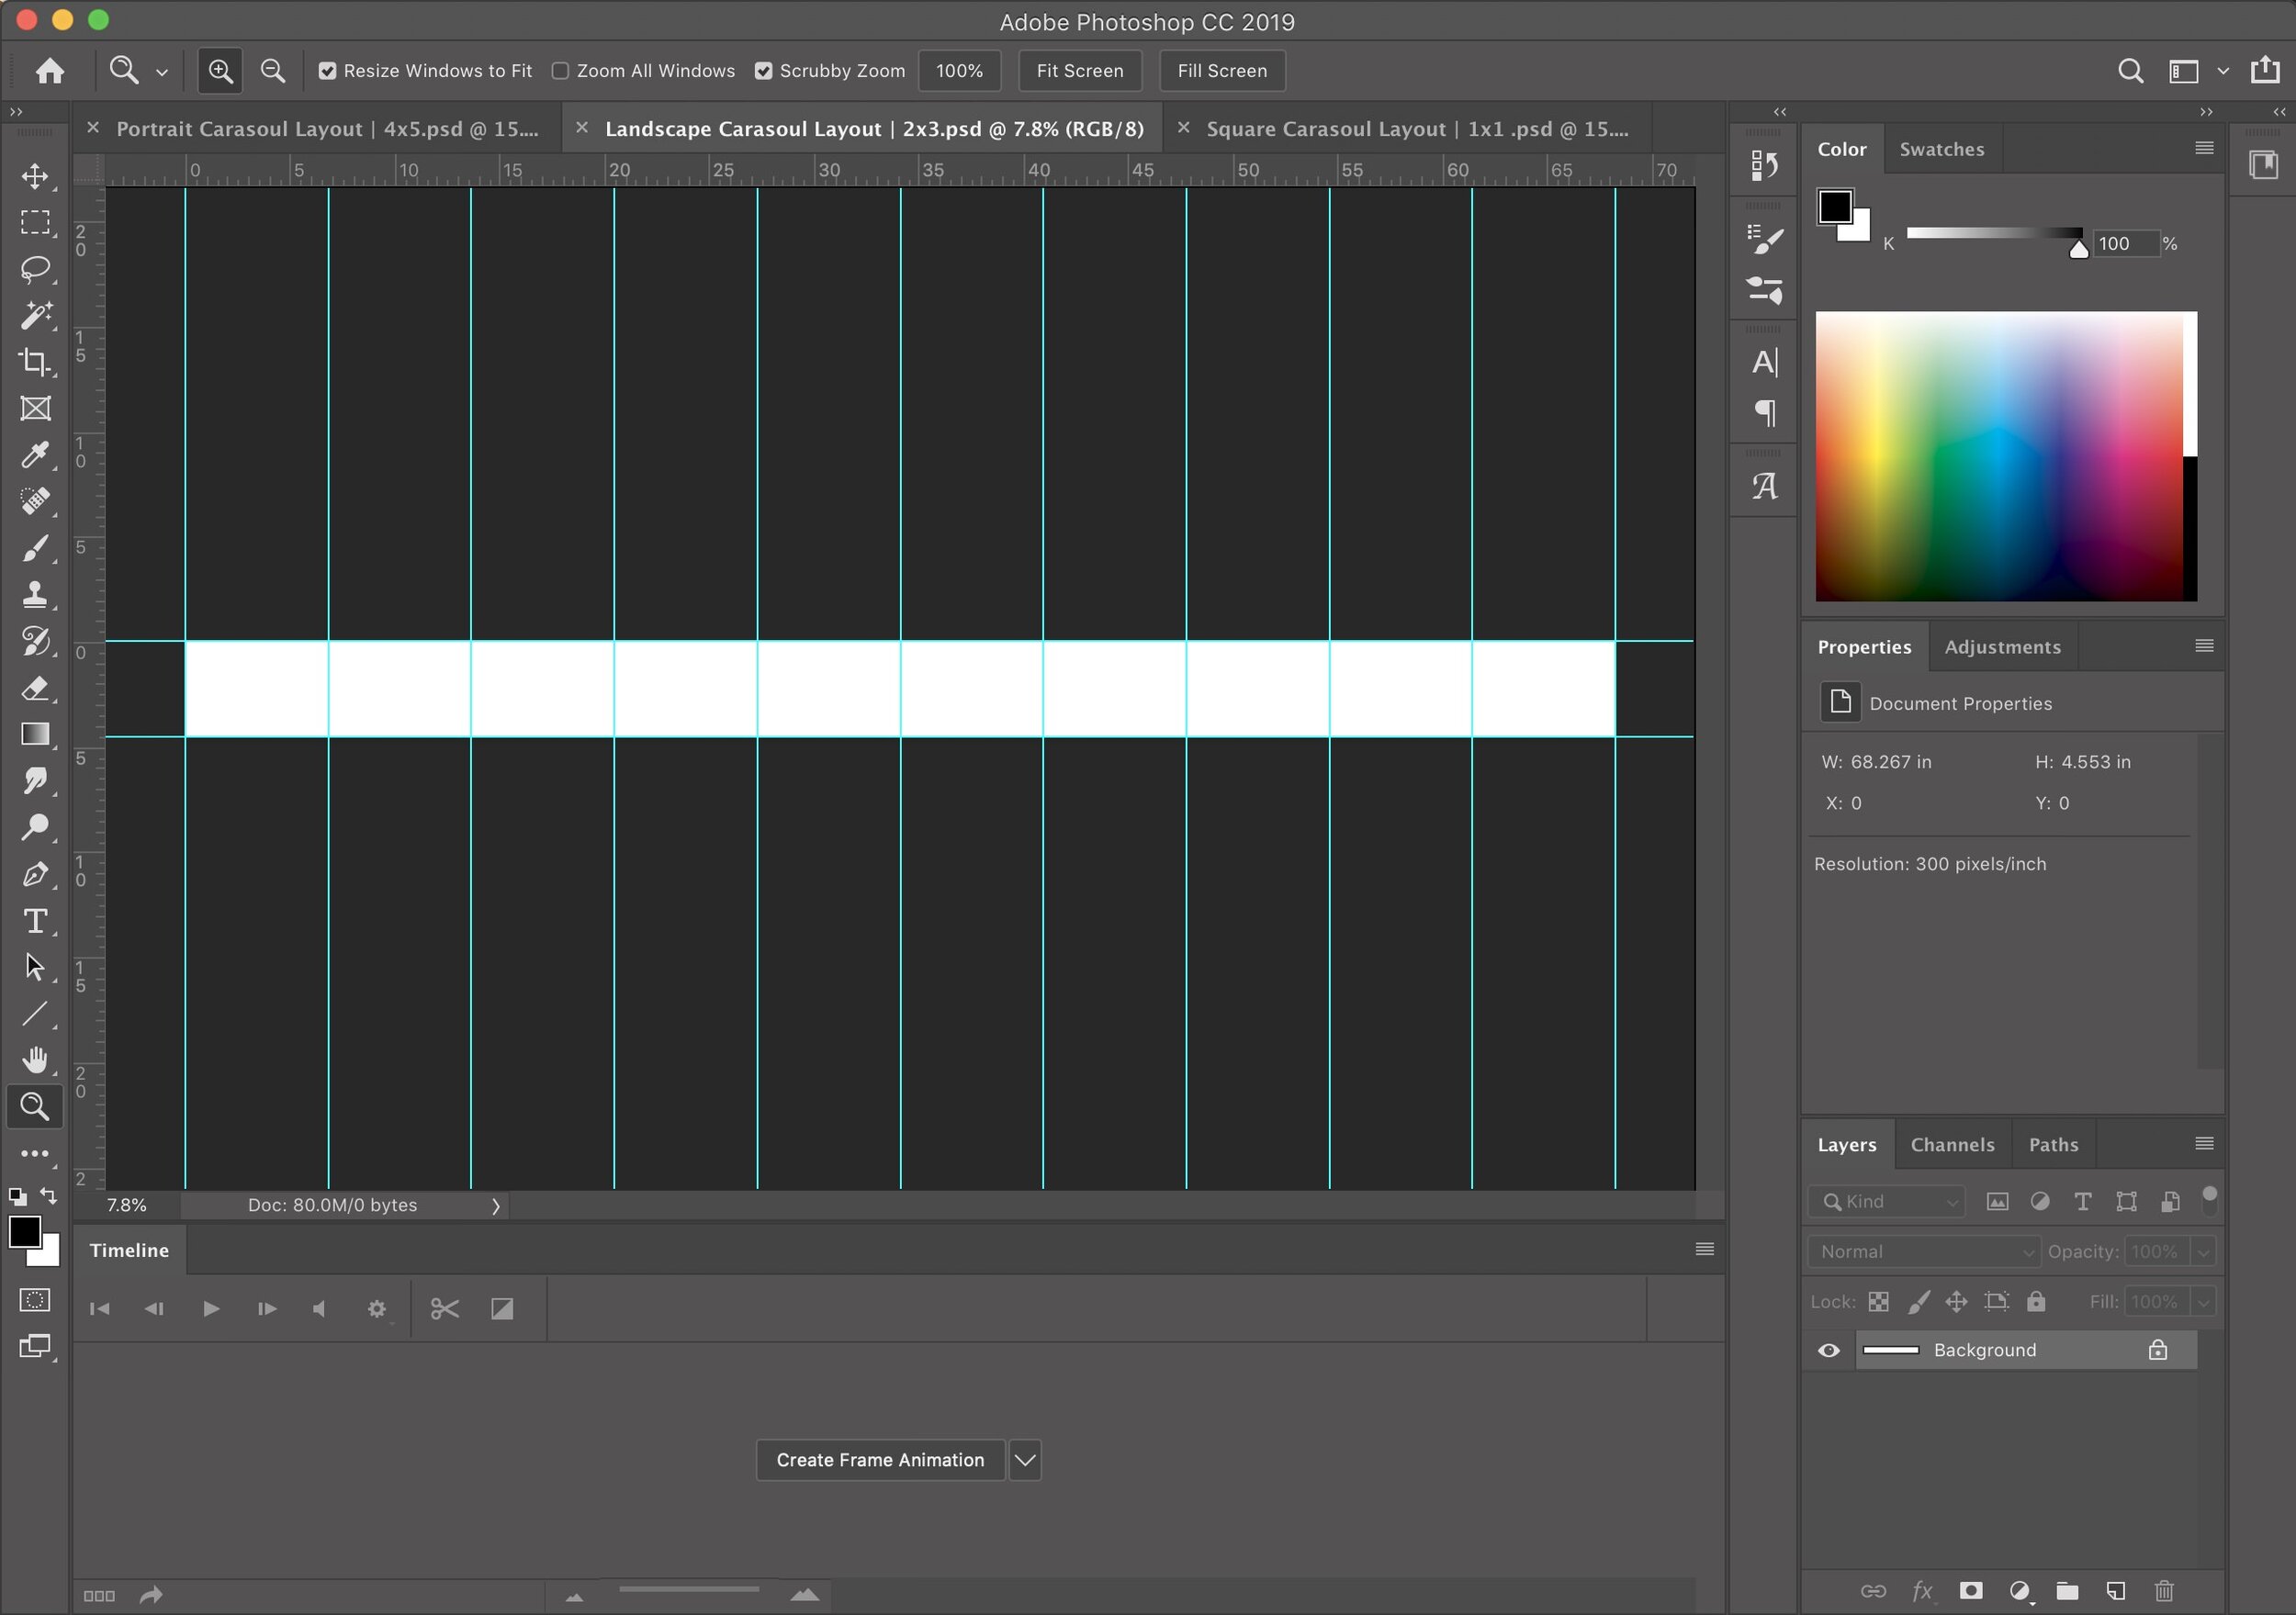
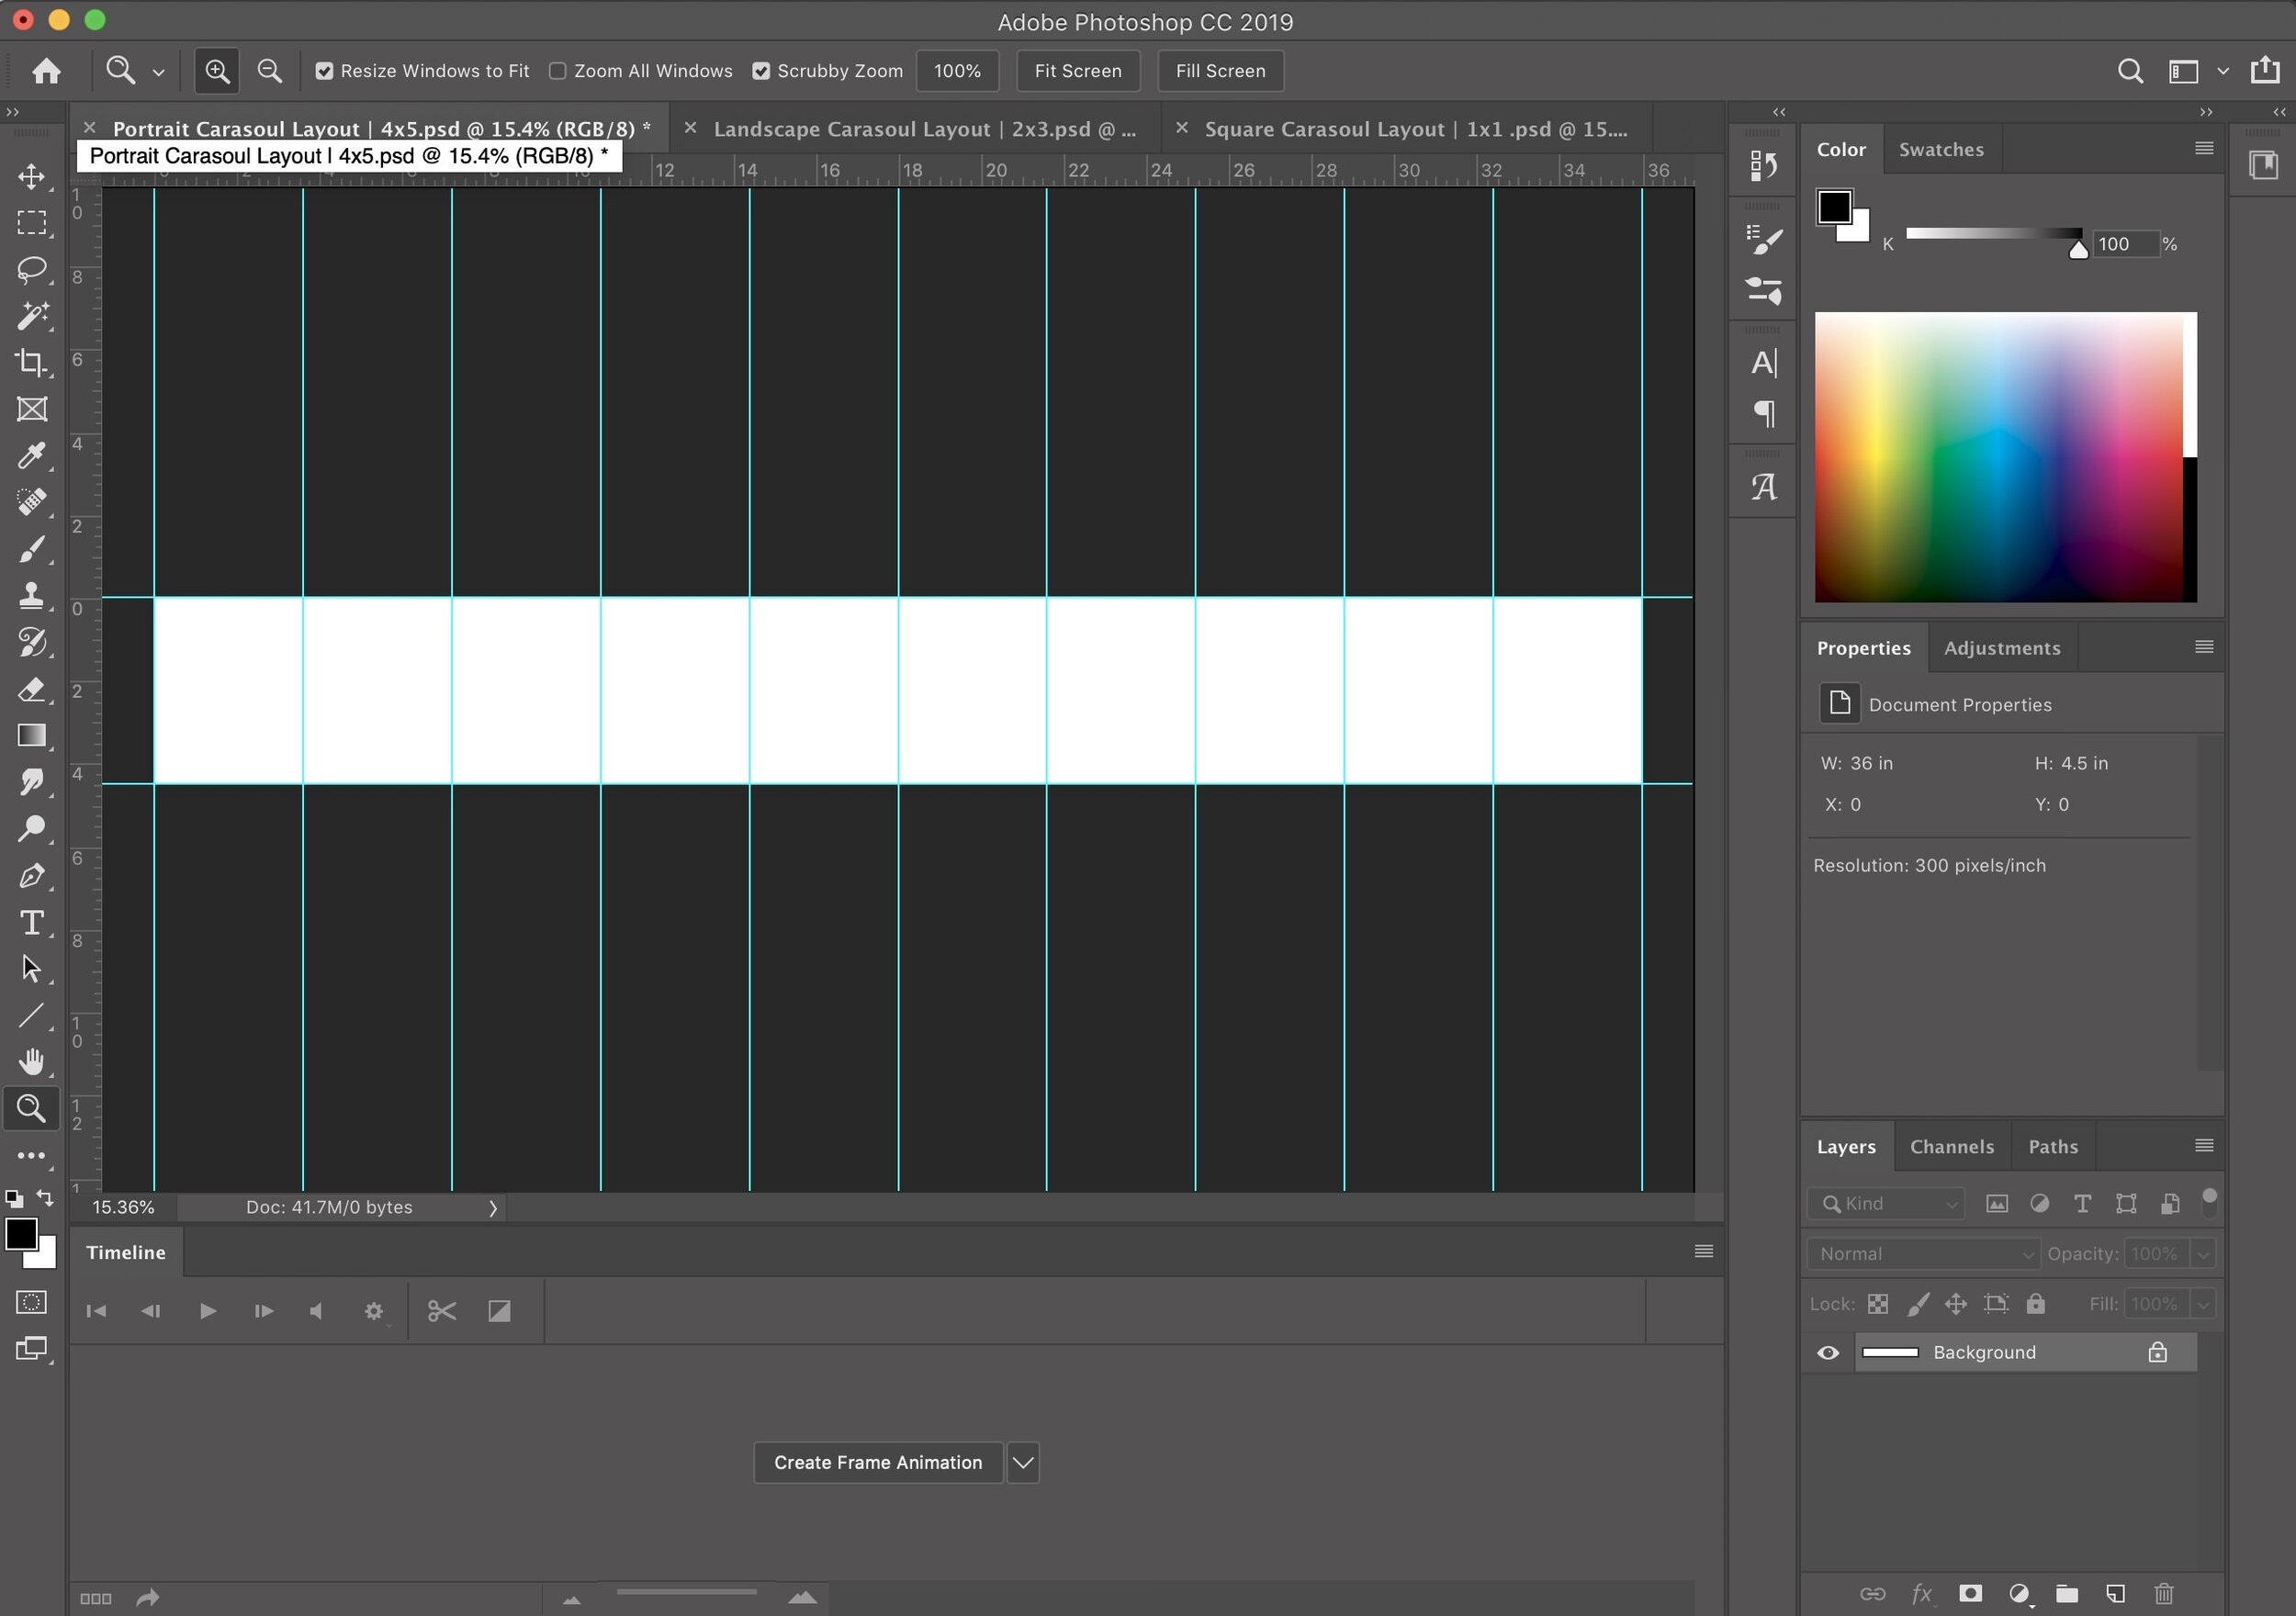
Step 3: Setting up Photoshop
Before starting your carousel, make sure to turn on Guide if you don’t already see them (View > Show > Guides). These guides will help you with each image and they are equally divided so you don’t have to worry about even spacing and sizing.
Your photos will snap to the guides making it great for your Instagram carousel to not have any gaps between your photos!
DRAG & DROP INSTAGRAM CAROUSEL TEMPLATE EXAMPLE
FREE FLOW INSTAGRAM CAROUSEL TEMPLATE EXAMPLE

Step 4 a: Arranging your photos with option 1
(Drag & Drop Instagram Carousel Photoshop Templates)
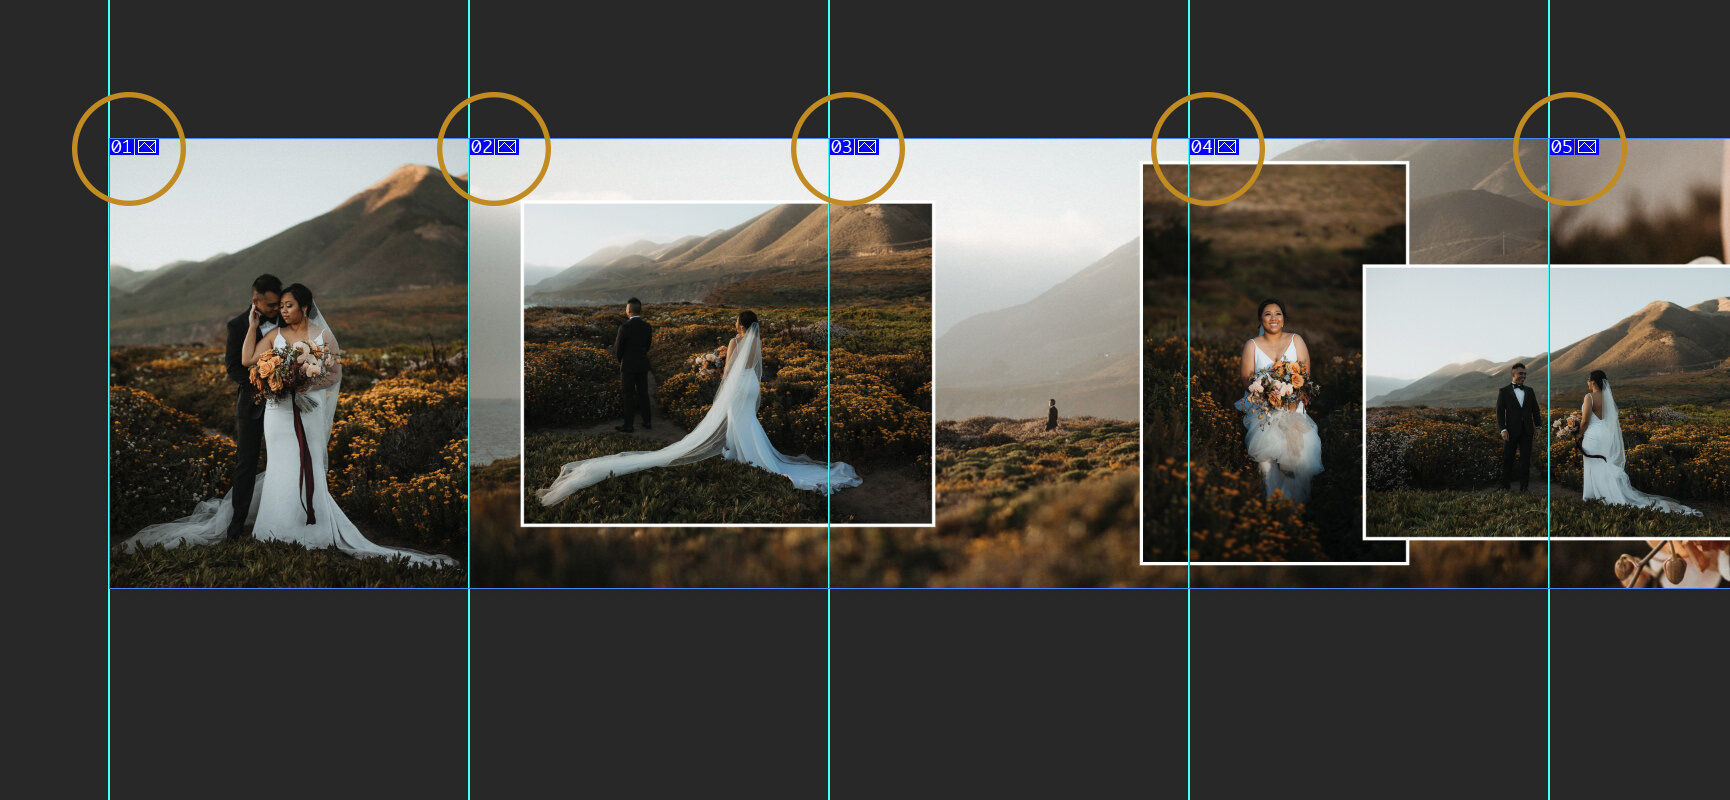
Once your photoshop template is open and your photos are ready, start by selecting which space you’d like your photo to be placed in.
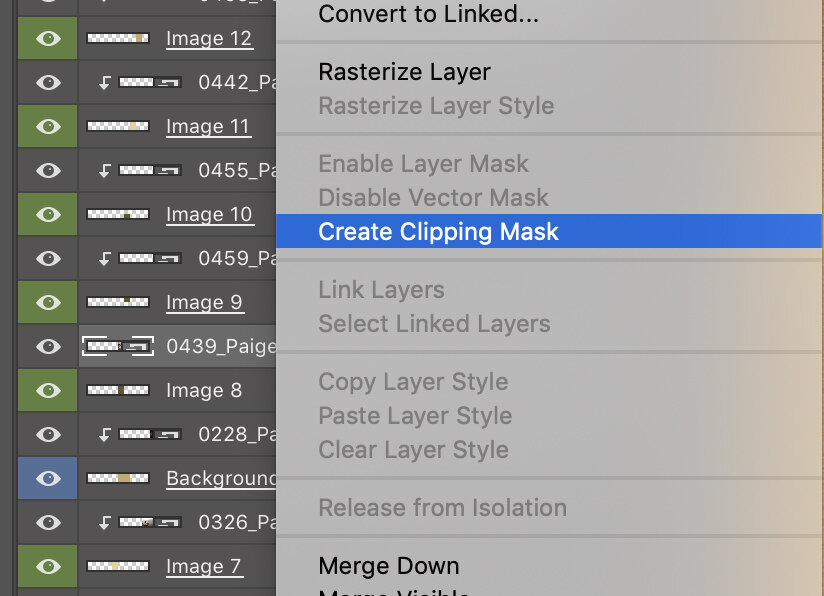
Right-click and select the Image number, or select the corresponding layer from the layers tab.
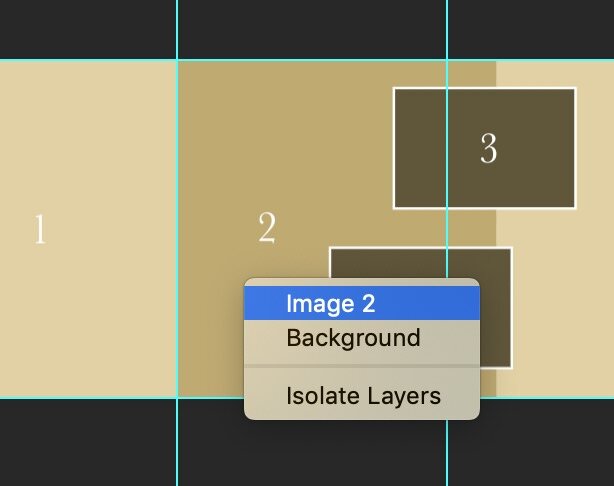
Once the layer is selected, drag and drop any image on the template. The image will now be in a “free transform” state. You can ignore that and select “place” or hit “Return/Enter” to exit the “free transform” tool.
This is where the fun happens: Make sure your photo is selected. In the Menu tab: select Layer>Create clipping Mask and Voila!! Your photo will now clip to the space you selected!
OR, in the layer tab, right-click the image and select “Create Clipping Mask.”

If you’d like to move the image around or resize it, Use “Command+T (Mac) or Control+T(Windows) to enter the Free Transform option.
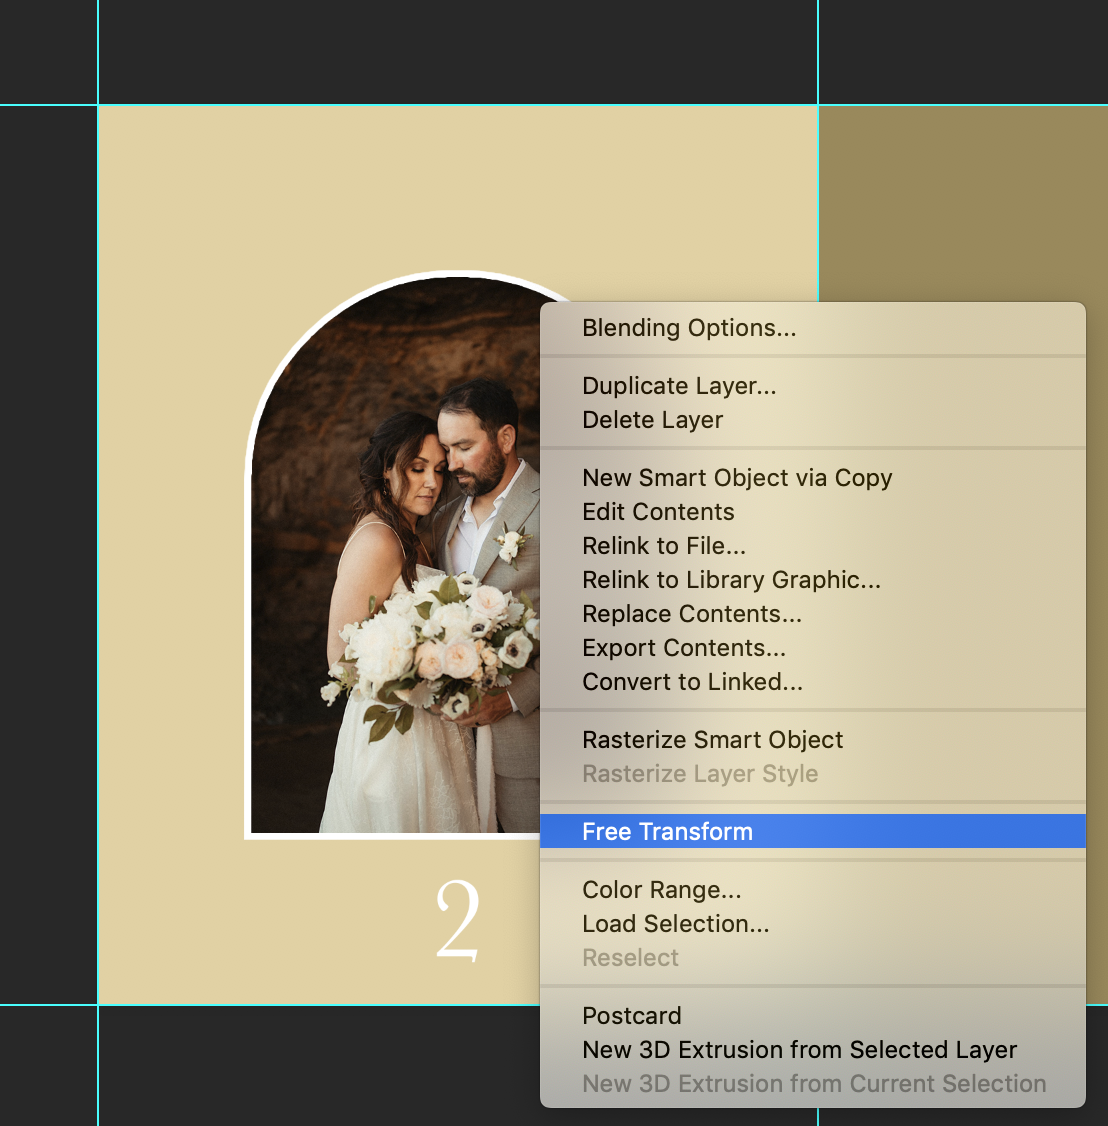
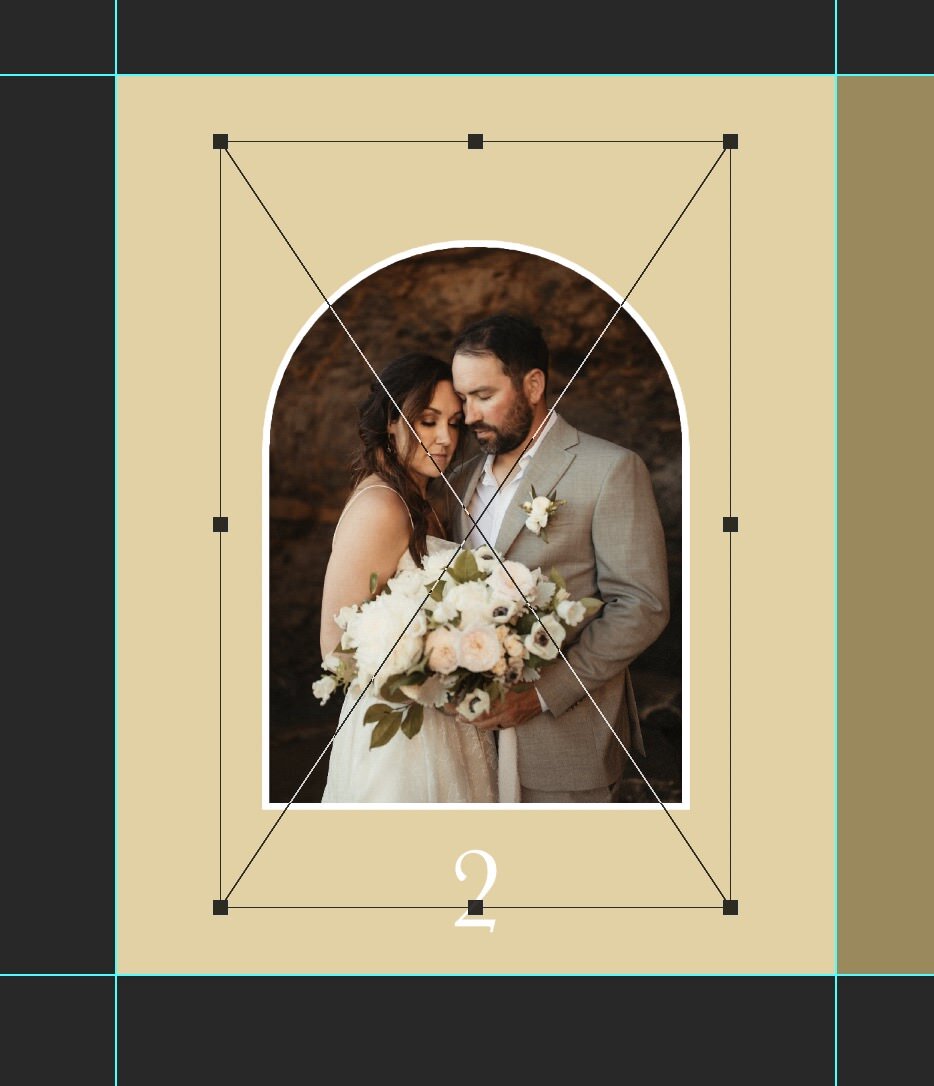
You can now move, resize, rotate your image as needed in the designated space.
Once you’re happy with how it looks, hit “Return/Enter” and you’re all set!
Continue this process until all your Instagram Carousel Template Spaces are filled (see tips below if you’re adding a GIF).
Once you’re finished, move on to step 5 for exporting.
***IMPORTANT TIP: Make sure to zoom in and check all the lines/gaps between your photos. If your photos aren’t aligned well with the template, you will end up with unnecessary lines that’ll throw off the look and defeat the purpose of the template 😆😆

Step 4 b: Arranging your photos with option 2
(Free Flow Instagram Carousel Photoshop Templates)
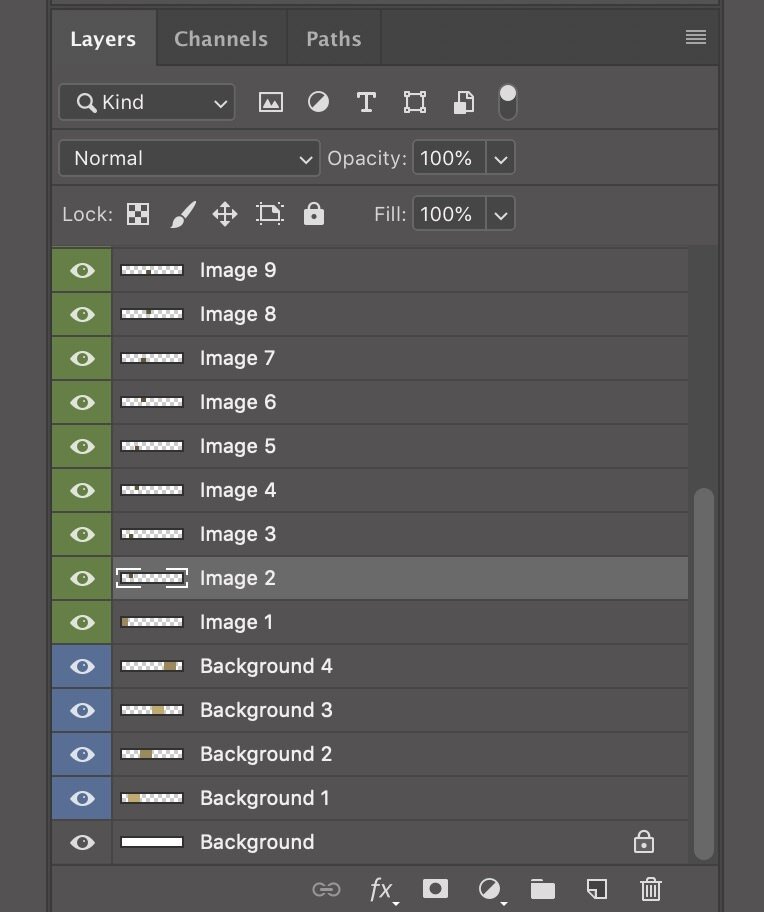
Start by dragging and dropping images in the photoshop template file that you opened. Once you have all your photos together. your Layers tab should look something like this:

Once you have the photos in Photoshop, start arranging them however you wish your Instagram Carousel to be.
This step will take a bit of time, but go into it with a creative mindset and don’t hesitate to mix it up!! At first, it’ll be messy but once you start aligning your photos, things will be so much better!

Each guide-line is where this carousel will be cropped so make sure to watch for those lines and the gaps in between your photos. Once you’re happy with your layout, your photos would look like this.

Step 5: Cropping the carousel
Once you’re happy with the carousel template layout and all your image placement, and you’re ready to save. Right-click on the “crop” tool and select the “Slice Tool”.

Then on top of the page, select the button “Slices From Guides.” This will create individual slices on each guide-lines!
Pro Tip: Make sure that you only have 10 Vertical guidelines. This is important for sizing and exporting.

Step 6: Exporting & Saving
Once you’re ready to save: select (File > Export > Save for Web)

A new window will pop up, select the Original tab, JPEG from the drop-down menu, Quality slider set to 100%, and no Matte (none).

Select where you want to save your photo. (I usually save mine to a dedicated Dropbox folder to have the photos in one spot and on my phone right away without having to physically transfer images - just something that will save you time).
Tip: The exported images will show up as .GIF format but they will still upload to Instagram Carousel just like a JPEG photo would.
STEP 7: Posting
Transfer/Find your photos on your phone, open Instagram, create a new post - make sure to select the right ratio for your photos (bottom left corner arrows on your post).
Selected all the exported photos in the correct order.
IG tip: If the option for selecting multiple images isn’t there, hold down on one photo for 2 seconds and you’ll be able to select all (10) images that you’re posting.
Post & do a happy dance!
Scroll down for more tips and tricks on how to make sure your Instagram carousel is perfect!
If it’s easier for you to follow videos, here are two quick tutorial videos on how to create Instagram Carousel posts in Photoshop
First Video:
Free Flow Instagram Carousel Photoshop Templates
+ Exporting and Uploading settings
Second Video:
Drag & Drop Instagram Carousel Photoshop Templates
How-to use the Drag & Drop option.
Download the Instagram Carousel Photoshop Templates

Drag & Drop Photoshop Template Files for creating seamless Instagram Carousel Posts
10 beautiful template layouts
Easy to use, Drag & Drop set up to save you design time
Curated templates for even spacing and a beautiful look
12+ photos in each template for better storytelling
4:5/portrait ratio for the best posting size
Guided layout to avoid uneven spacing
How to Create Instagram Carousel Guide/tutorial.
*General / Minimal Photoshop knowledge is needed / All digital sales are final.
Photoshop templates for creating custom seamless Instagram carousel posts.
Includes 3 base Layouts for Portrait, Square & Landscape photos.
Full template guides for a seamless process.
Open template, bring photos into Photoshop, arrange photos, export, and post! No math or any sizing is needed.
General Photoshop knowledge is needed
Check out this blog post for more: How to create Instagram Carousel
*All digital sales are final.
Not a fan of Photoshop? Try Canva Templates as an alternative option!

Elevate your Instagram presence and make your work stand out with these easy-to-use, professionally designed, high-quality Canva Carousel templates. Perfect for all photographers, creatives, and influencers, these templates are the easiest way to craft stunning photo collages that showcase your work in a cohesive, storytelling format. After so much testing, these templates have been refined and tested by many professional photographers to ensure they are easy to use and provide real value for your work and photos. Simply drag and drop your images into the preset photo placeholders, adjust what you need, export, and post. Whether you're looking to save time or want to present your portfolio in a much more polished and engaging way, these templates are here to do exactly that!
115 professionally designed, fully customizable Canva templates
4:5 Aspect Ratio (portrait), Drag-and-drop photos & rearrange layouts to your liking
Works with 3:4 Aspect Ratio (The new IG update)
Designed for Magazine-like editorial storytelling
No cropping or extra apps needed. Works with Canva Free or Pro.
Creative tips on how to create Instagram Carousel
Drag & Drop Instagram Carousel Photoshop Templates Tips:
Keep the order of all the layers in Photoshop the same. Numbers might not be in order but that’s just how layers work.
Select the layer you want to add a photo to, THEN drag and drop your image in Photoshop.
If you want to remove an image from the template, select it from the layers tab and delete it (don’t hide or make it invisible).
Try to keep the layers in the same spot as they could mess up the design.
Layers Color Coding Format:
Green layers: Drop photos on
Yellow layers: Optional - Make visible/invisible. It can be text.
Blue layers: Background images
Red layers: Do not edit/move
General Tips:
Don’t worry about filling all 10 photo slots to create a post. Leave a few blank slots and skip uploading them. Just make sure that you fill each space up to the guidelines so you’re not left with an “unfinished” slide.
Frames: If the scene is a bit busy or your photos seem to blend together, create a frame around photos to separate them. (in Photoshop: Select the image that you’d like framed: Layer > Layer Style > Stroke... ). Mix it up with different colors to match the scene or your brand! You can also adjust the width of the border to your liking. 5-10px seems to be the sweet spot.
Before saving/exporting, zoom in to make sure that there are no gaps at all between your photo (they will appear as a white line and throw off the whole look)
Use the Free Transform tool (Command + T) to resize your photos. Hold Shift to maintain aspect ratio.
To crop images as needed: Right-click the photo layer, Rasterize Layer, then use the Rectangular Marquee Tool(M) to delete part of an image/crop.
Extend any photo over 2 or 3 image slots to create a background for your main photos. These can be a landscape photo or something that’s out of focus that you might not post on its own.
Add guides as needed to center your images (usually, one horizontal guide across your images will help to make sure your photos are evenly spaced and centered)
You can create a new guide by hovering the cursor over the ruler area and dragging it down to where you need it.
Resources:
Adobe Photoshop Keyboard Shortcuts (PC & Mac)


General Questions on how to create Instagram carousels:
What program are these Instagram carousel templates compatible with?
All Will Khoury’s Instagram Carousel Photoshop Templates are compatible and designed to work with Adobe Photoshop.
What photo file format can I use?
Everything that Photoshop allows you to open and use, but for best practice, JPEG format photos will be your best bet (and smallest size).
Will the Drag & Drop Instagram Carousel Photoshop Templates take long to create?
Not at all!! The main purpose of creating the drag & drop Instagram carousel templates is to save you time. It used to take close to an hour to create and now these are my go-to templates to create seamless Instagram carousels in under 5 minutes! It’s seriously awesome!!
Are the Drag& Drop templates adjustable?
If you’re interested in creating your own layout for your Instagram carousel, I recommend going with the Free Flow Instagram Carousel Photoshop Templates that will give you full flexibility and creativity.
If you’d like to save time and use something that’s already curated, super easy to use, and looks beautiful, then the Drag & Drop Instagram Carousel Photoshop Templates is the way to go.
Can I edit the Drag & Drop Instagram Carousel template?
Yes - Although it’s not needed/recommended, in specific cases, you can adjust the downloaded Instagram carousel template to fit the size and image format that you’re like. Make sure to create a copy of the Instagram carousel template that you wish to use so the original is saved.
Changing the Instagram carousel template will change the overall appearance and may not give you the best-looking, evenly spaced results.
Can I add more photos to the Instagram Carousel Template?
Yes - all Instagram carousel templates are editable and you can add more photos to them as needed within the available spaces.
Do I need to know how to use photoshop to create Instagram carousel templates posts?
General knowledge and understanding of Photoshop will help, but following this tutorial blog on how to create an Instagram carousel will walk you step-by-step on how to set up your files, import photos, place, resize, export and post.
You can always ask in the private Facebook Community for more help and support.
How do I add frames around each photo in my Carousel Template?
If you feel like you need a gap between one photo and another (sometimes the overlap seems busy), adding a colored/white frame is the way to go!
Select the photo that you wish to frame, from the menu tab:
Layer > Layer Style > Stoke..
In that menu, adjust your frame size and color as needed.
If you wish to copy it to another photo, from the layers tab, select the “fx” layer that was added below the image you framed, hit and hold the “option” key, and then drag and drop on the second photo that you wish to frame. This basically copies and pasts the “fx” to other images. Continue adding frames to other photos until you’re happy with how everything looks!
What are the Background photos meant for in the Instagram Carousel templates?
Adding background photos is a great way to add to the storytelling. This is not just anything that’s random but in a way, something to complete telling your story. It can be a detailed photo, an up-close shot, something out of focus, or just showing the environment. Add these photos to your hero shots to tell better stories and bring a better mood or atmosphere to your Instagram carousel post.
Can I add a GIF to the Instagram Carousel?
HECK YA!! A few Instagram Carousel Photoshop Templates give you the flexibility to add a GIF in your post and has a dedicated spot for them that’s noted in the Layers. If you’re planning on adding a GIF to your Instagram carousel post, simply leave one of the spaces between the guide-lines empty, then export your carousel as you normally would. Once you have everything on your phone (including the GIF that you created), select which spot you’d like it in and you’ll be set!!
After I purchase the Instagram Carousel Templates, can I share them with a friend?
Please don’t. Support Will Khoury as an artist by encouraging your friends to purchase digital products without sharing them for free. Many hours have been poured into creating these Instagram carousel template files, writing this guide, recording tutorial videos, all to make this process so much easier for other photographers and save you hours worth of work.
If you love them so much, and you think a photographer/friend can benefit from them, then you can re-purchase these Instagram carousel templates and gift them to your friend. Simply add them to your cart, use their email address instead of yours and you’ll be an awesome photographer supporting two photographers. Win-Win-Win.
I hope this guide on how to create Instagram carousels was helpful!
Please let me know what you think in the comments, and if you have any questions, please feel free to ask them below in the comment section or in the FB group!
More Educational Blog Posts


Things you need to know:
20% of proceeds from all sales (Drag & Drop Instagram Carousel Templates, Free-Flow Templates & WKpresets) will be donated to support artists on the Autism Spectrum.
All sales are final. No returns or exchanges.
Download link expires within 24 hours of purchase (1 download/purchase).
Please double check your email when purchasing, this is where you’ll receive your download. Typos will result in your purchase going somewhere else.
Don’t trade Instagram Templates/presets with other photographers and waste honest, hard work! Don’t be that person.
If you have any questions, feel free to get in touch with me here or send an email to presets@willkhoury.com
Thank you & happy editing!